Configuration and connection to Squid Auth on SUSE Enterprise 12.5
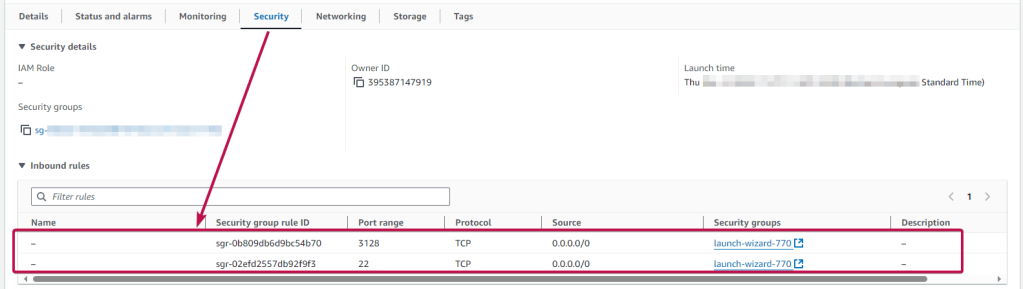
To work, you should open ports 22 and 3128 (TCP) in the network properties in the Amazon firewall. After purchasing and starting the VM, you should know its IP address. You can find it in Amazon’s personal account.
To connect to the Server, you should generate a “Private Key” in advance. This can be done using the following instructions (by choosing the “file format:” option “.ppk” in point 3) Guide – How To – Create and use Key Pair to connect to a VM
- Connecting to the VM using the PuTTY application. You can download it at the following link – Download.
- Go to the SSH section on the left panel, and then to Auth.
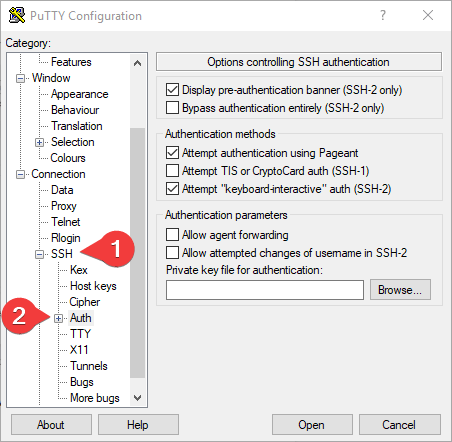
- In the “Auth” section, click “Browse” and specify the path to the .ppk file you received earlier.
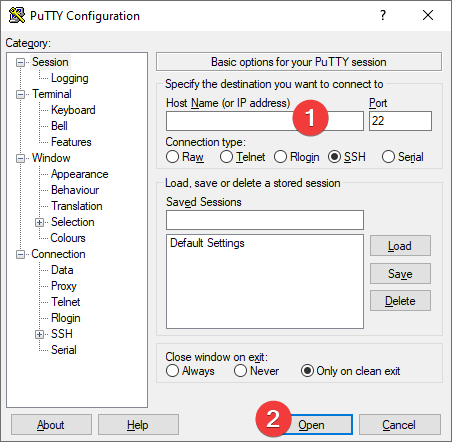
- Go to the home page of “Session”, enter the IP address of the VM, and click “Open”.
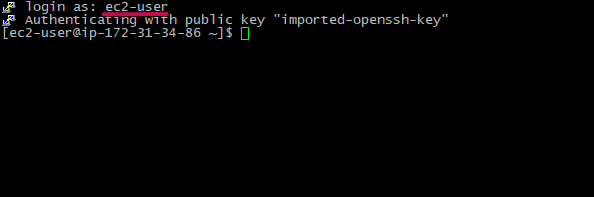
- In the opened console, you will need to enter the login ec2-user
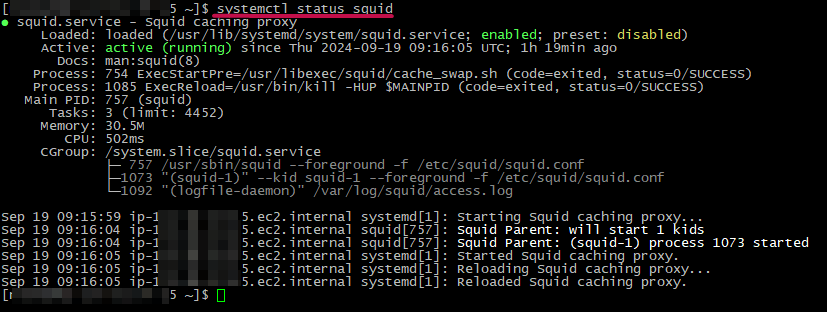
- You can check the status of the Squid service using the command:
systemctl status squid
- Now you need to create a new user using the command:
sudo htpasswd /etc/squid/.squid_users newusername
You need to enter the username (1), enter the password (2) for the new user, and then repeat the password (3)

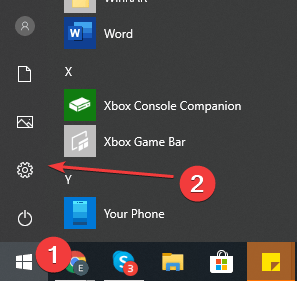
- You must open the settings to use the proxy server through the built-in Windows tools. Click ‘Start’ (1), then ‘Settings’ (2)
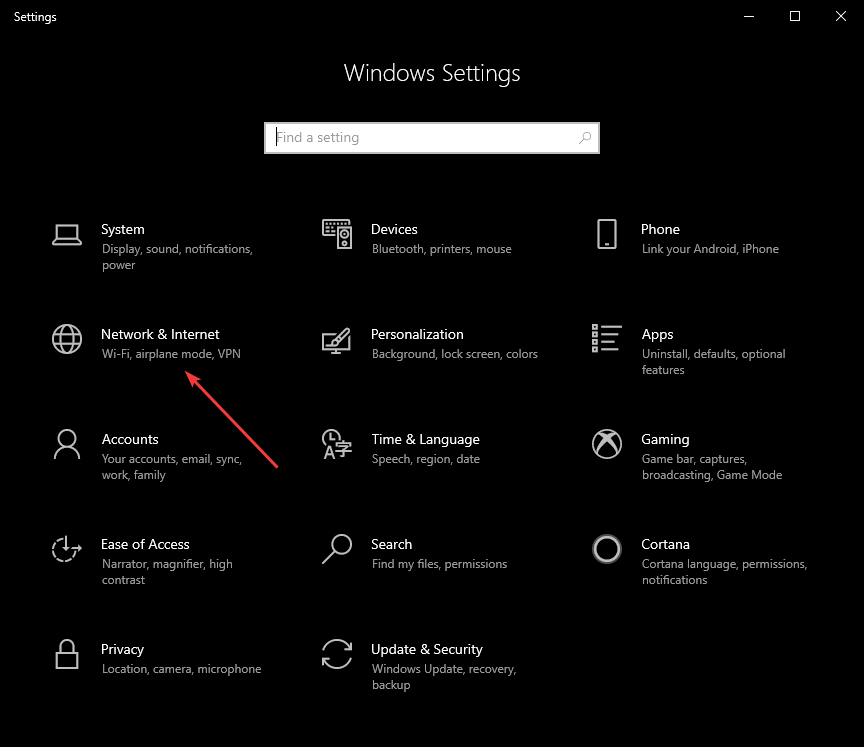
- In Settings, select “Network & Internet”
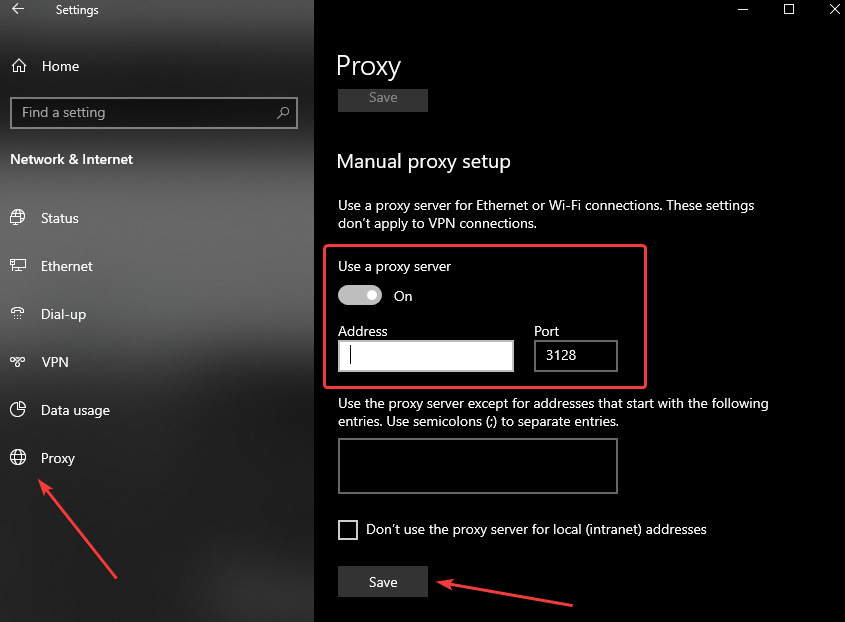
- Go to the “Proxy” section and set the “Use a proxy server” switch to On.
In the Address field, enter the address of the VM, and in the Port field, specify 3128. Then click the Save button
- To check the connection to the proxy server, open the MyIP.com website in any browser and check if your IP address has changed
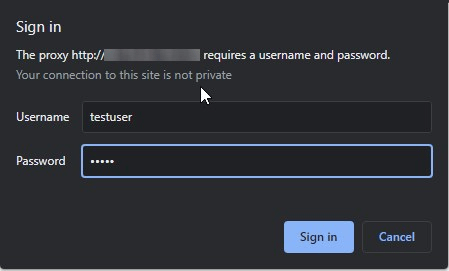
- In the pop-up window, enter the login and password of the user you have created (in step 3)
Check out the following links for further documentation and support for Squid Proxy.
SquidFaq – Squid Web Proxy Wiki
 Tidal Media Inc. — Software for Windows & Cloud Solutions