This application enables you not only to capture any area of your screen but also to record any audio you want. There is an opportunity to use the application both in online and offline modes. This modern and easy-to-use software offers a wide range of options for professional screen capture with audio, therefore the recording of the games, webinars and the other stuff becomes quick and simple.
The application contains the following: The start page, the Videos page, Audios page, the Settings, and both Video and Audio Recording Panels.
The Start Page
From this page, you can get to the Video or Audio Recording Panels only in one click and start the recording swiftly.
The default folder for saving files is “Videos” on your Local disc C.
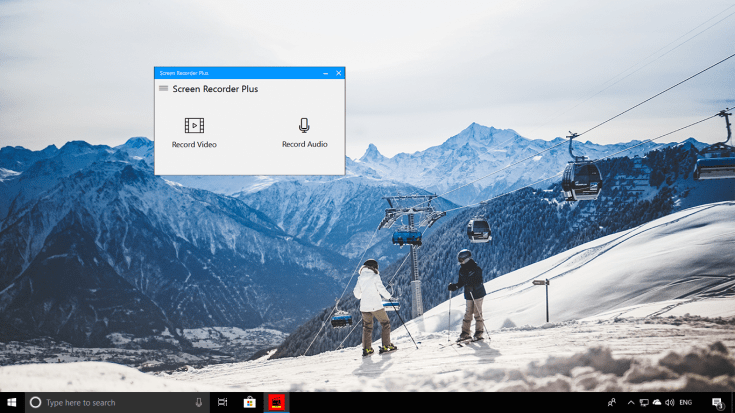
Pic.1 – The Start Page
The Video Recording Panel
For the video capture, firstly, you should select the size of the recording area or set your own one (which you can change during the recording), then click <Start>. By using the volume controls you can regulate both the system and microphone sounds. It’s possible to record the webcam video along with the screen recording. Multiple screen capture is also available.
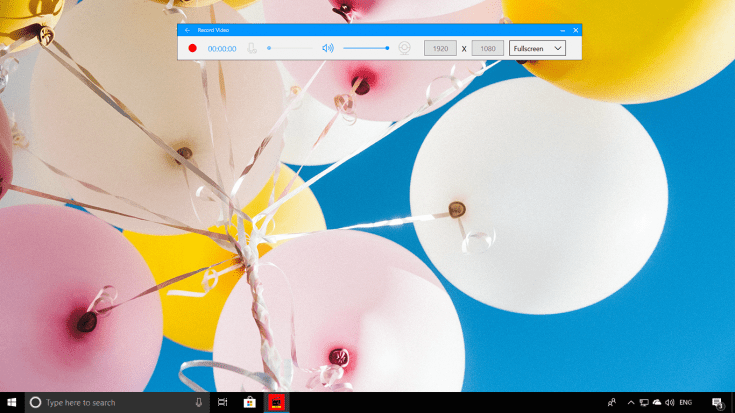
Pic.2 – The Video Recording Panel
The Audio Recording Panel
To record the audio you need just to click <Start>. The volume controls will help you to regulate the recorded sounds.
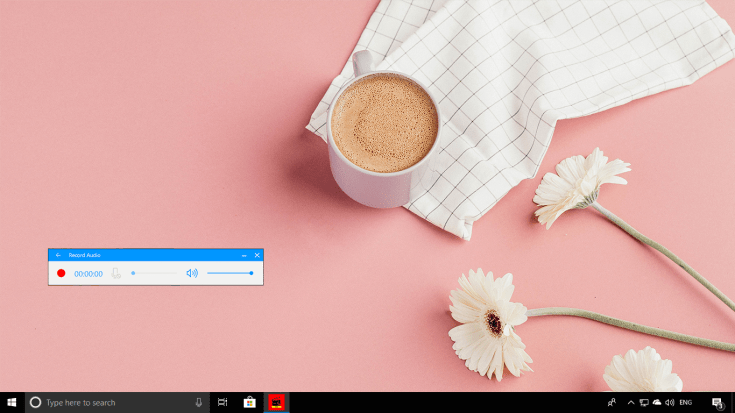
Pic.3 – The Audio Recording Panel
The “Videos” and “Audios” Pages
On the “Videos” / “Audios” page there is the list of all your recordings and all necessary information about them: the name, the date of the recording and the length of the file. You can easily navigate to the folder, where the recordings are located or remove them. Also, it is possible to share the app with your friends.
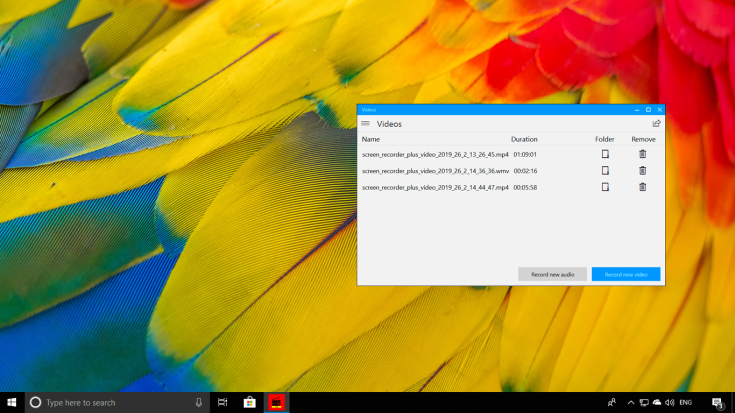
Pic.4 – Videos
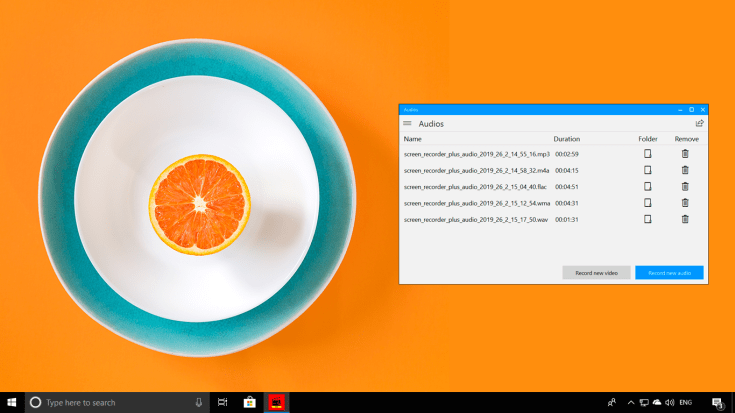
Pic.5 – Audios
The “Settings” Page
The “Settings” Page contains a lot of useful tabs to work with: General, Recording Settings, Devices, Hotkeys, About App and Mode.
General
Here you can change the app display language and select the default folder to save the files. To animate the mouse clicks and make the app start with Windows, just tick the checkbox.
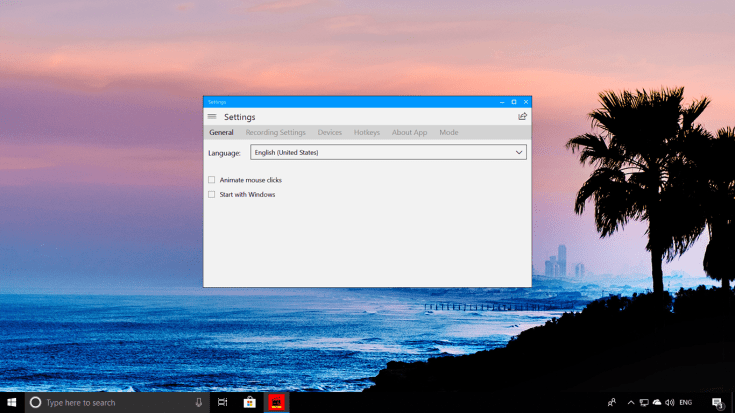
Pic.6 – General Settings
Recording Settings
On this page you can select the format, quality, codec and other recording settings that you need.
To do this: click on the fields of the settings and select the desired one. Click on <Apply> button to save the changes.
The button <Default settings> will recover the settings to the standard ones.
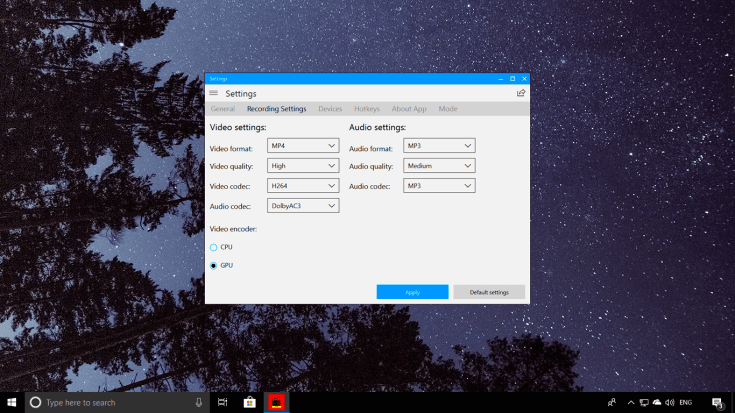
Pic.7 – Recording Settings
Devices
Select the appropriate webcam and the microphone to work with. The changes will be saved automatically.

Pic.8 – Devices
About App
This page will give you all the information about the app: version, the publisher’s name and distributor. Also, you can use this page to give feedback about the tool, share the app with your friends, rate it and see more apps of the publisher.
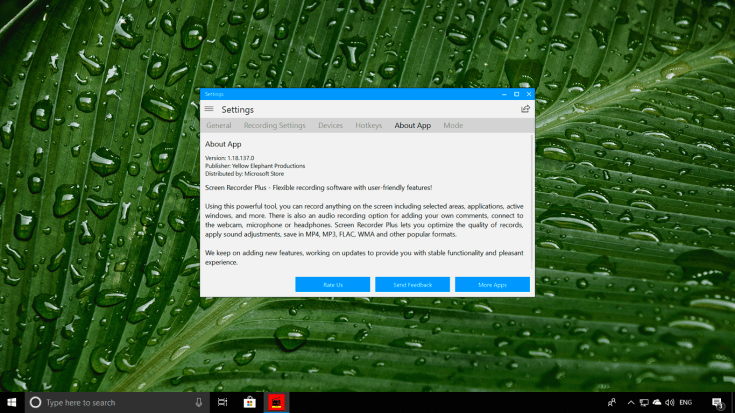
Pic.9 – About App
Mode
Here you can change the color theme of your app: select light, dark or the system color.
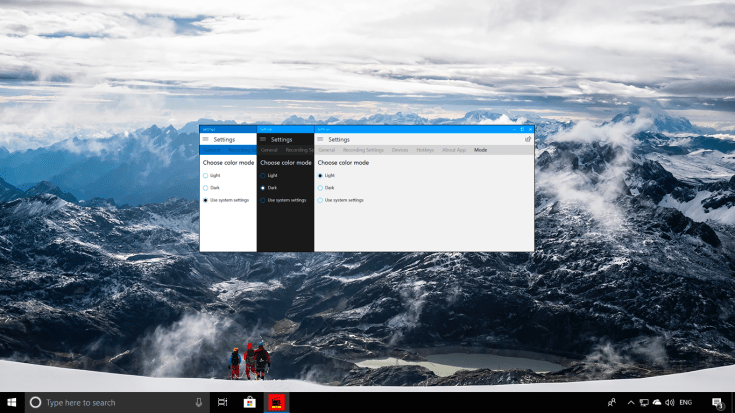
Pic.10 – Mode
We hope, that this tutorial was helpful for you!
If you still have any difficulties, please, click on the <Send Feedback> button.
You can also contact us by this e-mail → support@tidalmediainc.com
Like the app? Please support us with ⭐⭐⭐⭐⭐ in the Microsoft Store!
