Hello Friends,
We appreciate your choice of Win-Rar PRO!
The app for convenient compressing, decompressing, and managing of files.
To get all the benefits of Win-Rar PRO, launch the software. Here is the detailed tutorial about this super forceful and flexible utility usage.
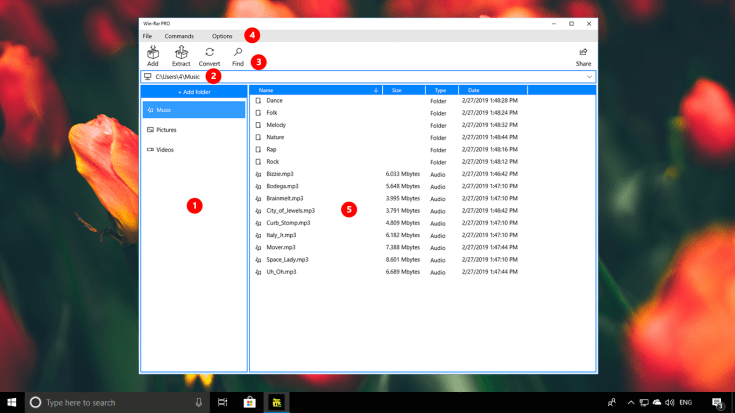
Pic 1 – Initial App’s Launching
- List of folders for quick access.
- Current path string.
- Main functions of the software.
- Settings and additional options of the app.
- Application Explorer.
List of Folders for Quick Access
After launching, you have access to 3 standard folders in the list – Music, Pictures, Videos.
To reach other folders on your PC, allow entrance using the “+ Add folder” button. To navigate through the available directories, just left-click on the folder from the list.
The required folder appears in the list after clicking the “+ Add folder” button and selecting it. For further operations, all the files and folders are available in the application explorer. In addition to folders, you can add local and removable media, whether it’s a local C drive or a flash drive.
Please Note: Not all functions are available for the C drive root since it requires administrator rights that UWP applications do not have.
You can easily delete already existing folders from the list. To do this, right-click on the already added folder from the list and select “Delete the folder from the list”. The folder is only removed from the list and doesn’t affect the contents on the PC.
Current Path String
Displays your location. If you are inside the archive, it also displays the name of the archive.
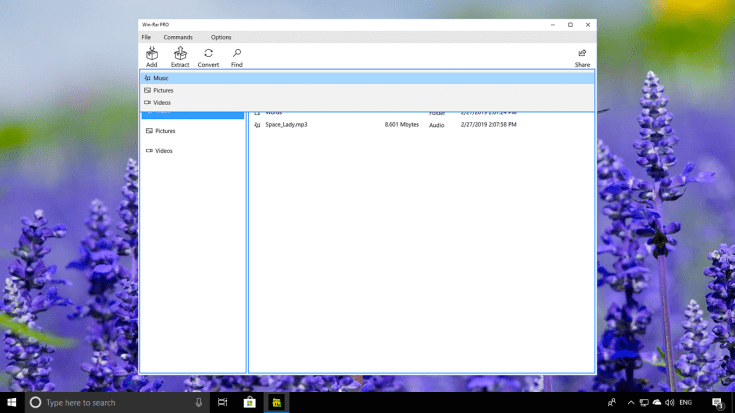
Pic 2 – Current Path String
By clicking on the line, you can move to one of the folders added to the application.

Pic 3 – Line Items of the Current Path
Main Functions of the Software
“Add” is used for new archives creating.
To compress files or folders, you first need to select them in the application explorer.
You can choose one or several files with the left mouse button and the Ctrl key (to select separate files), Shift (to highlight the file list), or the Ctrl + A combination to select all the files in the folder. Selections can also be removed by pressing Ctrl and the left mouse button on the already picked file.
After the desired files have been singled out, the only thing you need to do is to click the “Add” button at the top of the application. After that, a window with backup settings is opened.
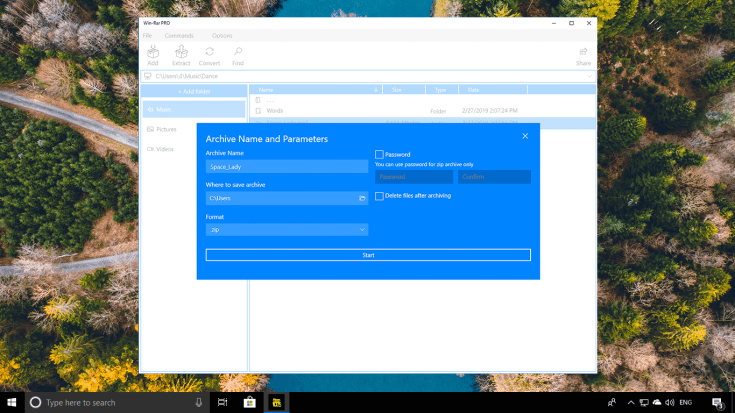
Pic 4 – Backup Settings Window
Archive Name is the name of the archive that is created after zipping is completed.
Where to save archive is the path to save the zipped files.
The format is the archive format. For compressing, only formats specified from the list are available.
Password – an archive can be created with a password, as a result, when unzipping it is necessary to enter the specified key. The password is supported only by archives in .zip format.
Delete files after archiving – after starting and ending archiving, the selected files are deleted from the explorer. There is no need to worry, as your files aren’t deleted finally, but are moved to the recycle bin.
“Extract” is used for archive extracting.
To extract the already created archive, select it in the explorer and click the “Extract” button at the top of the app. Moreover, you can unzip multiple archives at once, choosing them just like files you created.
To unzip multivolume archives, just select one file and click the “Extract” button. Unzipping of multivolume archives is supported when selecting all their parts.
After all necessary archives are chosen and the “Extract” button is pressed, the settings for unarchiving are opened.
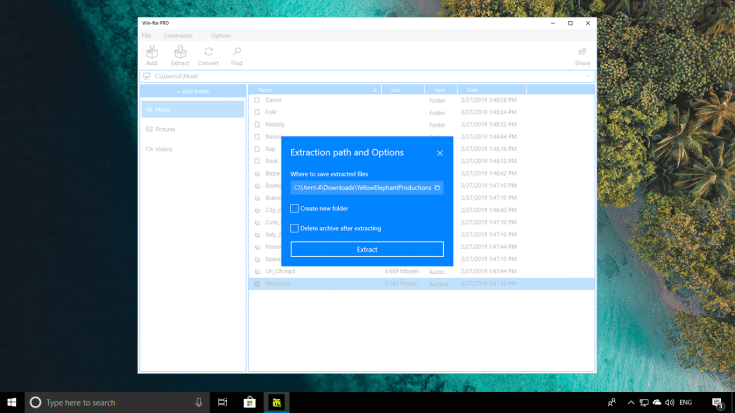
Pic 5 – Unzip Settings Window
Where to save the extracted files is the path for the files that are extracted when unzipping.
Create a new folder – if this feature is checked, another folder is created in the folder defined in the previous item, with the name of the archive and the contents of its files.
Delete archive after extracting – the archive is deleted after extracting files (moved to the recycle bin).
“Convert” – converting archives from one format into another format available.
For conversion, you can select the archives in the explorer in advance, or add them later while adjusting conversion settings.
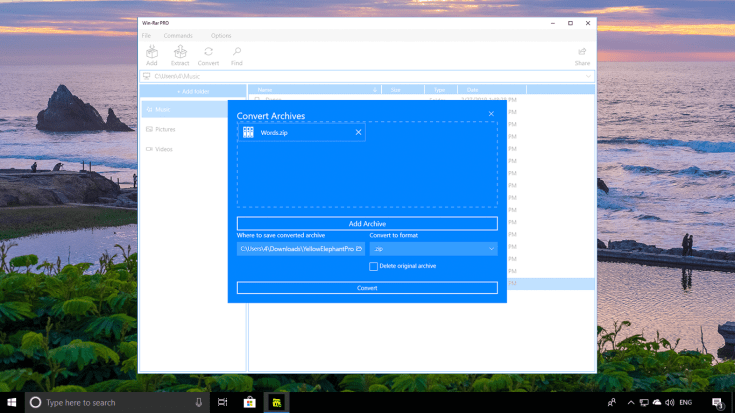
Pic 6 – Conversion Settings Window
The dotted area contains the archives for further converting. Files can be added to the field by simple moving the archive from the Windows Explorer or with the “Add Archive” button.
Where to save the converted archive is the path to save converted archives.
Convert to format is the format into which the archives are converted. Only formats from the list are available.
Delete original archive – if this item is checked the converted archives are moved to the recycle bin.
“Find” is a search archive by folders added to the application.

Pic 7 – Search Window
You need to enter the archive name you want to find and the folder to search (or all at once) in. After clicking the “Search” button in the application explorer, a list of found archives is displayed.
Settings and Additional Features of the App
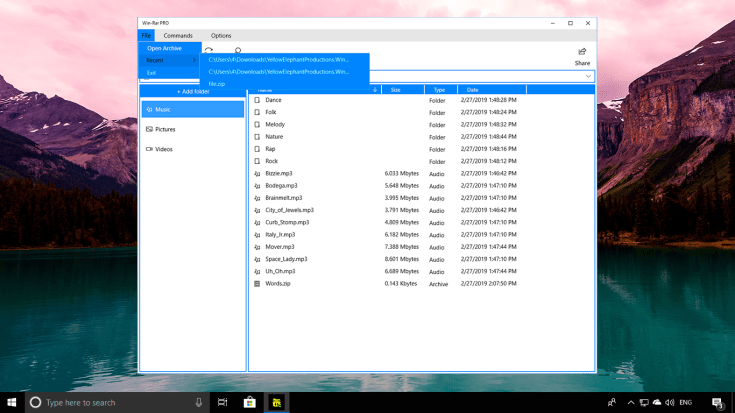
“File”– at this tab functions for opening and viewing the latest archives are available.
Pic 8 – “File” Menu Items
With “Open Archive”, you can select an archive on your PC and display the contents in the application explorer for file viewing and unzipping.
The “Recent” item displays a list of recently created and extracted archives. If the path to the file is displayed, when clicking, the Windows Explorer opens the folder where the archive is unzipped. If only the archive name is displayed, then when clicking, the folder opens where the archive is created.
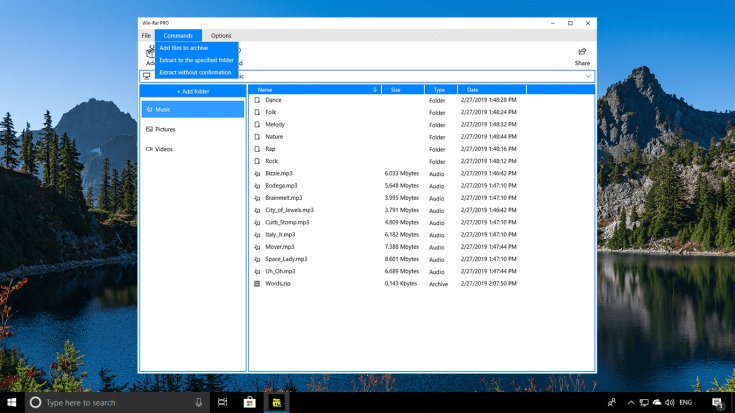
“Commands” – functions for creating and unzipping archives.
Pic 9 –“Commands” Menu Items
“Add files to archive” is an analogue of the “Add” button from the list of main functions.
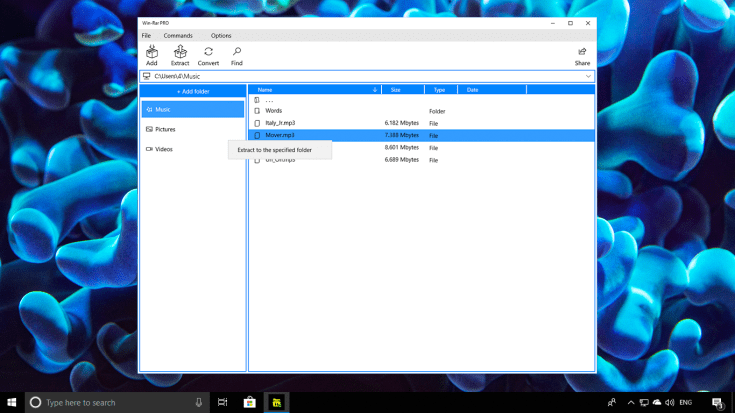
“Extract to the specified folder” is an analogue of the “Extract” button from the list of basic functions.
“Extract without confirmation” extracts the selected archive without opening the unarchiving settings in the standard folder (which is specified in the settings).
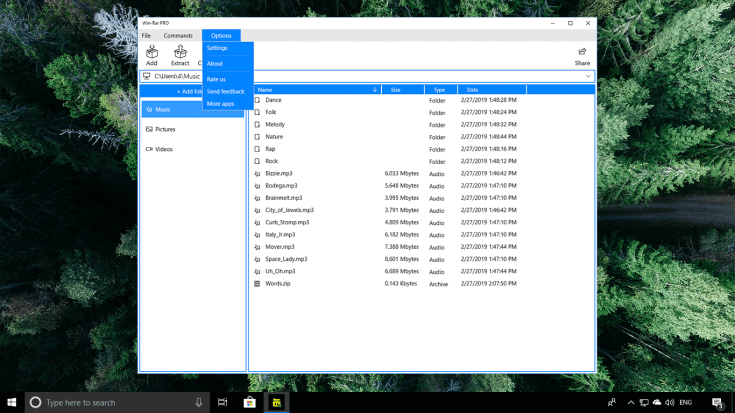
“Options” contains the settings and other additional information about the app.
Pic 10 – “Options” Menu Items
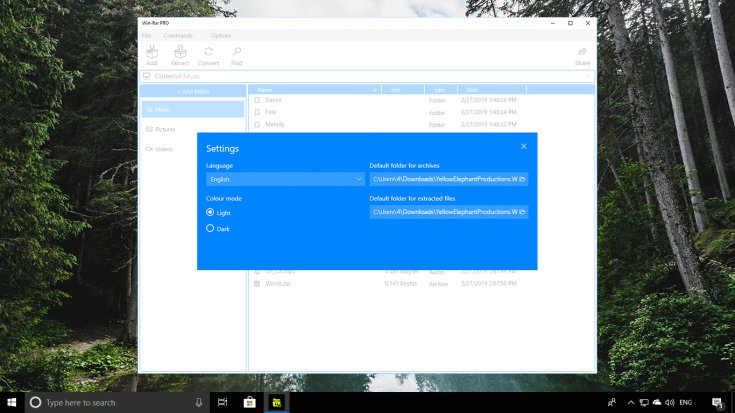
Pic 11 – Settings Tab
Language – interface language selection
Color mode – color theme, dark or light.
Default folder for archives – standard folder for created archives. During backup settings, this folder is always set by default. Also, the unconfirmed archives are placed into this folder (via the context menu).
Default folder for extracted files – standard folder for unzipping. During unarchiving settings, this folder is always be set by default. Also, the unconfirmed files are placed into this folder (via the menu item Commands -> Extract without confirmation).

Pic 12 – “About” Tab
The window contains information about the application, such as description, version number, etc.
“Rate us” opens the application page in the Microsoft Store, so that you could rate us with 5 stars for the tutorial J
“Send feedback” opens your email client so that you comment on the tutorial.
“More apps” opens the page with our apps in the Microsoft Store.
Application Explorer
Using the internal application explorer, you can easily view the contents of folders and archives on your PC, zip and unzip files, and delete the data.
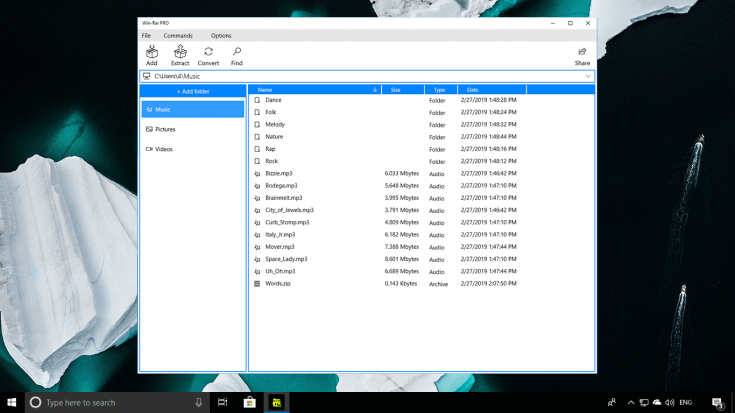
Pic 13 – Application Explorer
For all files, the following information is available – its name, size, type (if it refers to standard types, e.g., audio or video) and the last modification date.
The contents of folders and archives can be viewed when double left-clicking. In order to undo, just click on the very first line from the list (it looks like a folder with ellipsis).
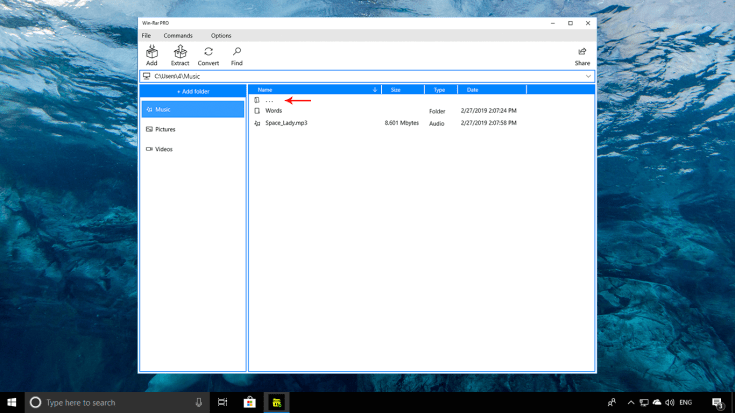
Pic 14 – “Back” Button in Application Explorer
For quick access to functions, there is a context menu that is accessed when right button clicking on one or several files.
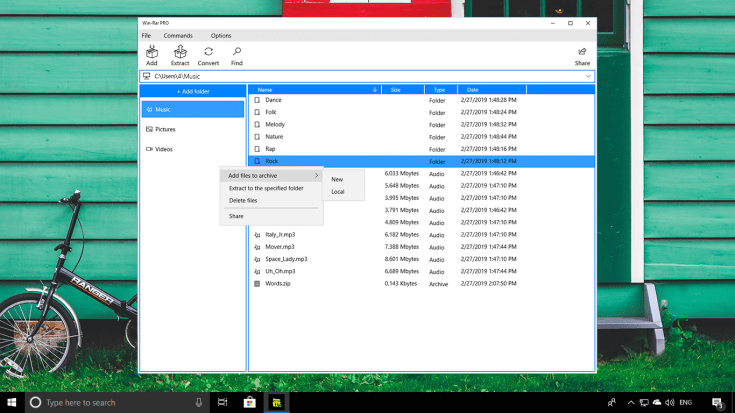
Рic 15 – Context Menu
There are already familiar functions for archiving (Add files to archive à New) and unarchiving (Extract to specified folder) in the context menu.
There is an additional opportunity to create an archive immediately, without opening the settings window. To do this, select one or several files, right-click on one of them and select “Add files to archive à Local” and start creating an archive in .zip format at once. It is saved into the default folder defined in the settings.
Also, by selecting multiple or one file, you can delete them (Delete files), or share with friends (Share). You cannot delete or share files within the archive.
The contents of the archive can be viewed with the explorer, and only the needed files can be extracted from it, but not all the contents. To do this, double-click the left mouse button to open the archive in the explorer, select several files and unzip them with one of the most convenient ways (via the context menu, the Commands item or the Extract button at the top of the application).
Pic 16 – Work With Files Within the Archive
We work for your happiness and hope this article helps you 🙂
An input to new and useful features is welcome and encouraged. Have feedback, suggestions, or comments?
We would love to hear them – please email us by support@tidalmediainc.com or rate the app at the Microsoft Store.
Thanks for staying with us!
