SoftEther VPN is an optimum alternative to OpenVPN and Microsoft’s VPN servers. SoftEther VPN has a clone-function of OpenVPN Server. You can integrate from OpenVPN to SoftEther VPN smoothly. SoftEther VPN is faster than OpenVPN. SoftEther VPN also supports Microsoft SSTP VPN for Windows Vista / 7 / 8. No more need to pay expensive charges for Windows Server license for Remote-Access VPN function.

This is a quick deployment and ready-to-run image.
Simple and rapid installation. Easy to maintain.
SoftEther VPN Server Free VPN for Ubuntu 20.04
In case you have NSG’s or Firewall appliances in AWS Marketplace you’ll have to open access to the next ports: 443, 992, 1194, 5555 TCP, and 1194 UDP.
In order to open the ports, go to the Virtual machine’s settings in AWS Marketplace – open Networking, and add the necessary ports.
Then you need to open these ports in the Windows firewall.
To do this, go tothe “Windows firewall with advanced security” console, create an inbound rule to allow TCP on port (443, 992…).
To start remote server administration on the operator’s computer, you need to install SoftEther VPN Server manager.
This is a program for Windows OS. The software is available for download on the official website:
https://www.softether-download.com/en.aspx?product=softether
In the “Select Component” drop-down list, select SoftEther VPN Server Manager for Windows.
In the Select Platform drop-down list, select Windows.
Download links will display. Select the latest version:
SoftEther VPN Server and VPN Bridge (Ver 4.34, Build 9745, rtm)
Download the SoftEther VPN Server installer and run it after completing the download. In the window that opens, click “Next”:
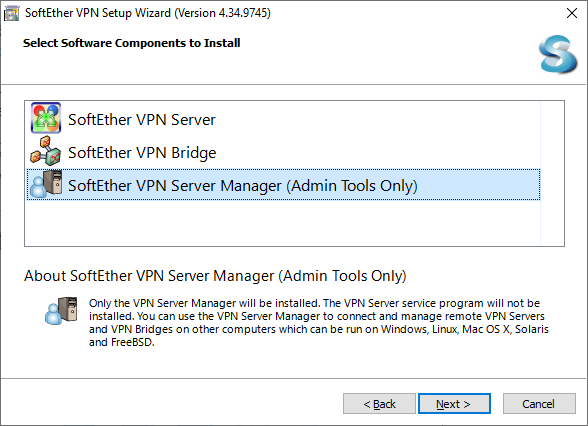
Select the “SoftEther VPN Server Manager (Admin Tools Only)” and click “Next”:
After installation, run the program shortcut from the desktop.
When opening, the following window will be displayed:

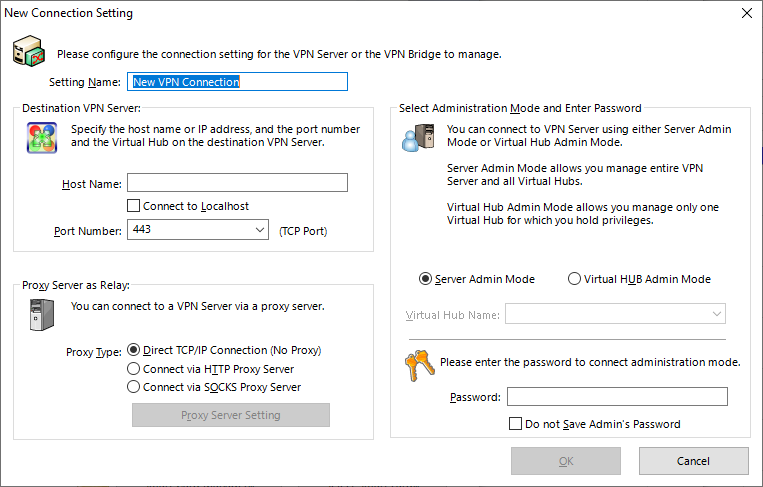
You must create a new connection. To do this, click on the button.
“New Settings”.
Specify the IP address of the Amazon virtual machine in the “Host Name” line. Leave port 443 by default:
To start the VPN Server admin panel, you should open the app “SoftEther VPN Server Manager” on the desktop. Click “Connect” in the opened window of the app:

At the first authorization, you need to set a new administrator password to connect to the server.

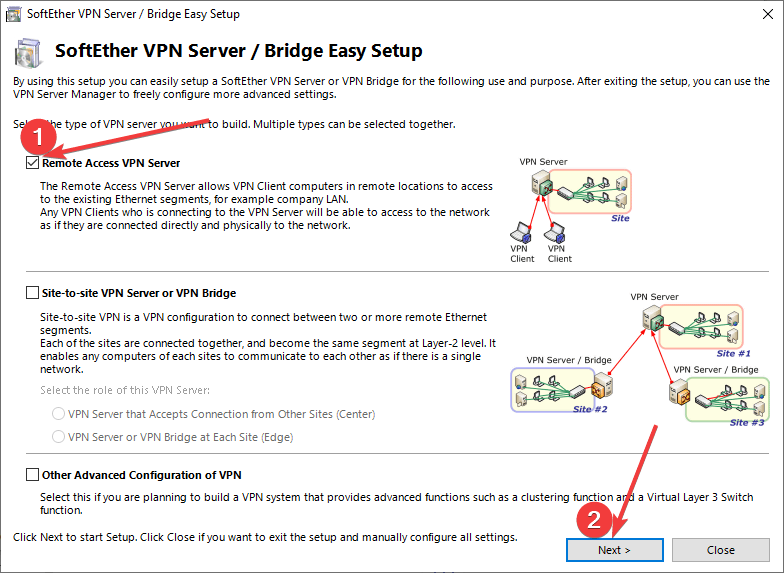
Next, in the “SoftEther VPN Server / Bridge Easy Setup” window, select the setting Remote Access VPN Server and click “Next”:
Next, enter a name for the hub you want and click “OK”:

Click Exit in the “Dynamic DNS Function” window:

Click “OK” in the “IP / L2TP / EtherIP / L2TPv3 Settings” window:

Next, select “Disable VPN Azure” and click “OK”.

Next, close the windows “VPN Easy Setup Tasks”.
To work with VPN, at first you should add a user in the app.
For this you need:
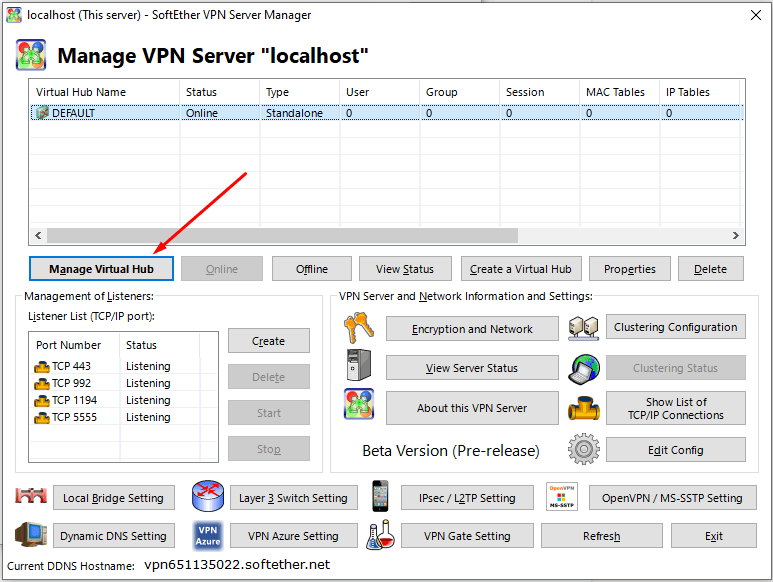
- Click on the “Manage Virtual Hub” button:
- Then click on the “Manage Users” button:


- To create a new user, click “New”:
- It’s necessary to insert the name of the user into the “User Name” field, type the password into the “Password” field and verify it by re-entering the password into the “Confirm Password” field.


- After the data were entered, click “OK”.
Also, when creating each hub, you need to enable the Virtual NAT function.
For this you need:
- Click “Manage Virtual Hub”:
- Open “Virtual NAT and Virtual DHCP Server (SecureNAT)”:
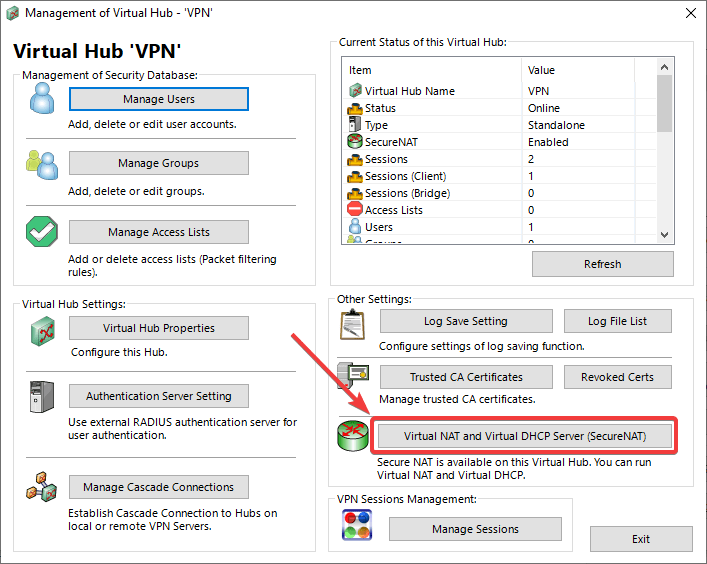
- Click “Enable SecureNAT”:

The instruction for the customization of the VPN Client
To customize the VPN Client, first, you need to know the server IP address. You can find it in the personal account of Amazon. (You need to select the virtual machine from the list. By clicking the item “Overview”, your IP is displayed in the line of “Public IP Address”).
After that, you need the OpenVPN Client for the work. Go to site: https://openvpn.net/community-downloads/ and download the installer in the “.exe” format, depending on your OS Windows:

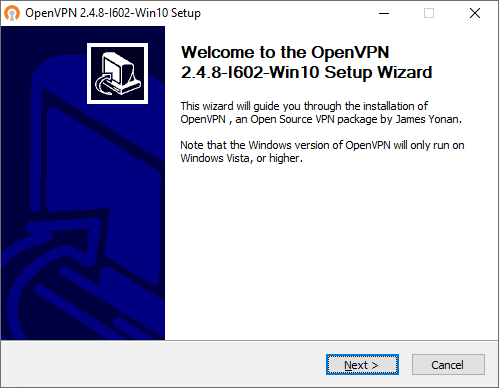
After the downloading of the installer is finished, you should run it.
In the opened window of the OpenVPN installer click on the “Next” button:
After that click “I Agree”:

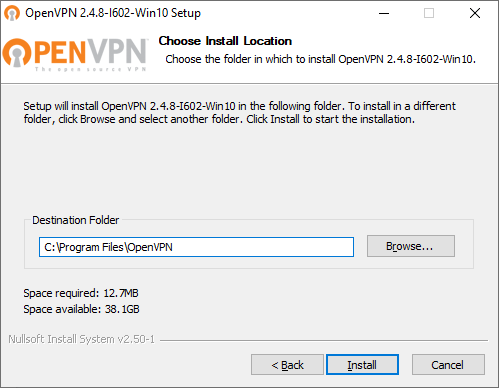
Click “Next”:

Then click “Install”:
After the installation progress is finished, click “Next”:
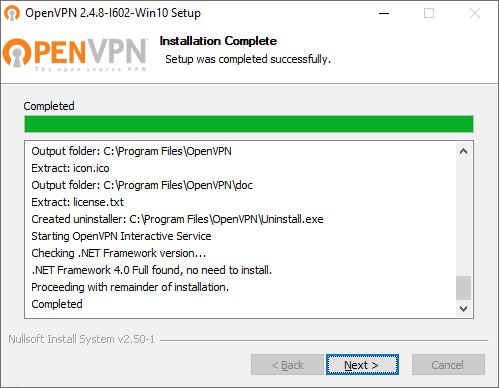
And then click “Finish”.
When you try to start OpenVPN after the installation, the pop-up message of the absence of the configuration files appears:

In order for OpenVPN to work, you need to add these configuration files for the app by hand. You can create them in the “SoftEther VPN Server Manager” app. For this you need:
- Run the “SoftEther VPN Server Manager”.
- Click “Connect” in the opened window of the app.
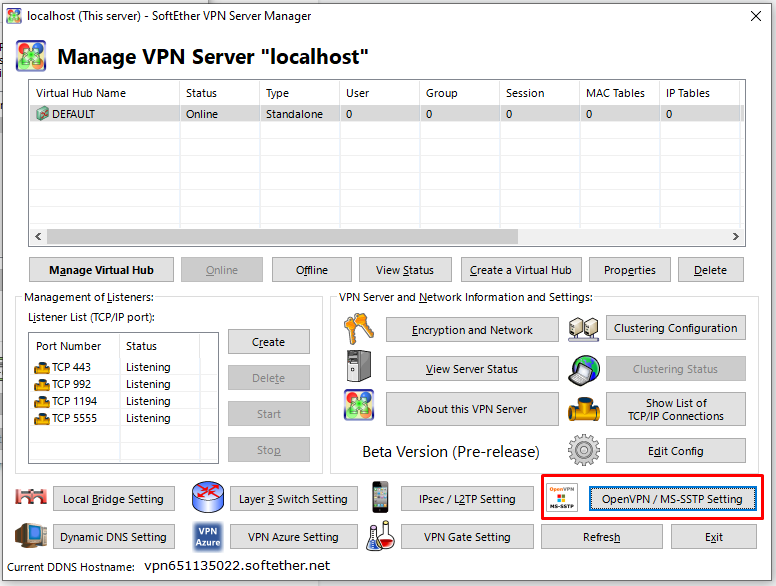
- Click on the “OpenVPN / MS-SSTP Settings” button.
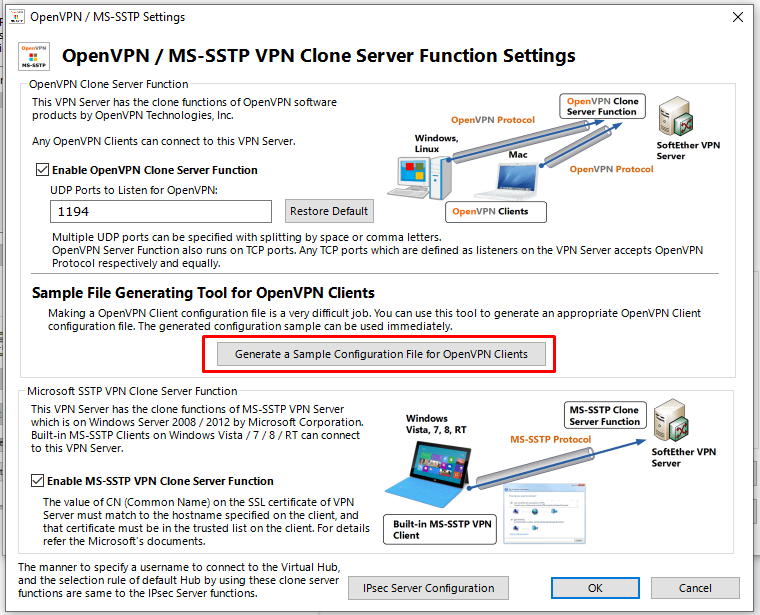
- Click on the “Generate a Sample Configuration File for OpenVPN Clients” button.
- When the window of the Windows Explorer is opened, select the path to save the archive:

- There are the next files in the saved archive:
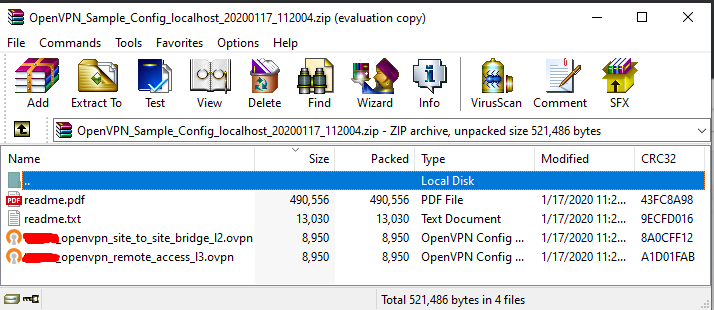
- You should transmit the file named “…_openvpn_site_to_site_bridge_l2” by the path of installation of the “OpenVPN”, in this case (since the standard path was selected) this is “C:\Program Files\OpenVPN\config”.

Now the OpenVPN is ready for work and you can run it. After it was started, the app is displayed in the system tray in the form of the monitor icon with the lock.
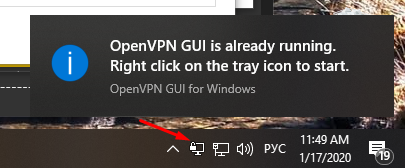
To connect to VPN you should click the icon with the monitor with the lock twice.
The next windows will be opened:

In the fields “Username” and “Password” it’s necessary to enter the name and the password which were added to the “SoftEther VPN Server Manager” and after that click “OK” to connect to the VPN server.
Connect to Ubuntu:
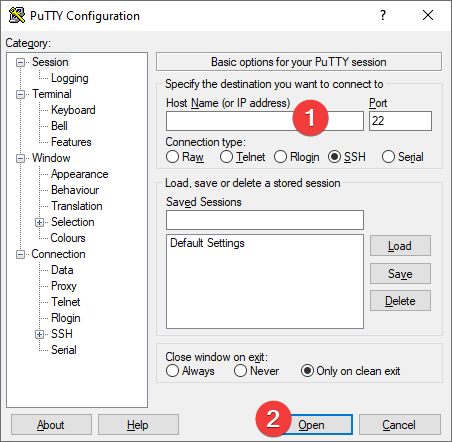
To connect to the virtual machine you can use the PuTTY client
(you can download it from the official site: https://www.putty.org/).
To connect to the VM, you should generate a “Private Key” in advance. This can be
done using the following instruction (by choosing the “file format:” option “.ppk” in point 3)
Guide – How To – Create and use Key Pair to connect to a VM
- Go to the SSHsection in the left panel and then to Auth.
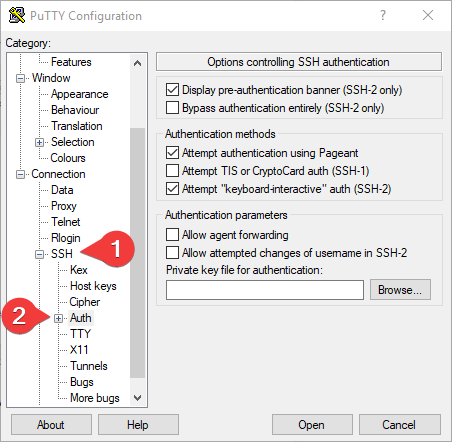
- In the “Auth” section, click “Browse” and specify the path to the .ppk file you received earlier.
- Go to the home page of “Session”, enter the IP address of the VM and click “Open”.
- In the opened console you will need to enter the login ubuntu.
