Connection to Minecraft Java Game Server on Linux Stream 10
After purchasing and starting the VM, you should open ports 22, 25565, 25575 (TCP), and port 25565 (UDP) in the network properties in the Amazon firewall. To connect to the server, you should know its IP address. You can find it in the personal account of Amazon.
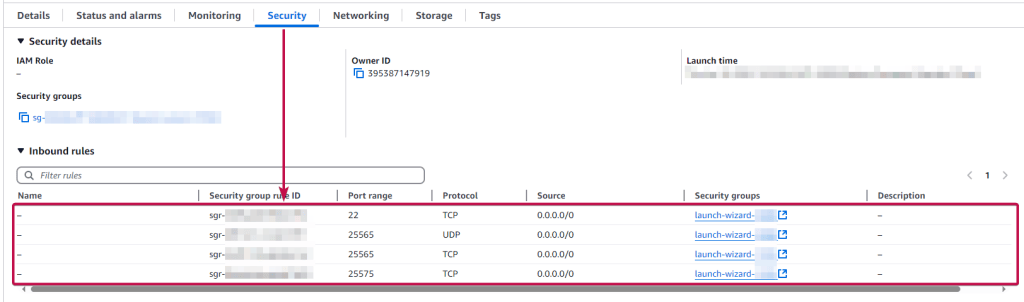
- To start the server, you just need to start the VM.
- Run your client to play the Minecraft Java Edition.
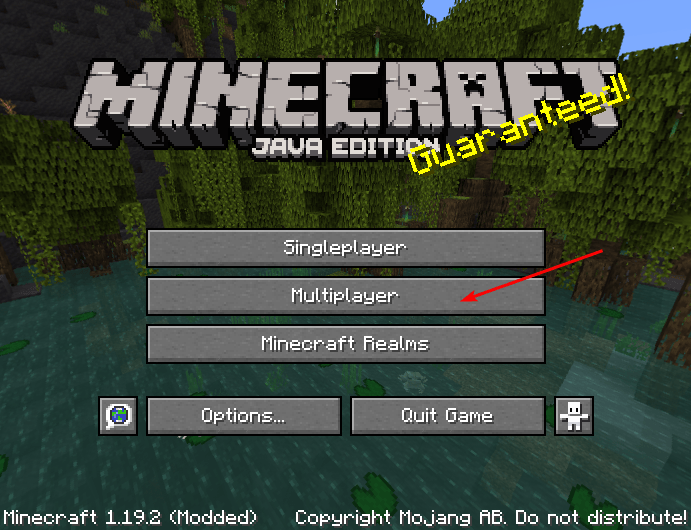
- Click “Multiplayer” in the main menu.
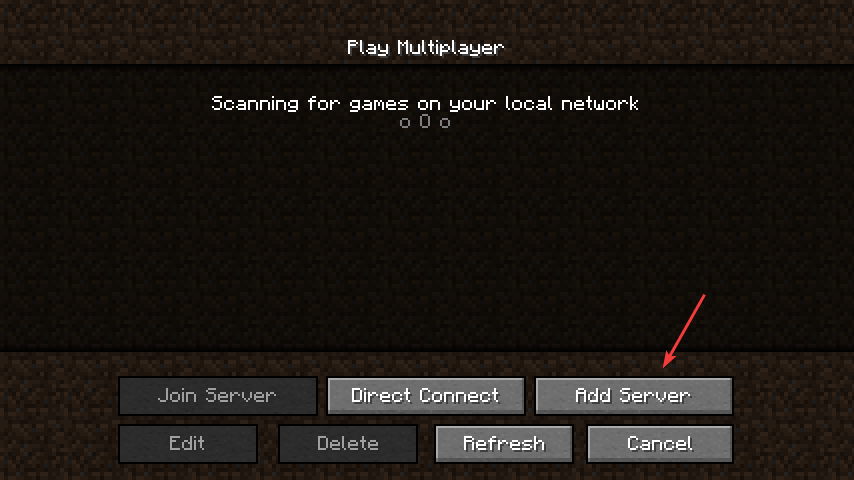
- Click “Add Server”.
- In the window, in the Server Name field, name the server as you like. In the Server Address field enter the IP address of the VM and click Done
- In the server list, select the previously added server (1) and click Join Server (2)


By using the server, you agree to the EULA: Eula | Minecraft
Get your own Minecraft universe!
Server settings management (optional)
To connect to the Server, you should generate a “Private Key” in advance. This can be done using the following instructions (by choosing the “file format:” option “.ppk” in point 3): Guide – How To – Create and use Key Pair to connect to a VM
- Connecting to the VM using PuTTY. You can download it at the following link – Download.
- Go to the SSH section on the left panel, and then to Auth.
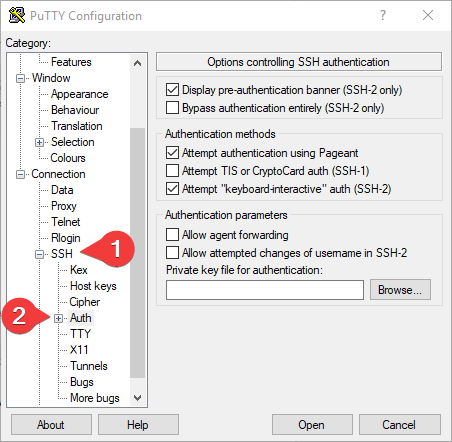
- In the “Auth” section, click “Browse” and specify the path to the .ppk file you received earlier.
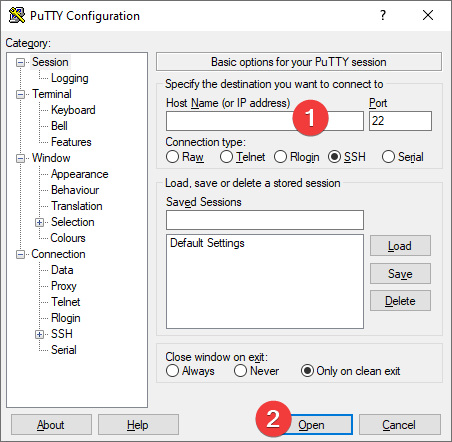
- Go to the home page of “Session”, enter the IP address of the VM, and click “Open”.
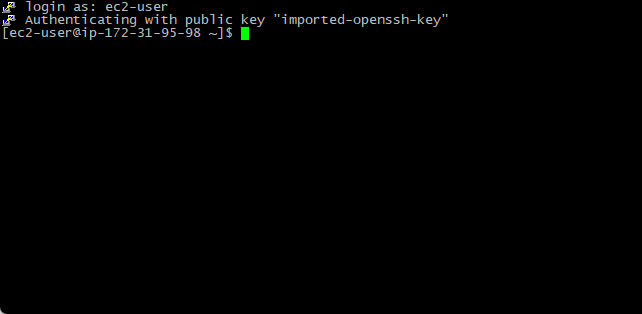
- In the opened console, you will need to enter the login: ec2-user
2. To manage the server, you can use the commands described in the “Basic Usage” tab following the link – Deploy Minecraft: Java Edition Game Servers
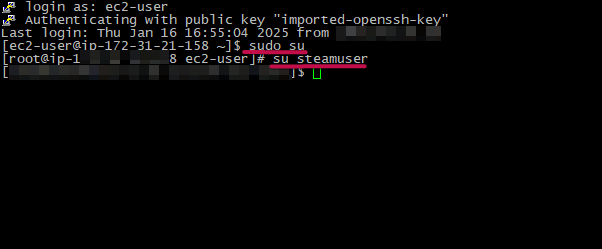
3. To enter these commands, you must enter:
$ sudo su
$ su steamuser
into the VM console.
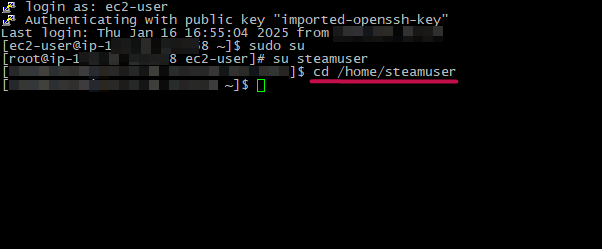
4. Then change the directory: cd /home/steamuser
5. Now you can enter special commands to control the server. By entering, e.g.:
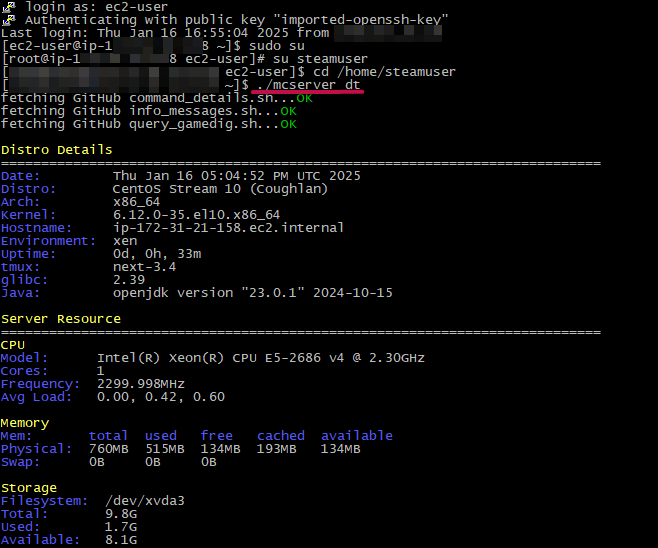
$ ./mcserver dt you can find out the state of the server.
6. Also, you can change your config using the command:
$ sudo nano /home/steamuser/serverfiles/server.properties
Now you can enjoy playing on your Minecraft server.

