Connection to Cacti®: Service Monitoring Server on Ubuntu 24.04
To start the server, run the VM through Amazon.
To work, you must open port 80 (TCP) in the network properties in the Amazon firewall.
- In the browser, enter http://ipVM/cacti.
Enter username admin and password admin in the window that opens, and click Login

- The first time, you will be asked to change your password.
Create a new password and click Save.

- Accept GLPI License Agreement (1) and click Begin (2)

- Follow the step-by-step instructions of the Installation Wizard

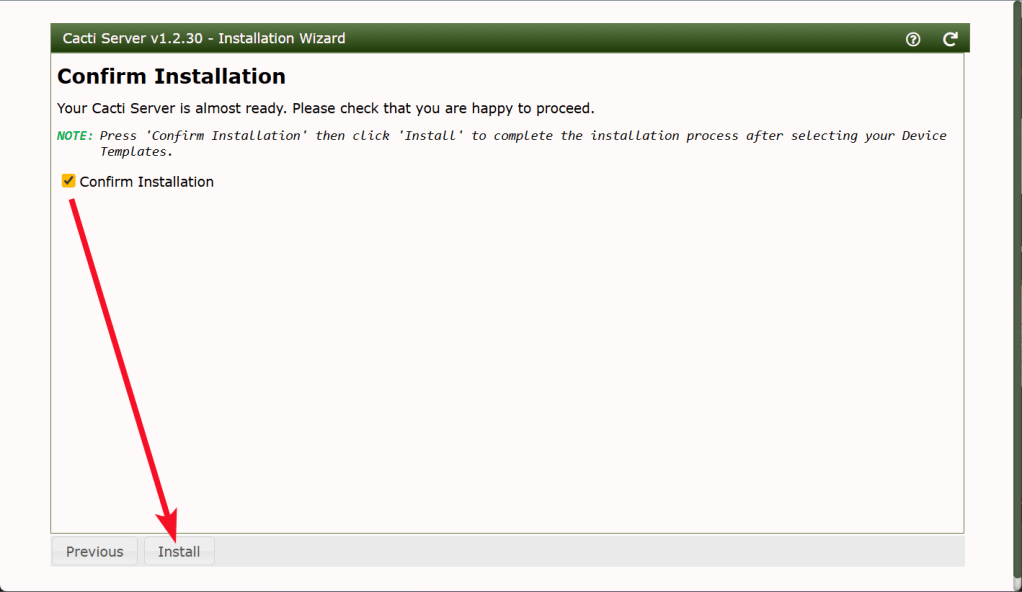
- Finally, confirm the Installation
- Click Get started when installation is complete

- Now your Cacti server is ready!

Optional – get DB credentials
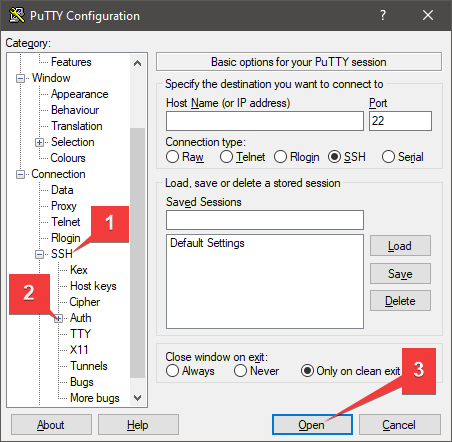
- Install PuTTY. You can download PuTTY from the link – https://putty.org.ru/download.html. Launch PuTTY.
- To connect to the VM, you should generate a “Private Key” in advance. This can be done using the following instruction (by choosing the “file format:” option “.ppk” in point 3)
- Go to the SSH section in the left panel and then to Auth.
- In the “Auth” section, click “Browse” and specify the path to the .ppk file you received earlier.
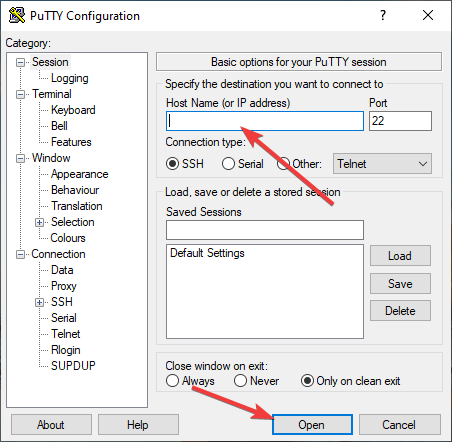
- Go to the home page of “Session”, enter the IP address of the VM, and click “Open”.
- In the window that appears, click Accept.

- In the console that opens, enter the standard login that appears when creating a virtual machine – ubuntu.
- Type sudo ls /root to view DB credentials

