The connection to Bugzilla Bug Tracker on Ubuntu 24.04 LTS
Connect to a VM using SSH
To adjust and manage the Bugzilla server, you should connect to the VM.
To connect to the Server, you should generate a “Private Key” in advance. This can be done using the following instructions (by choosing the “file format:” option “.ppk” in point 3) Guide – How To – Create and use Key Pair to connect to a VM
- Connecting to the VM using the PuTTY application. You can download it at the following link – Download
- Go to the section SSH on the left panel, and then to Auth
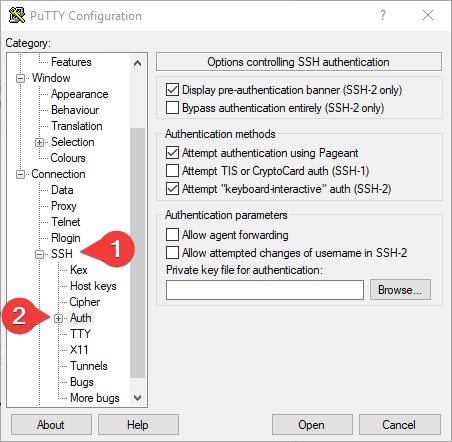
- In the “Auth” section, click “Browse” and specify the path to the .ppk file you received earlier.
- Go to the home page of “Session”, enter the IP address of the VM, and click “Open”.
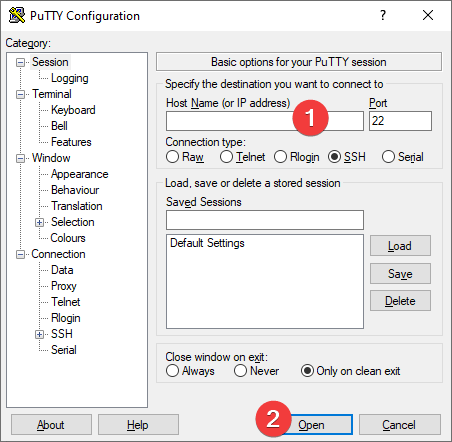
- In the opened console, you will need to enter the login ubuntu
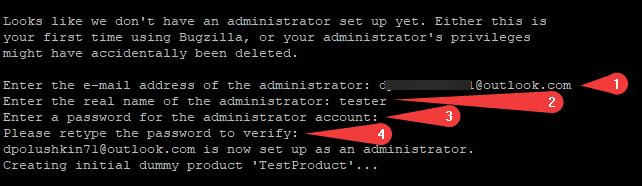
- To create an admin account, run the following command:
> sudo /var/www/html/bugzilla/checksetup.pl

- Enter your email (1), administrator name (2), password (3), and password confirmation (4)
- To get DB credentials, enter the following command:
>sudo ls /root

- To connect to Bugzilla Bug Tracker, you should have TCP port 80 open. To check this, you can in the Inbound rules of the VM Security group
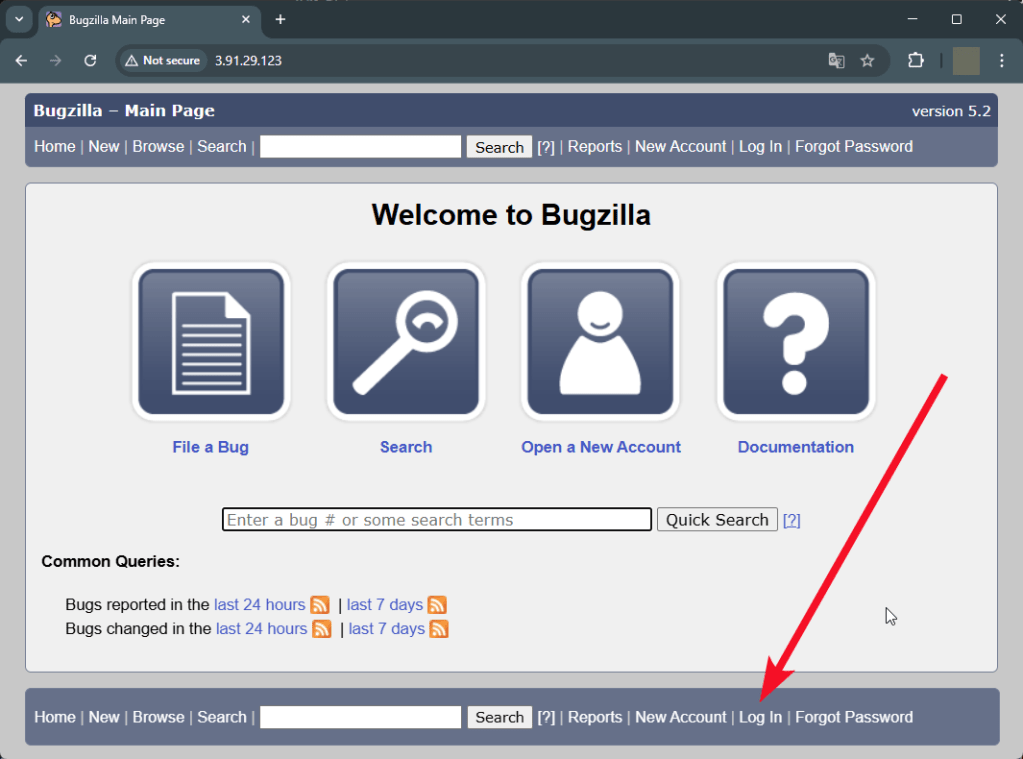
- To access Bugzilla Bug Tracker you should go to the link http://ip in a browser (where in the link, instead of “ip” type the real IP or DNS name of the virtual machine).
When you click on the link, you will see the following window, where you should click the “Log In” button at the bottom of the page to enter the account:
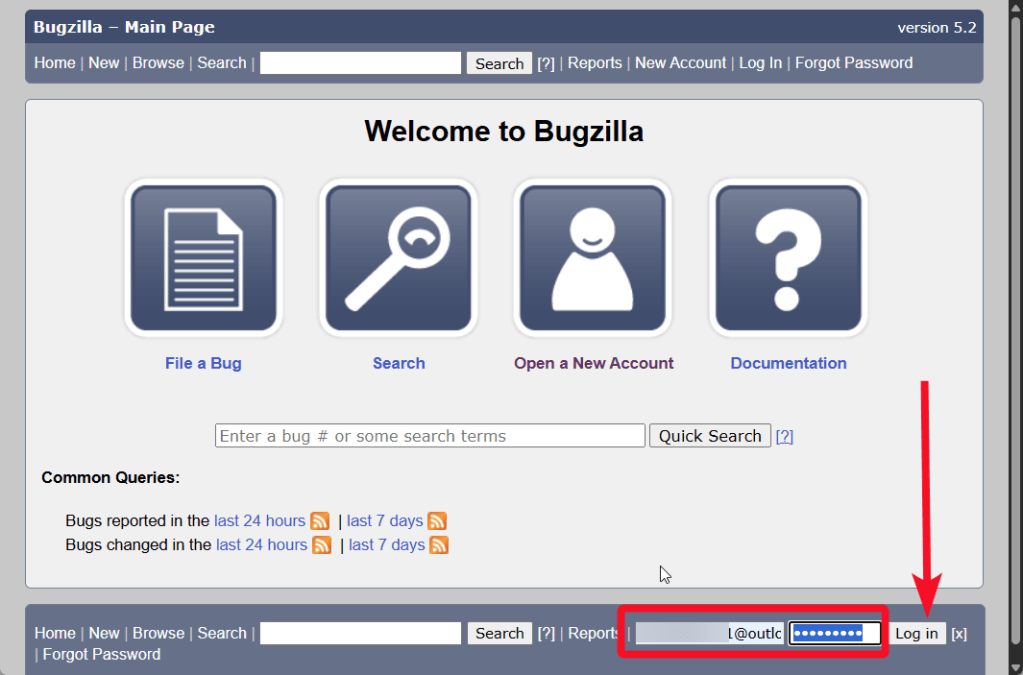
- Enter the username and password from step 3 of the previous chapter and click Log in
- You will see a window with further instructions on setting up the Bugzilla Bug Tracker system:
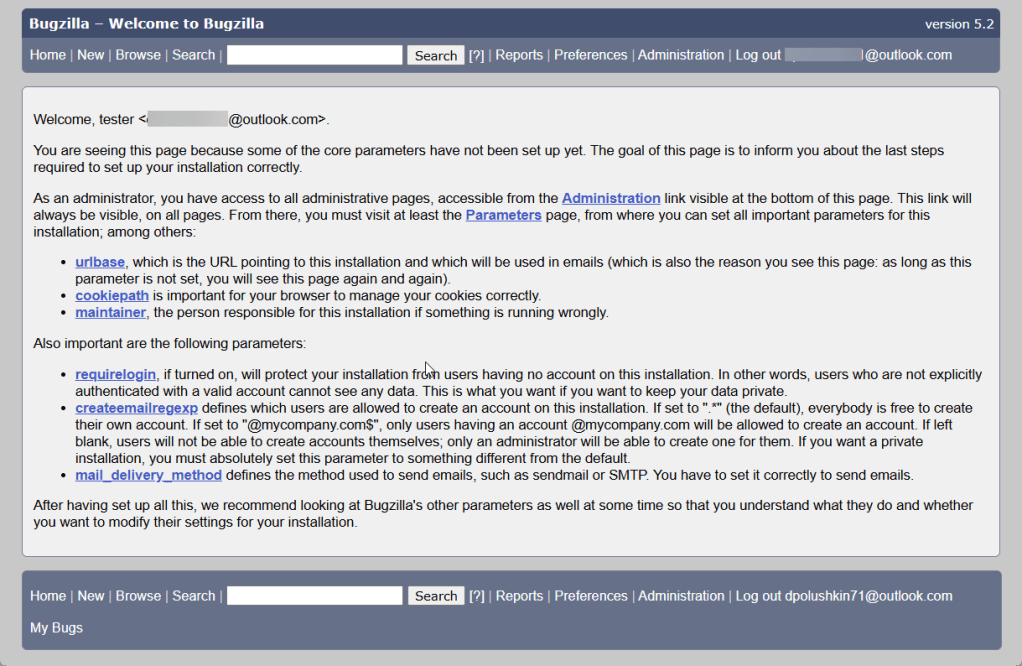
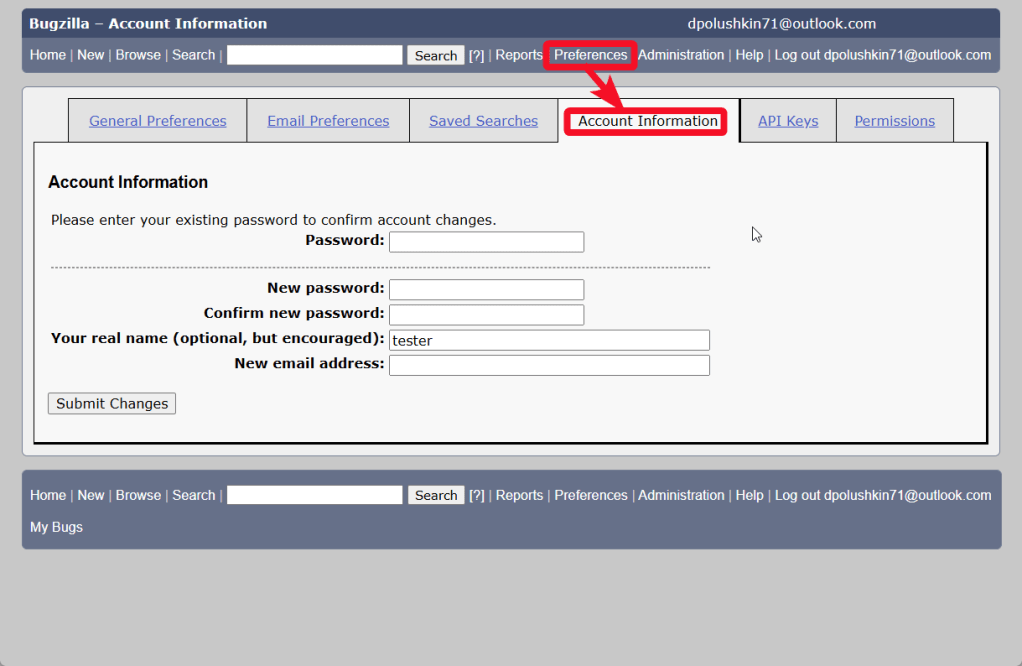
- You can change the email, password and administrator name in the Preferences->Account information