Bonobo Git Server for Windows Server 2016 is a web application you can install on your IIS and easily manage and connect to your git repositories.

This is a quick deployment and ready-to-run image.
Simple and rapid installation. Easy to maintain.
Connecting and configuring Bonobo Git Server
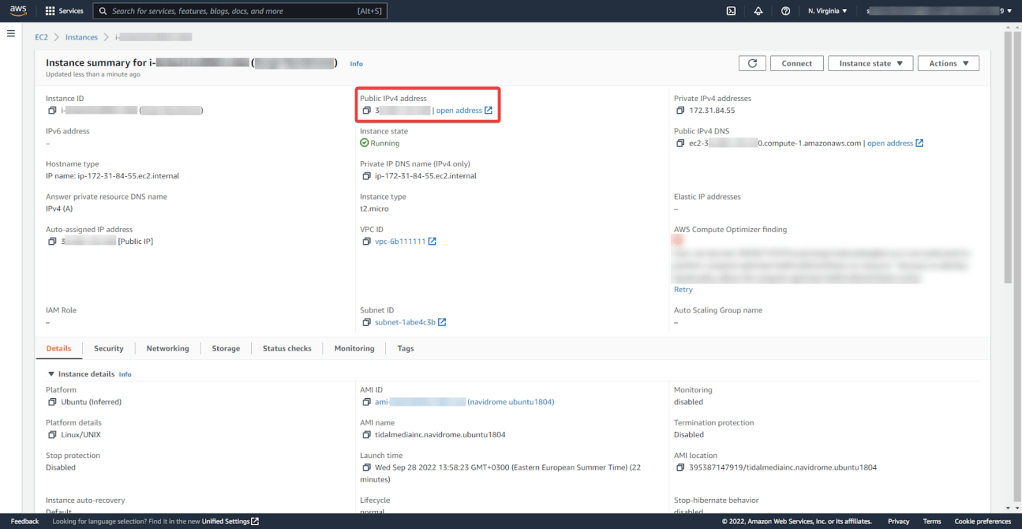
- To start the server, you just need to start the VM. To customize the Server, first, you need to know the server IP address. You need to select the virtual machine from the list. Your IP is displayed in the line “Public IPv4 address”.
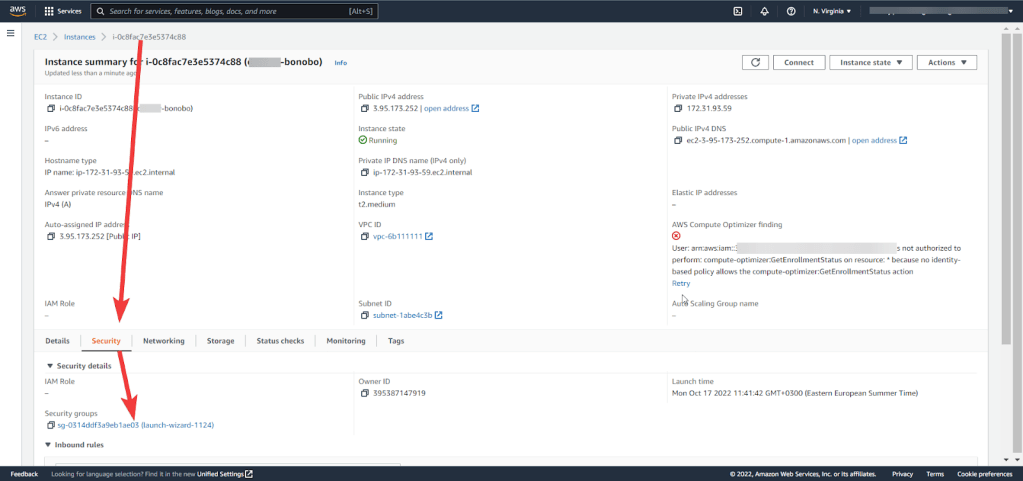
- For the server to be usable, open TCP port 80 in your VM’s security group.

- Connect to your VM via RDP to get an admin password. To do that, you must create a password for the connection first – use the following Guide. On the desktop, there is the file called “AdminPassword_bonobo” containing the username and password for accessing the admin panel Bonobo Git Server.

- Now you can go to the main page of Bonobo. To do this, go to the following address: http://*vm_ip*/gitserver/
- To get to the main page enter the login “admin” and the password from step 3.

- After the successful authorization, it’s recommended to change the standard login and password. To do this, click the Account (“admin”) button in the top right corner.

- The page of the account editing will be opened. Fill in the “Surname” and “Email” fields, enter the new password, and click “Save”.

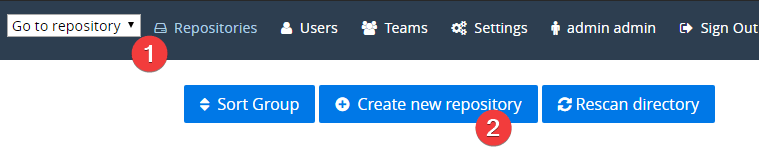
- To create the repository, go to the “Repositories” tab (1) and click the “Create new repository” button (2)
- Name the repository (the other settings are optional) and click the “Create” button.
- When the repository is created, the page with the created repositories will be opened. You will be able to work with your repository from the “admin” user.

Work with your own Bonobo Git Server!
