Apache Subversion (SVN) Server on Ubuntu 20.04 LTS is a full-featured version control system, originally designed to be a better CVS. Subversion has expanded beyond, its original goal of replacing CVS.

This is a quick deployment and ready-to-run image.
Simple and rapid installation. Easy to maintain.
Connection and operation with Apache Subversion on Ubuntu 20.04 LTS
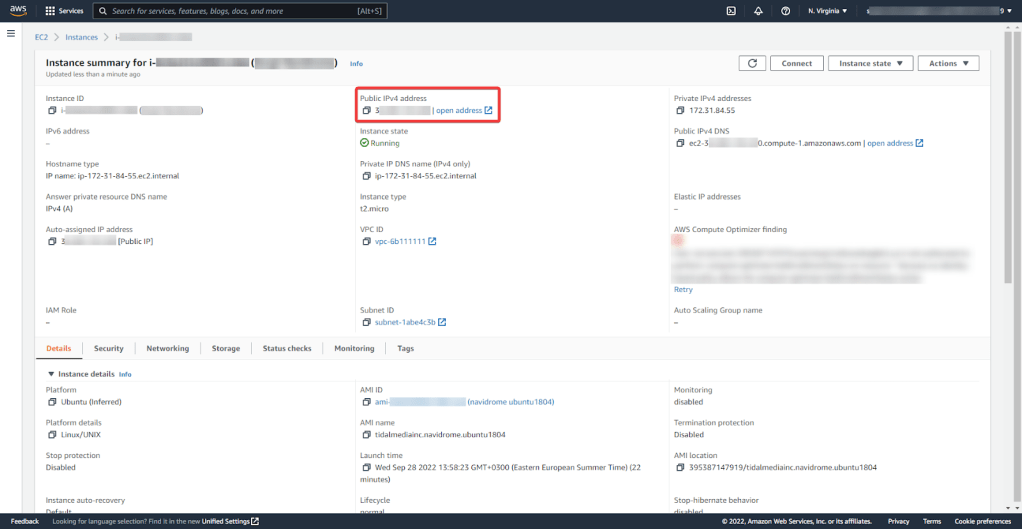
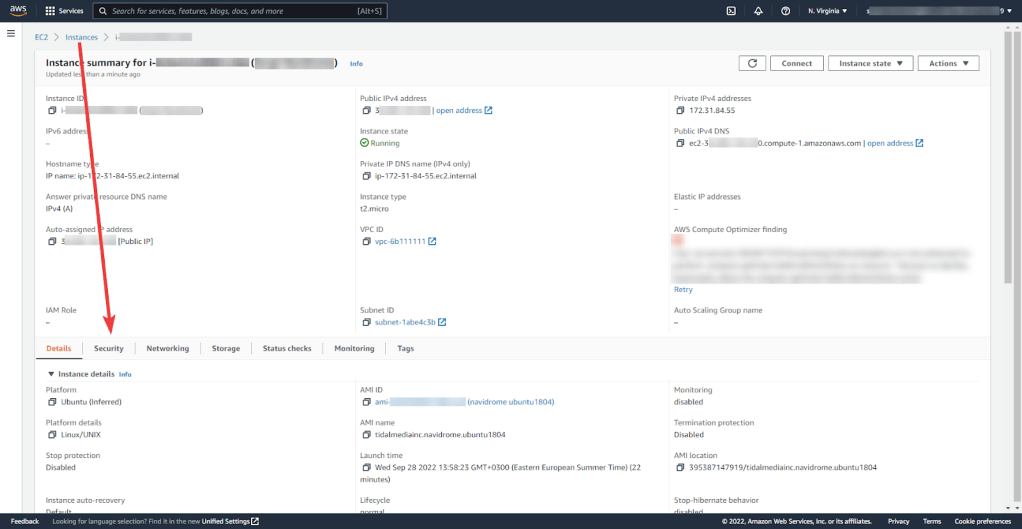
To start the server, you just need to start the VM. To customize the Server, first, you need to know the server IP address. You need to select the virtual machine from the list. Your IP is displayed in the line “Public IPv4 address”.
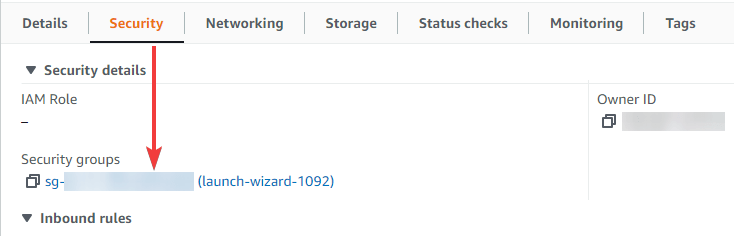
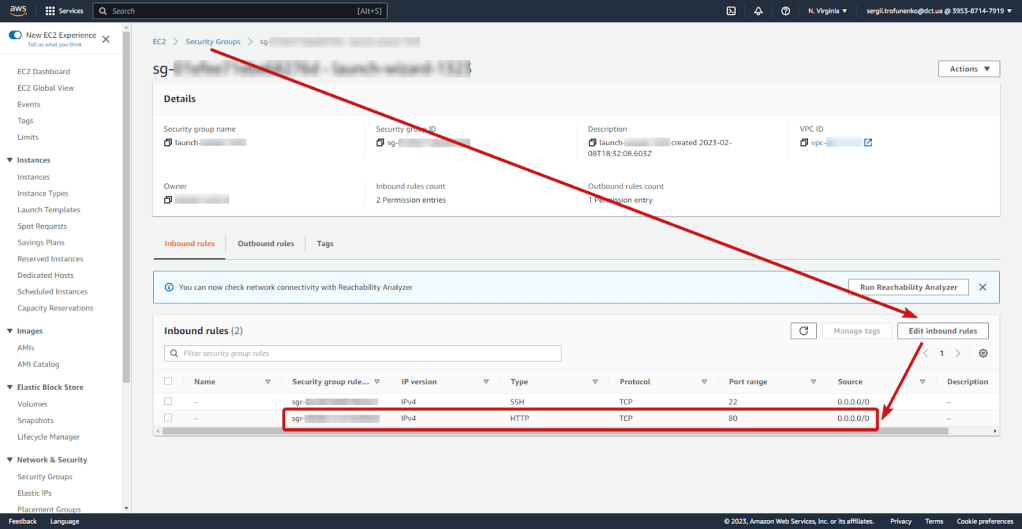
For the server to be usable, open TCP port 80 in your VM’s security group.
To connect to the Server, you should generate a “Private Key” in advance. This can be done using the following instruction (by choosing the “file format:” option “.ppk” in point 3)
Guide – How To – Create and use Key Pair to connect to a VM
To work with the server, you should connect to it via PuTTY
- Download and run Putty
- Go to section SSH on the left panel, and then to Auth
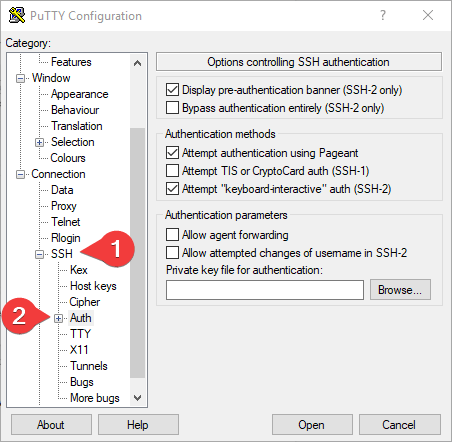
- In the “Auth” section, click “Browse” and specify the path to the .ppk file you received earlier.
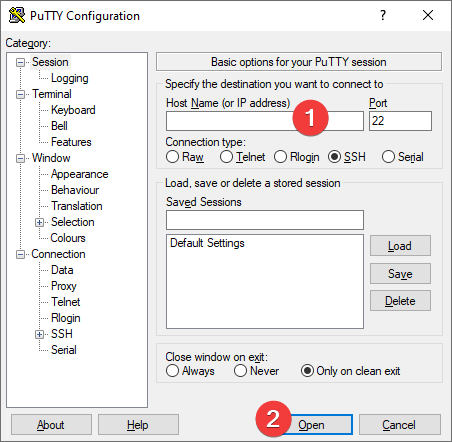
- Go to the home page of “Session”, enter the IP address of the VM, and click “Open”.
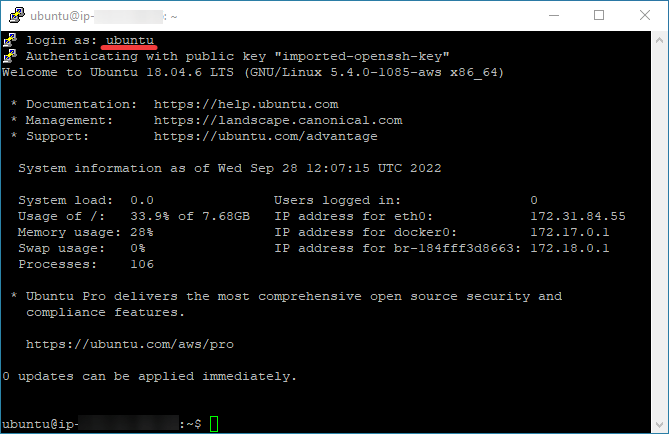
- In the opened console you will need to enter the login ubuntu
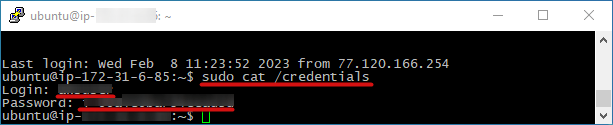
- To obtain the authorization data of the Apache account enter the command:
sudo cat /credentials
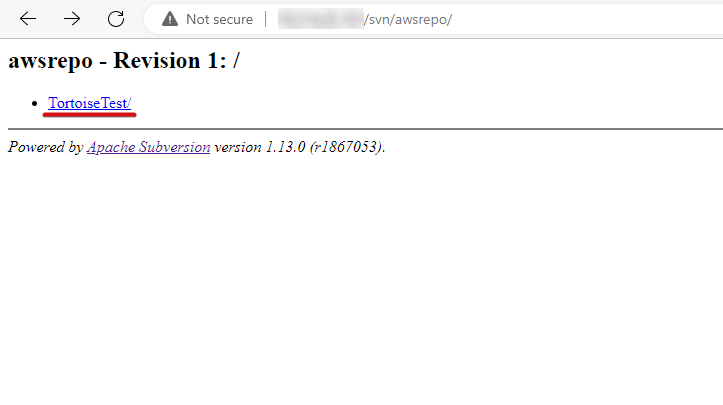
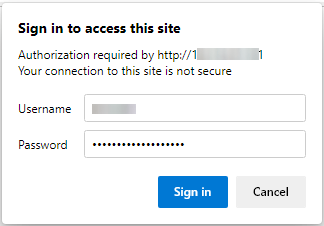
- To access Apache you should go by the link http://*vm_ip*/svn/awsrepo in a web browser (where in the link instead of *vm_ip* type the real IP of the virtual machine on AWS)
- After clicking on the link, log in using the data received in Step 6
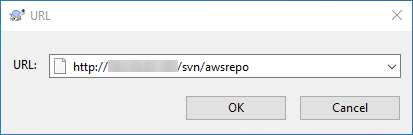
To work with Apache, you can use the Tortoise SVN client for Windows OS, it is available following the link: https://tortoisesvn.net/downloads.html
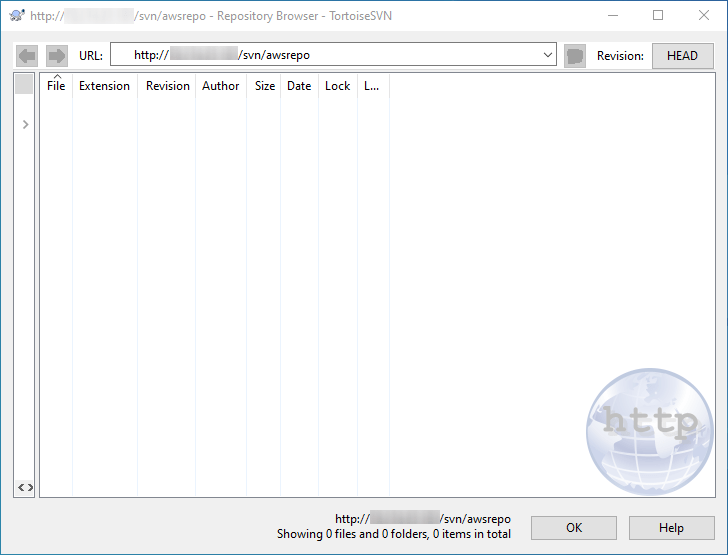
After the client is installed, run “TortoiseSVN Repository Browser”. In the opened window, enter the link http://*vm_ip*/svn/awsrepo (where in the link instead of “IP” type the real IP of the virtual machine on AWS) and click “OK”:
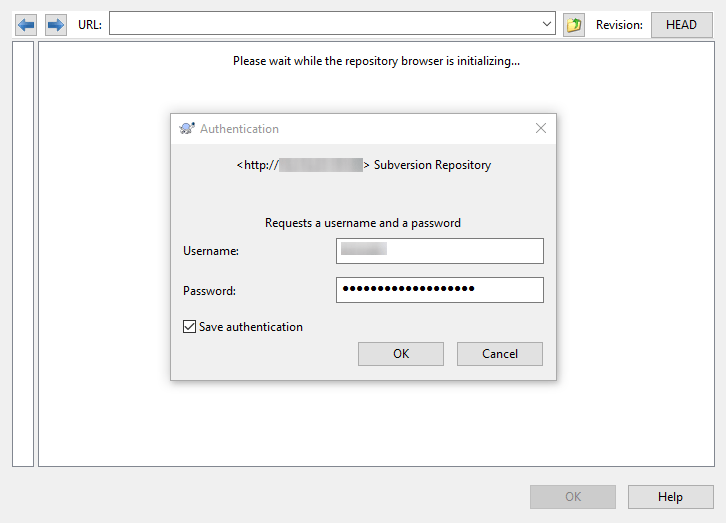
In the “Authentication” window, enter the login and password received in step 6.
The main application window will open:
In the opened application window, right-click on the application area and select “Add file” or “Add folder” to upload files or directories to the server.
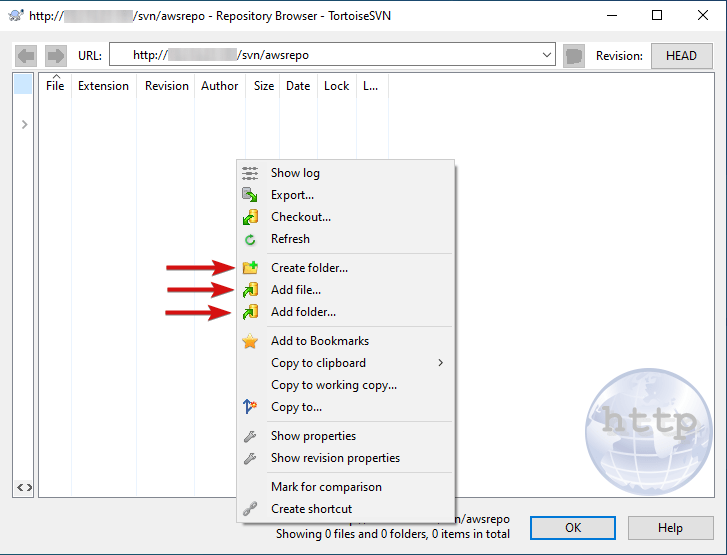
In the next window, click “OK”:
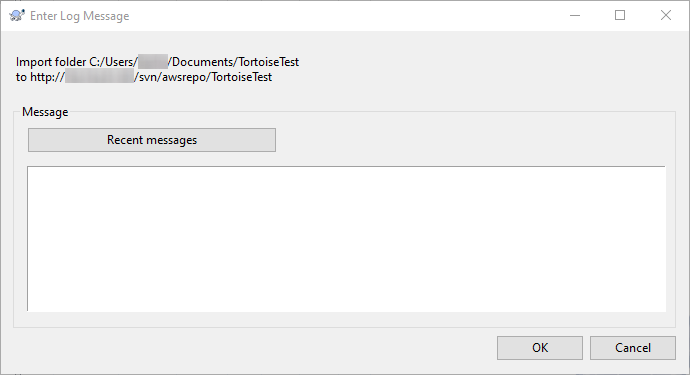
After downloading the file or folder
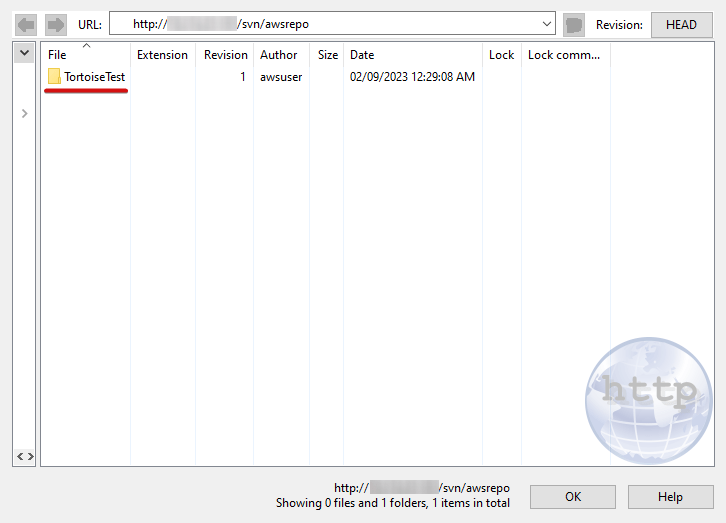
follow the URL http://*vm_ip*/svn/awsrepo in your web browser.
You should see the recently added files and directories.