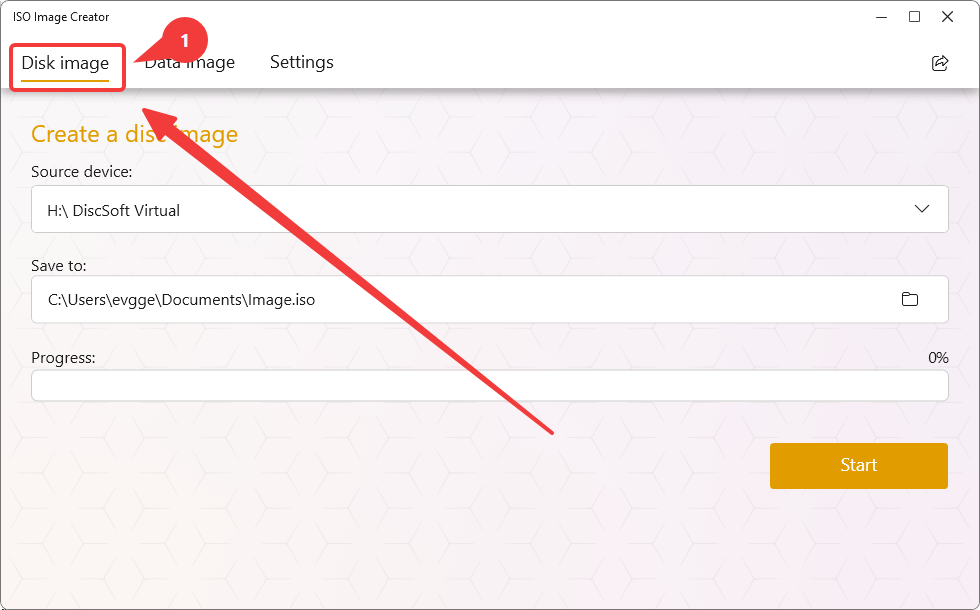
Steps for Creating a Disk Image
- Insert a disc into the optical drive and go to the Disk Image tab (1).
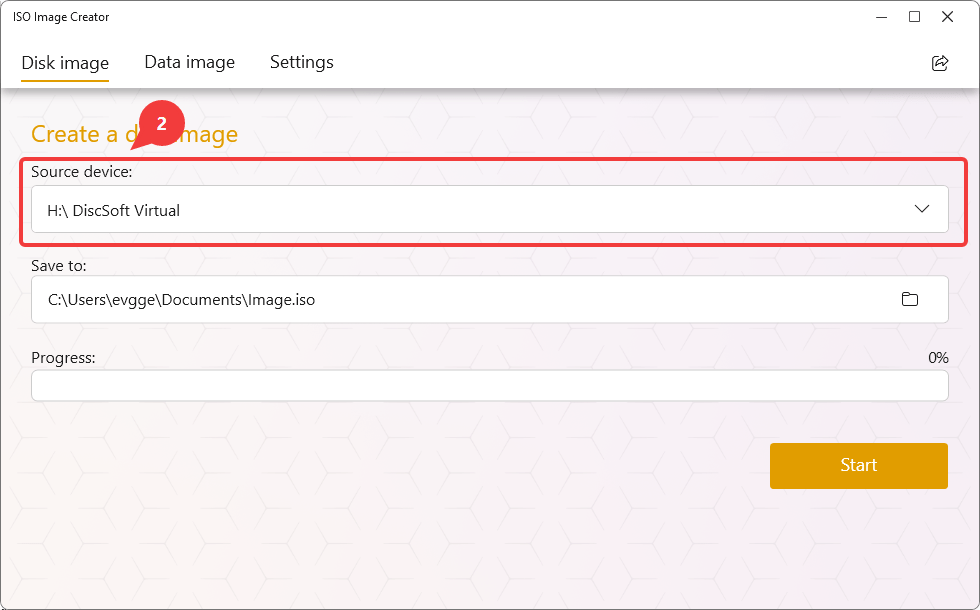
- In the Source device field, open the drop-down list of available devices and select the optical drive containing the disc you want to create an image from (2).
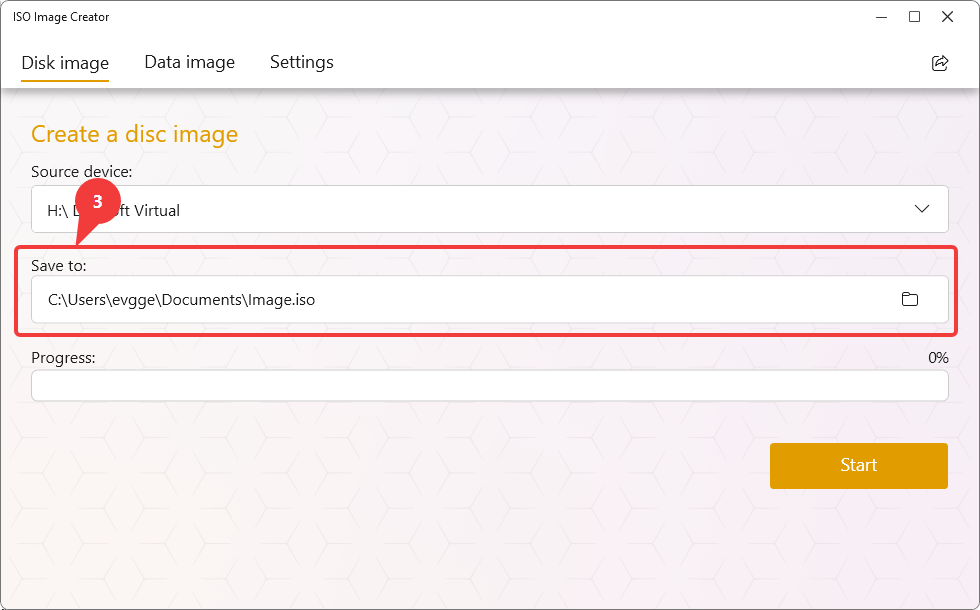
- In the Save to field, specify the save location and file name for the ISO image. Use the folder selection button to choose a location or set the output name (3).
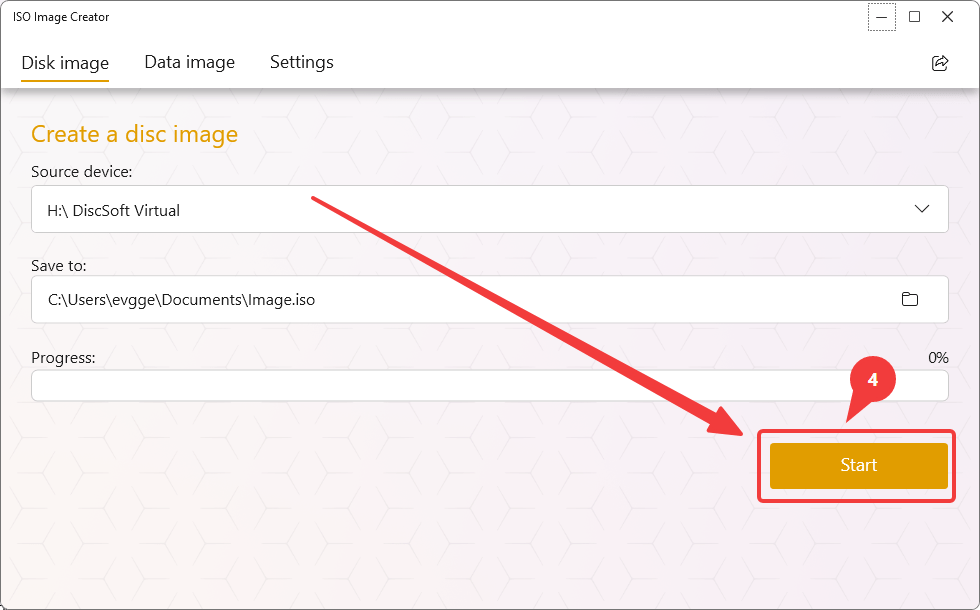
- Click the Start button to begin the image creation process (4).
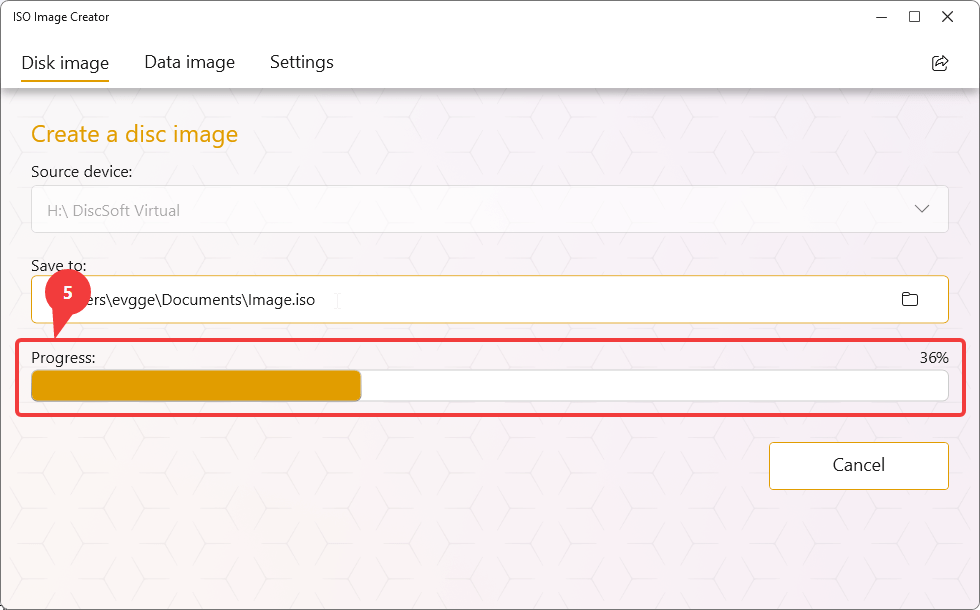
- During the operation, the application will display the progress in the Progress field. The processing time depends on the disc size and the speed of your optical drive (5).
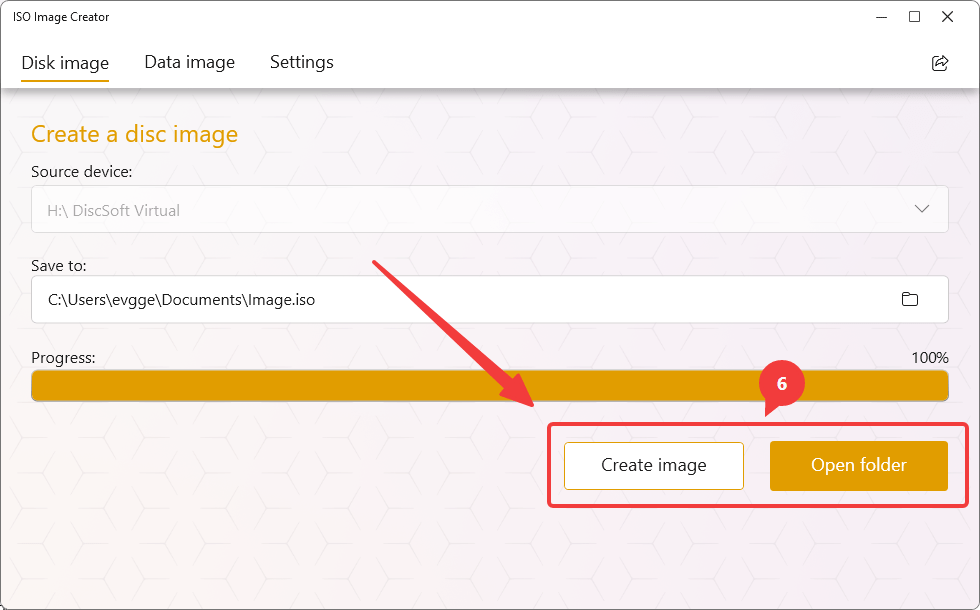
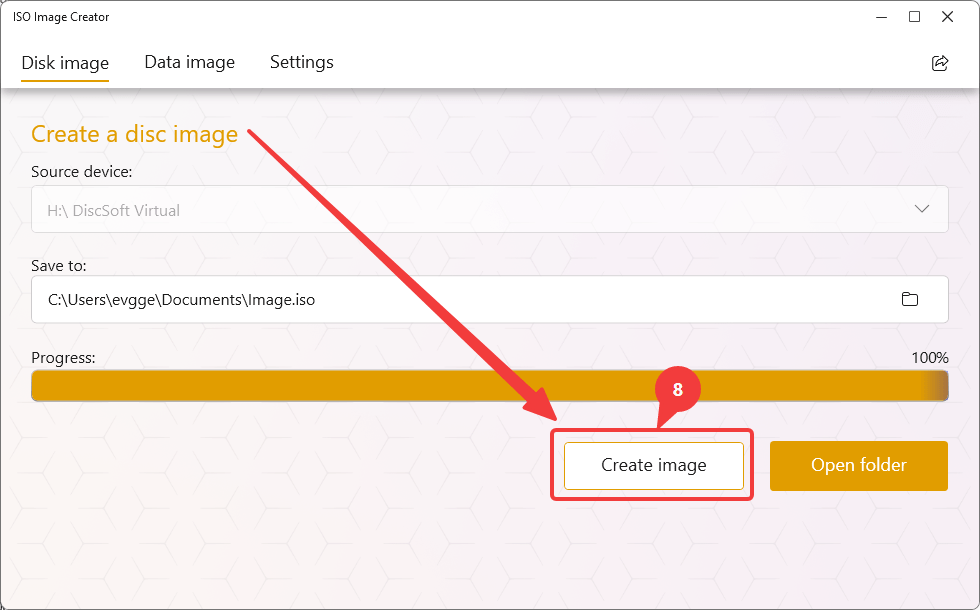
- After image creation, Create image and Open folder buttons will be available (6).
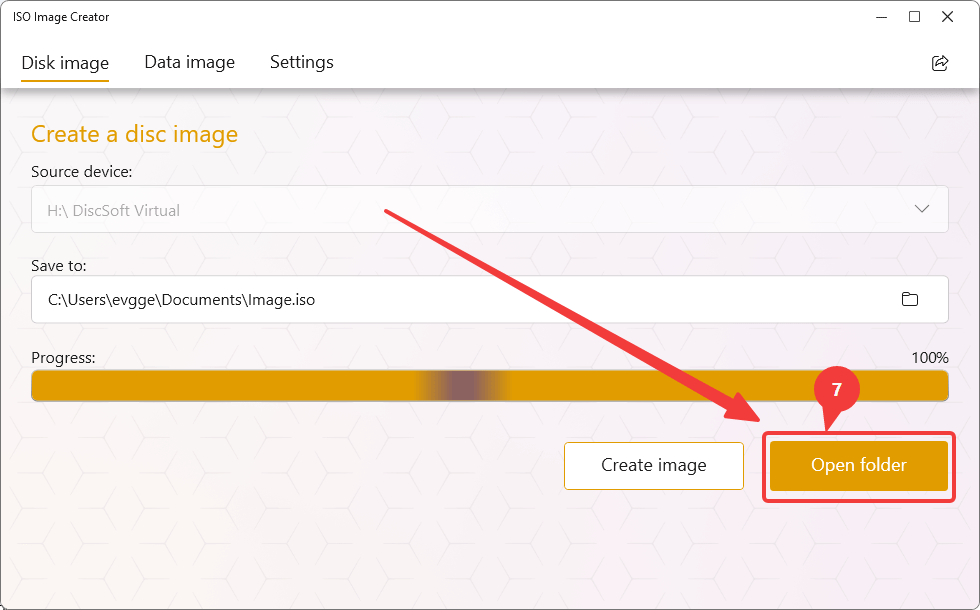
- Click Open folder to confirm that the ISO file has been created successfully (7).
- To create a new image, click Create image (8).
Steps for Creating a Data Image
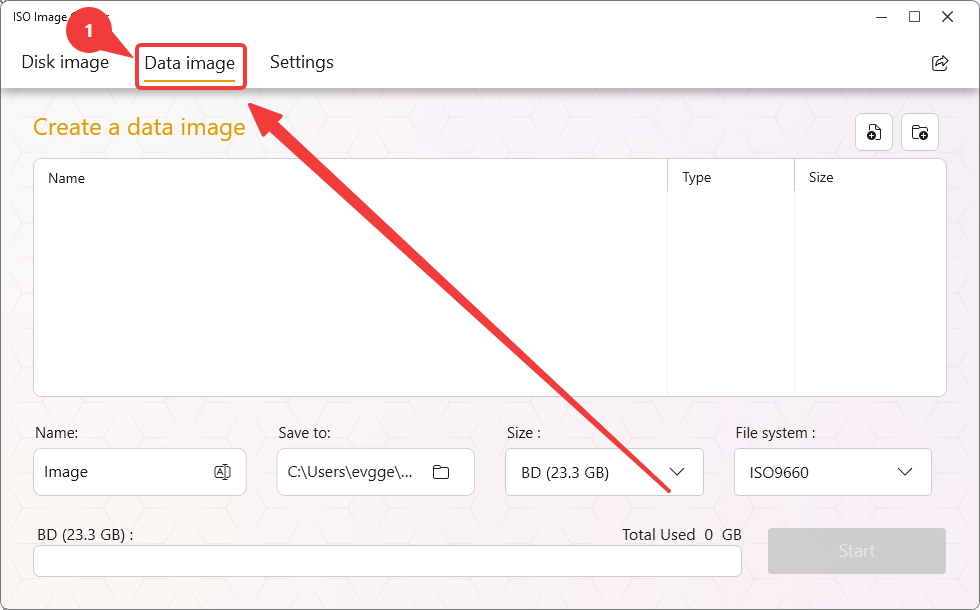
- Go to the Data image tab (1).
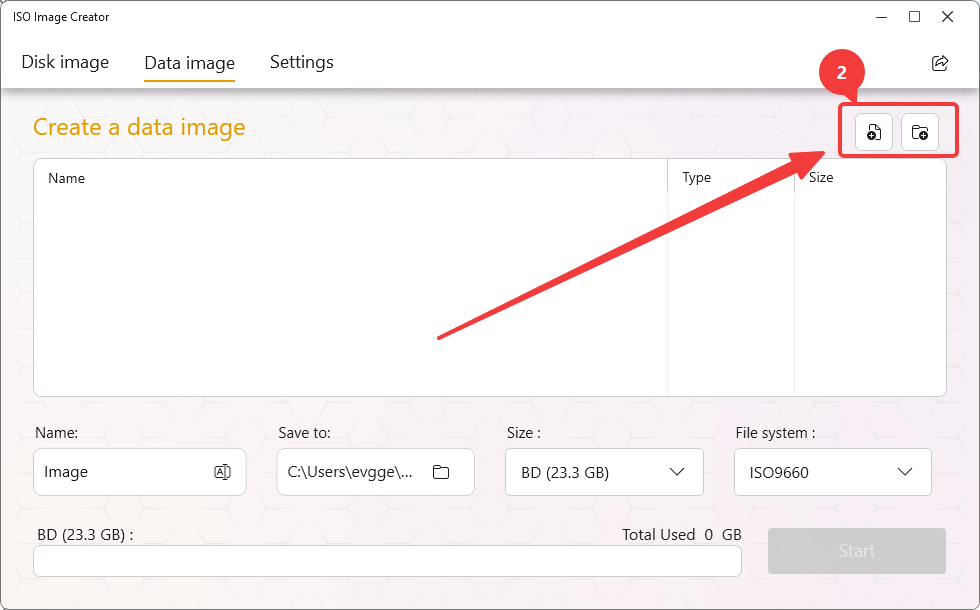
- Click the Add Files or Add Folder button in the upper-right corner of the window (2).
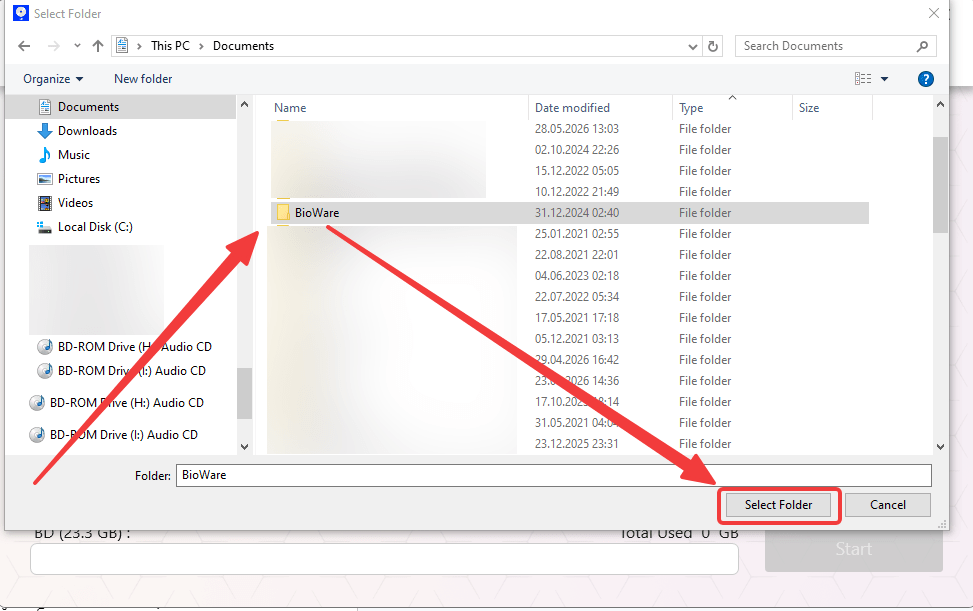
- Select the files and/or folders you want to include in the image. Once added, they will appear in the list in the central part of the window.
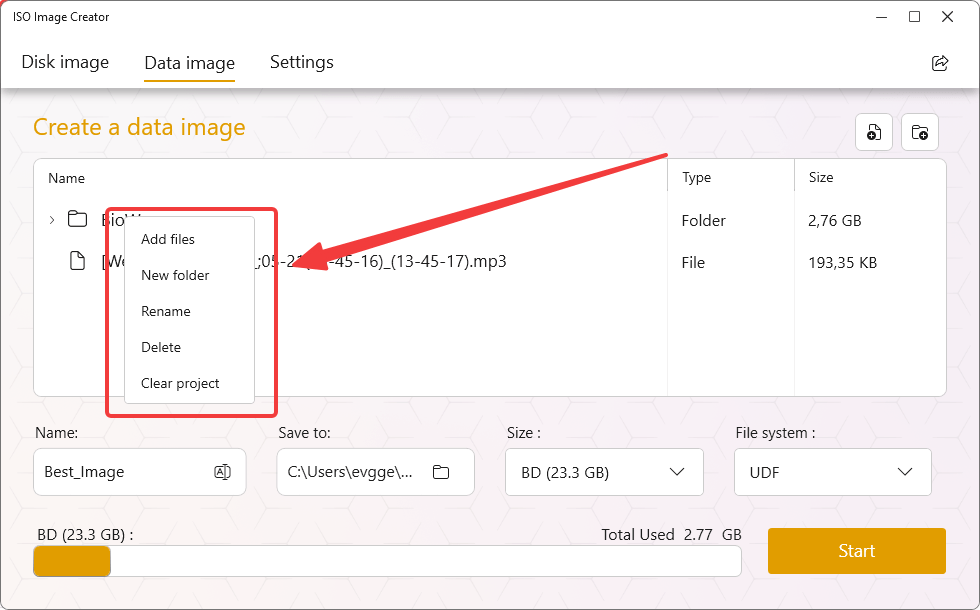
- If necessary, you can manage the added files and folders using the context menu. To do this, right-click an item in the list and select one of the available actions:
- Add files — add files to the selected folder or project.
- New folder — create a new folder within the structure of the future image.
- Rename — rename a file or folder in the project.
- Delete — remove the selected item from the project.
- Clear project — clear the entire current project.
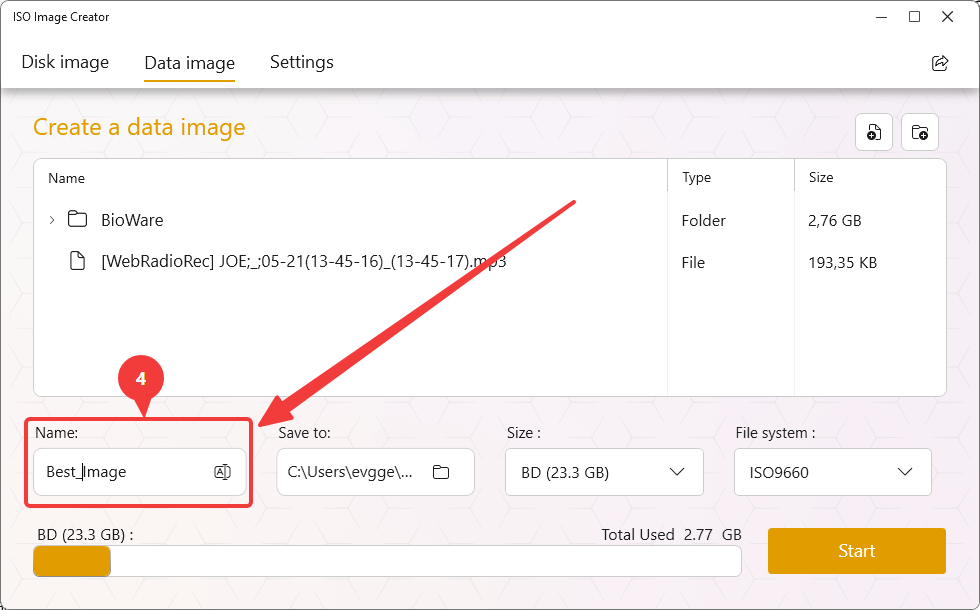
- In the Name field, specify the name for the future image (4).
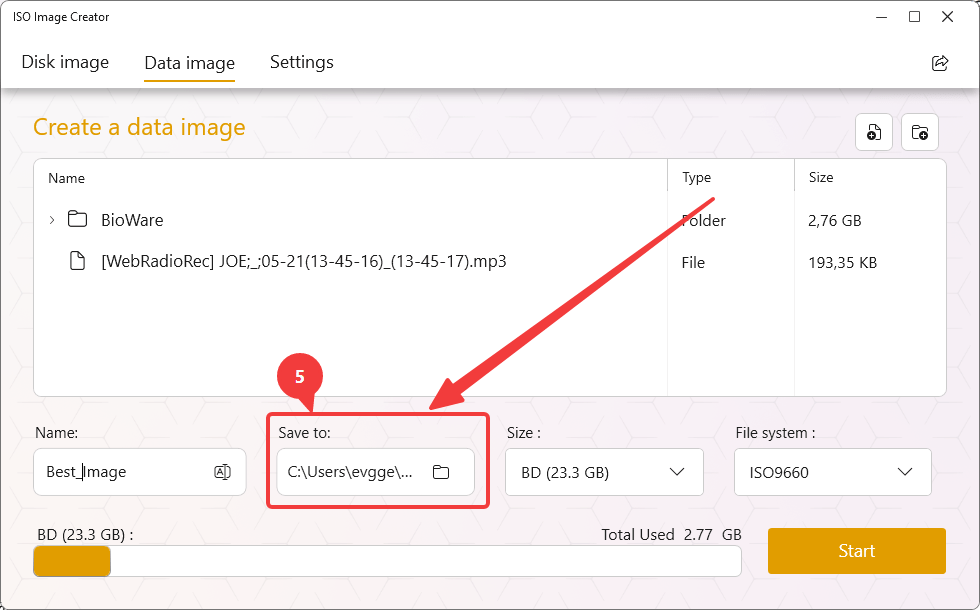
- In the Save to field, select the folder where the ISO file will be saved (5).
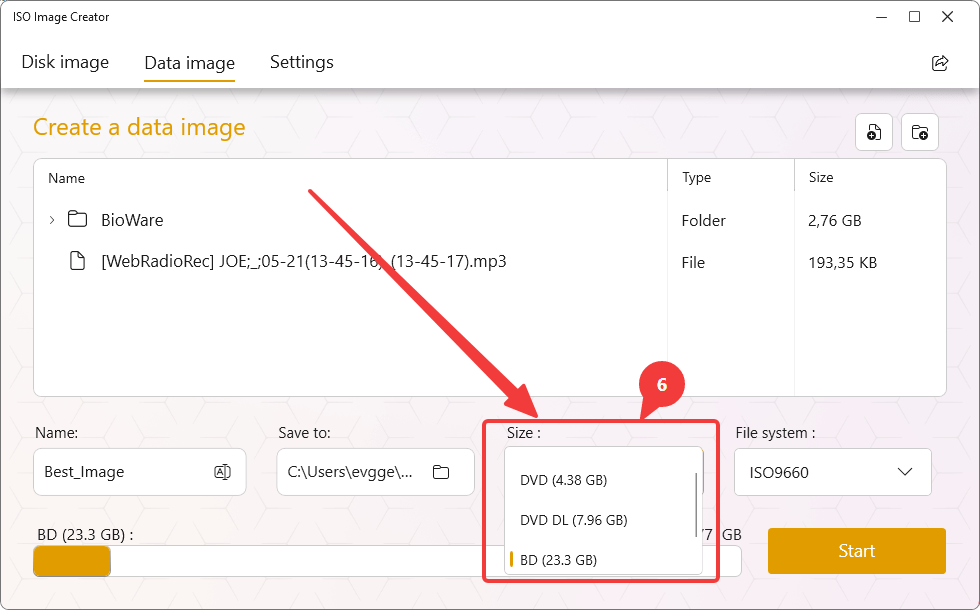
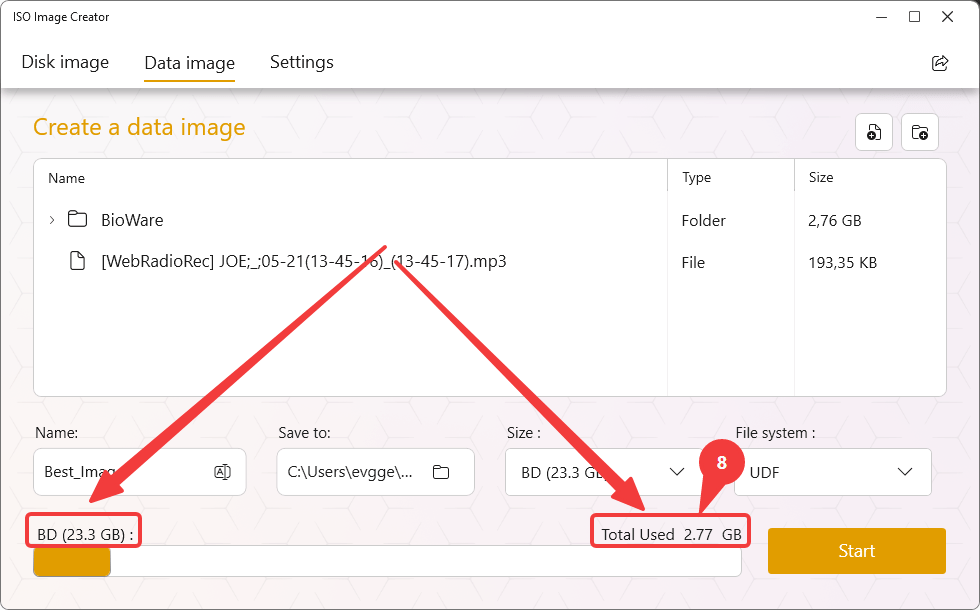
- In the Size list, select the maximum image size corresponding to the selected media (6):
- CD (700 MB) — standard compact disc with a capacity of up to 700 MB;
- DVD (4.38 GB) — single-layer DVD;
- DVD DL (7.96 GB) — dual-layer DVD;
- BD (23.3 GB) — single-layer Blu-ray disc;
- Custom — allows you to manually specify a custom maximum image size.
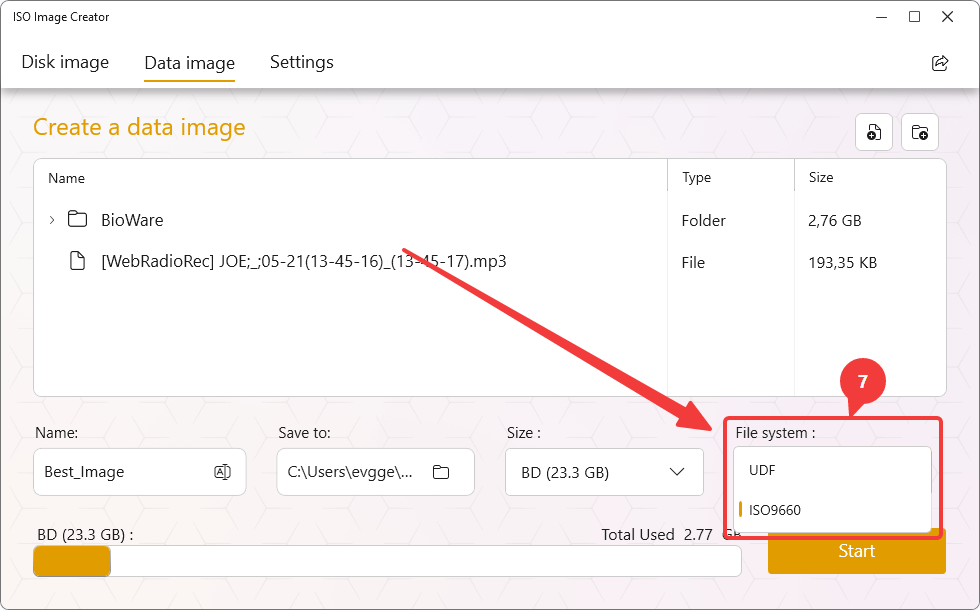
- In the File system field, select the file system for the image being created (7):
- UDF (Universal Disk Format) — the recommended file system for modern operating systems. It supports large files and ensures better compatibility with modern devices.
- ISO9660 — the classic file system for CD/DVD discs. It provides maximum compatibility with legacy operating systems and devices but has limitations on file name length and file size.
- Ensure that the Total Used value does not exceed the capacity of the selected media (8).
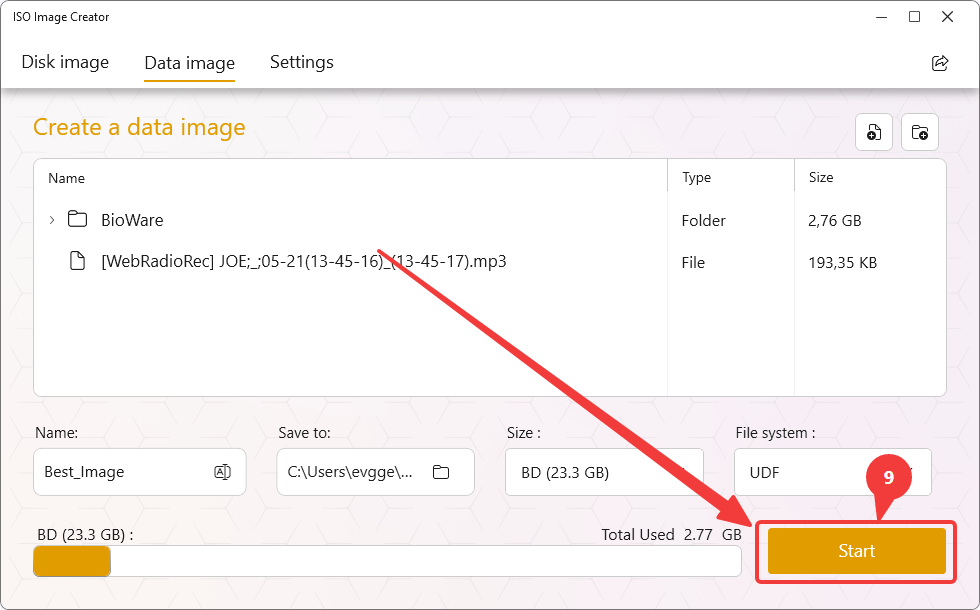
- Once the configuration is complete, click the Start button (9).
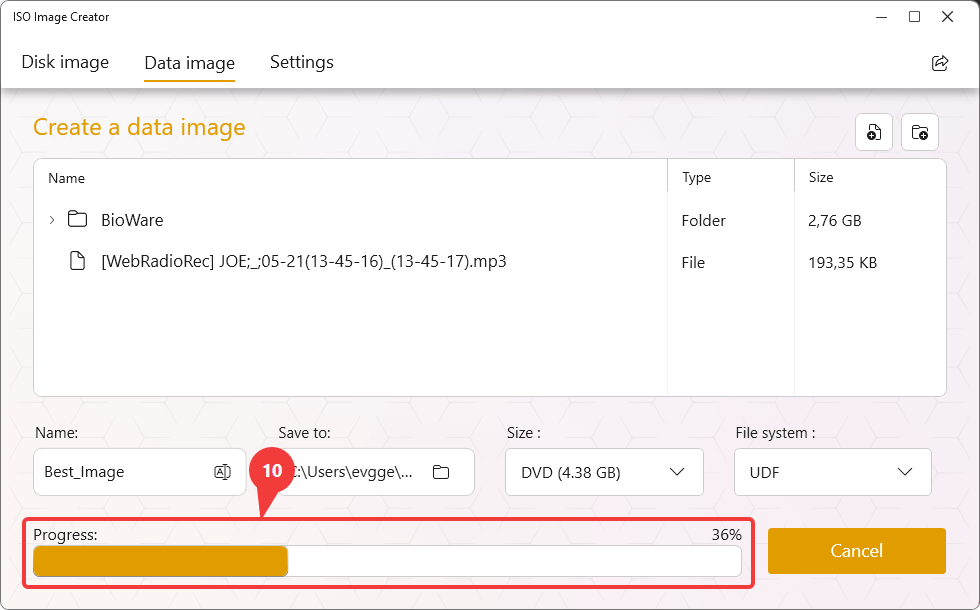
- Wait for the image creation process to finish (10).
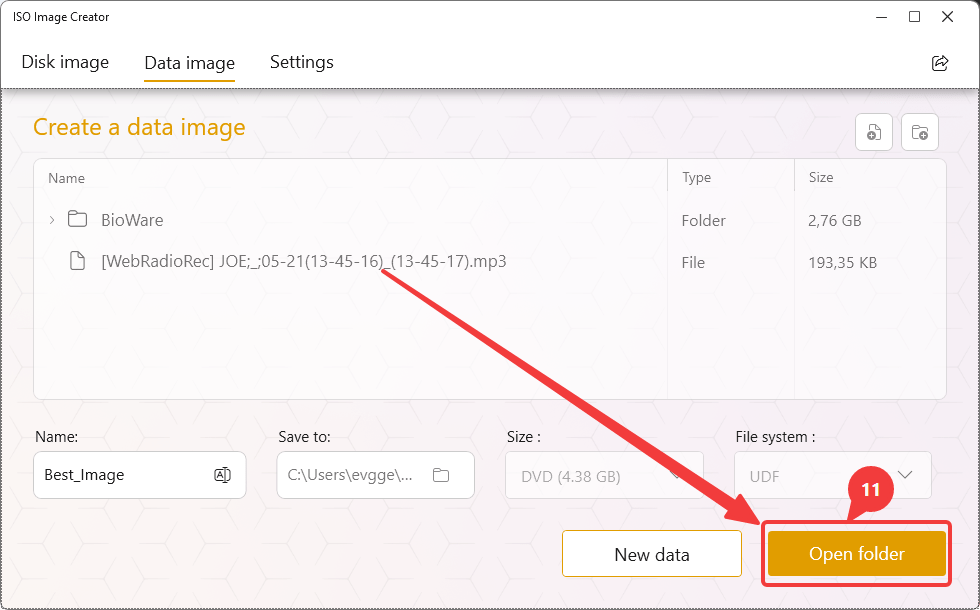
- After the image is successfully created, click Open folder to open the directory where the ISO file was saved and verify that the image has been created successfully (11).
- If you need to create another data image, click New data. The application will clear the current list of files and folders and prepare a new project for the next ISO image (12).

Changing the Language Interface
- Go to the Settings tab (1).

- On the General sub-tab, locate the Language field (2).
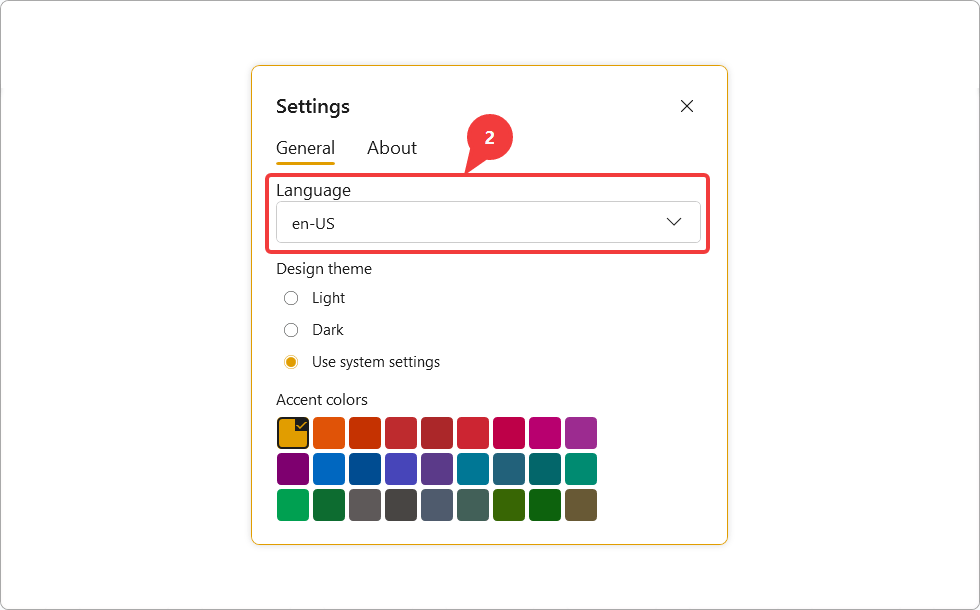
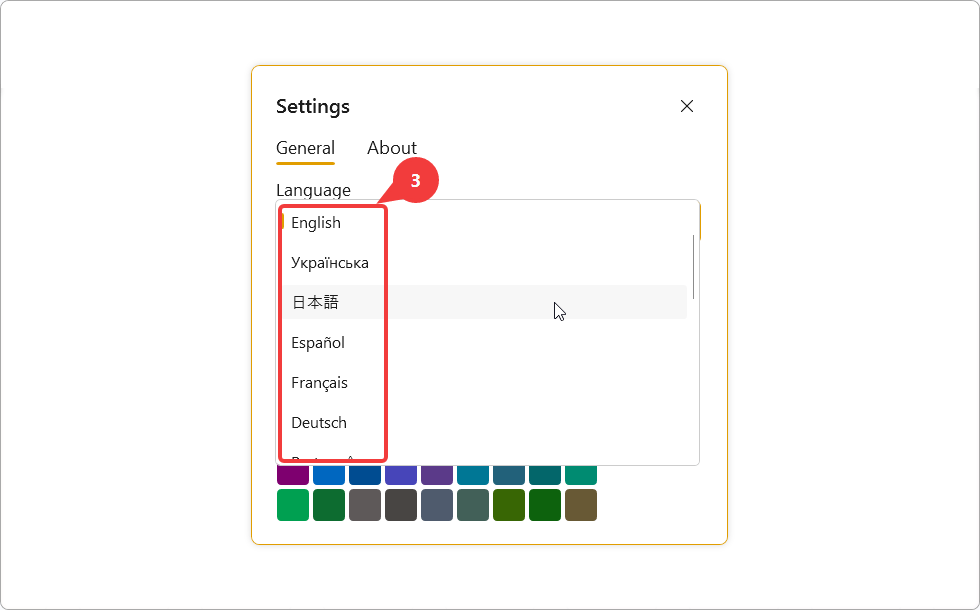
- Open the drop-down list of available languages and select your preferred language (3).
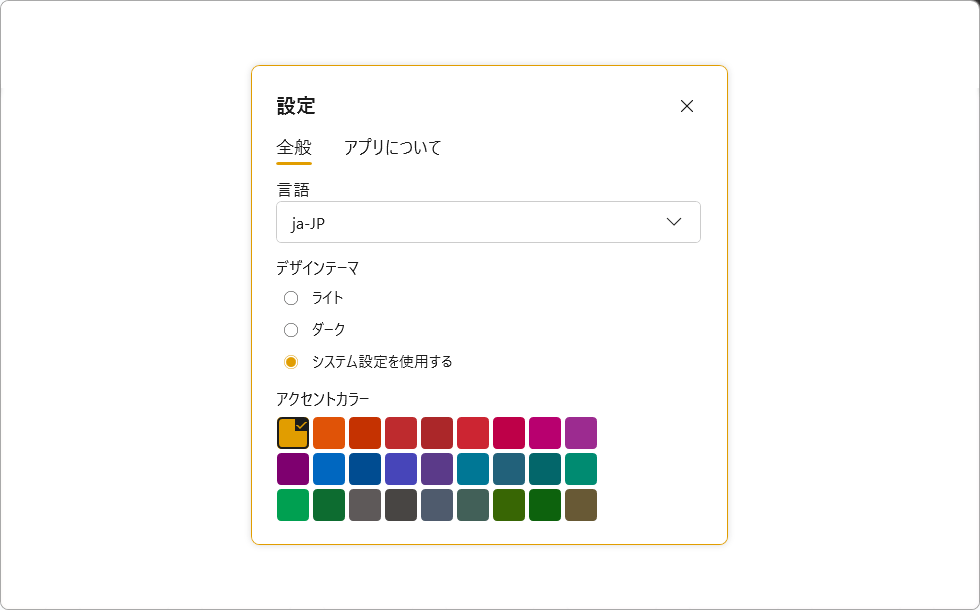
- The changes will be applied automatically.
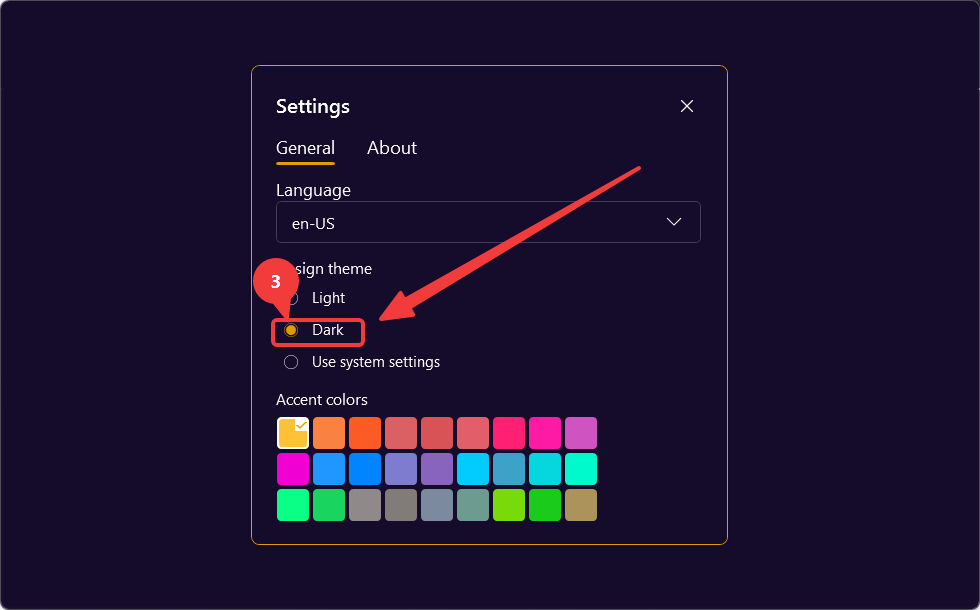
Changing the Design Theme
- Go to the Settings tab (1).

- The Design theme section offers the following modes (2):
- Light — light user interface theme.
- Dark — dark user interface theme.
- Use system settings — automatically applies the theme set in the operating system.
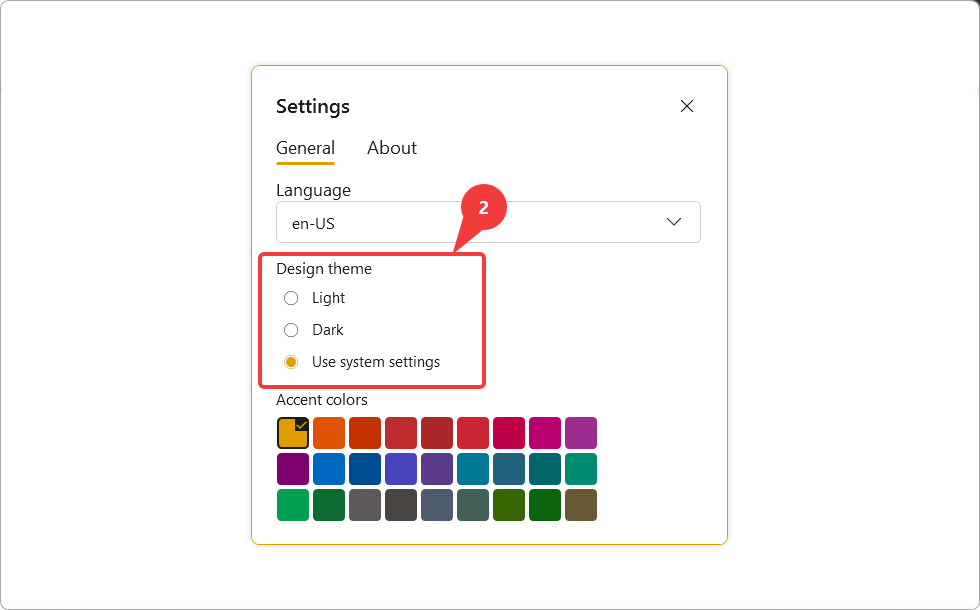
- Select the desired option using the toggle switch. The application interface will update according to the selected theme (3).
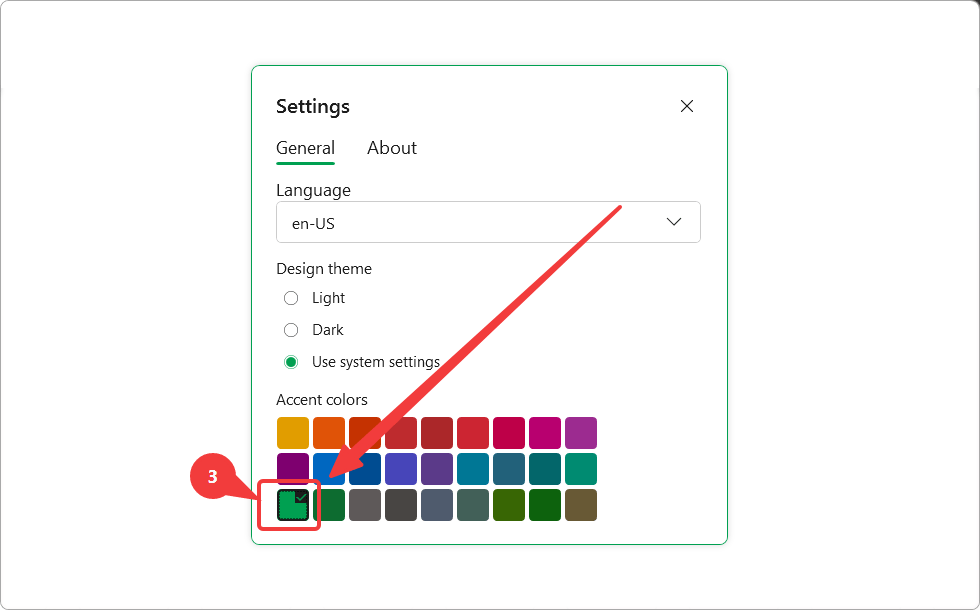
Changing the Accent Color.
- Go to the Settings tab (1).

- The available color palette is displayed in the Accent Colors section (2).
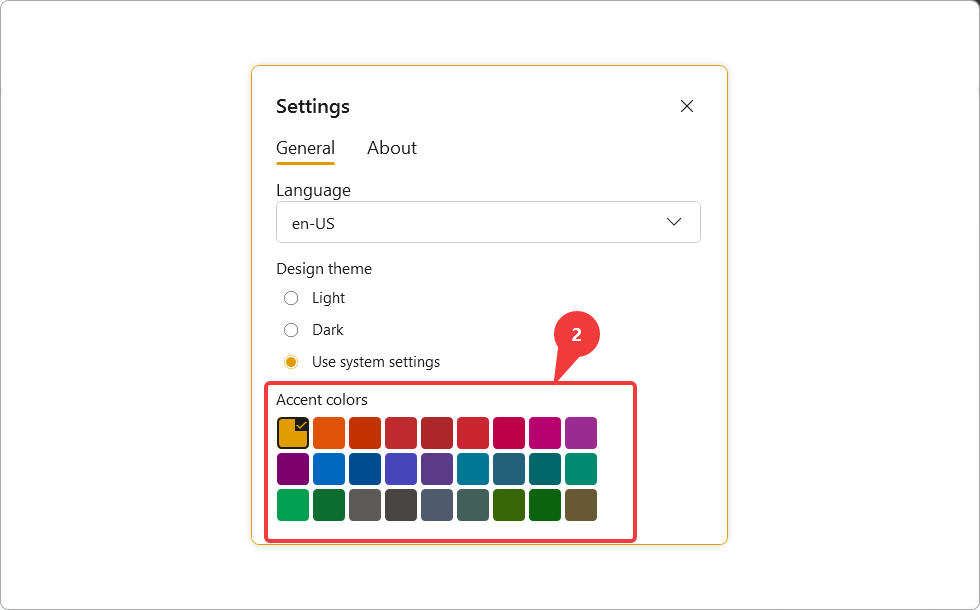
- Select the desired color from the palette. The changes will be applied to the application interface automatically (3).
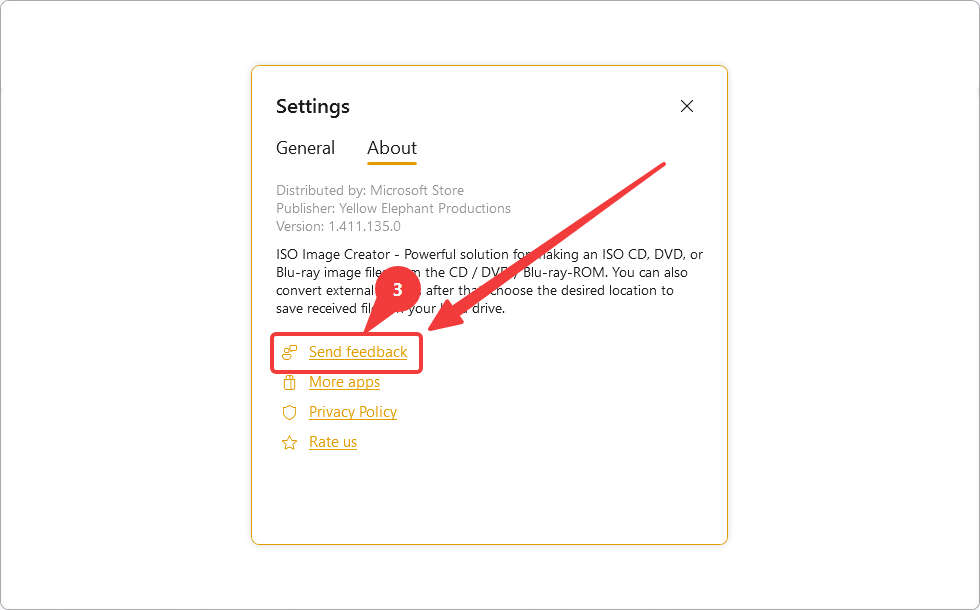
Support
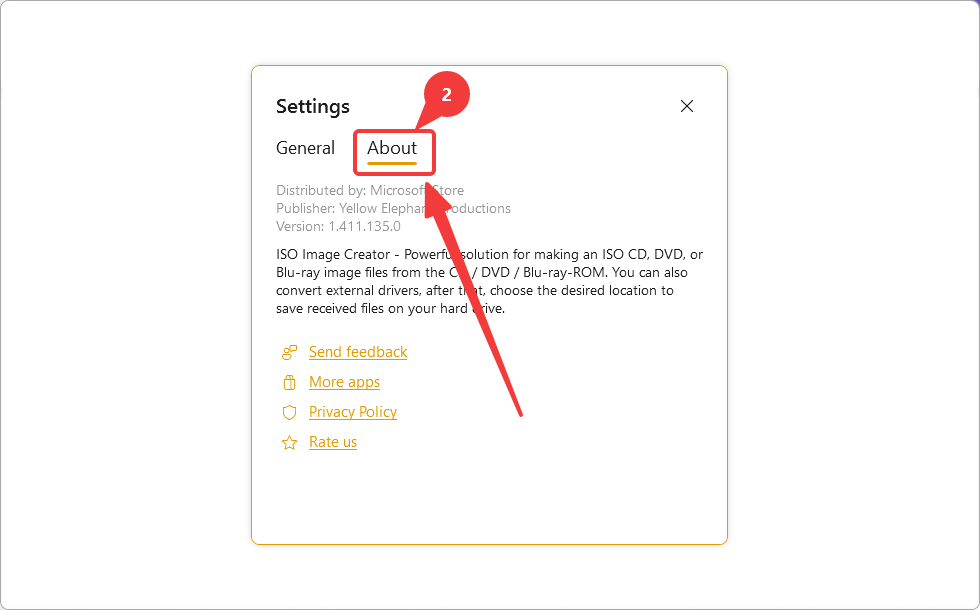
- Go to the Settings tab (1).

- Select the About sub-tab (2).
- To send feedback to the support team, click the Send Feedback button (3).