Guide how to work with the Servers for Minecraft
- Run the application “Servers for Minecraft”.
- After starting the application, you will be provided with an interface for choosing the configuration of your Minecraft Server.

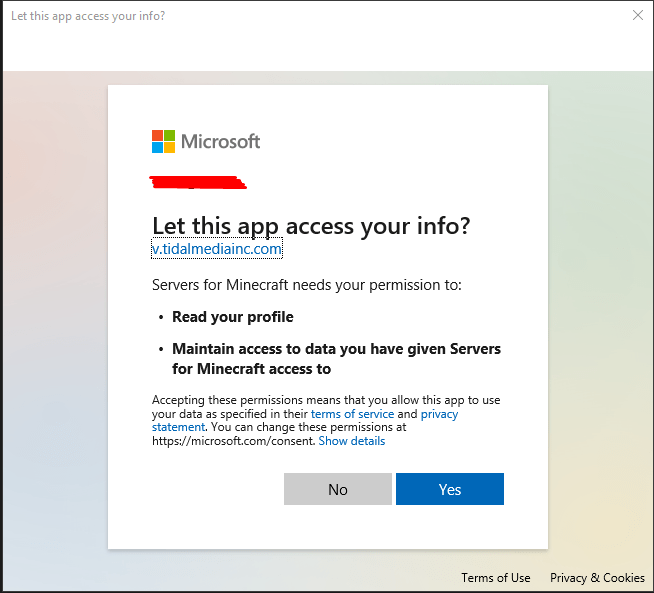
- After you have chosen the ones you need. Enter your login details


- Give permission to transfer data
- After that, you will be transferred to the main page of the application and a window will appear to confirm the server parameters before purchasing.

- After you have checked the parameters, you need to confirm your agreement with “terms and conditions” and click Buy.

- Make a payment.
- If you want to log into your account without first selection the server parameters, click “Sign In” in the upper right part of the application and follow the steps 3 and 4 of paragraph
- To create a new Server click “Create Minecraft Server”.
- Select the Minecraft Server’s configuration that you need and confirm your agreement with “terms and conditions”.

- Click “Buy”.
- Make a payment.
- After the payment is made, the Minecraft Server the creation of the Minecraft Server will begin, it may take some time.

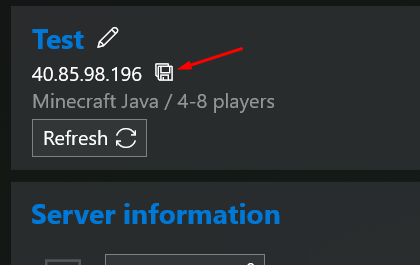
- IP address can be copied by clicking on the corresponding button in the application.
- Then you should enter your IP to the “Server Address” field while adding a server to Minecraft (below is an example for the Java version of Minecraft).

- You can set the parameters you need for the server in the application. To do this, go to the “Options” tab
- Set the desired values and save the changes.
- You can change the icon of your server by clicking the button “Edit an icon”.
- Select the icon that meets the requirements (Size: 64×64, max 1MB. Extension: .png ) and click “Save”.


- You can also perform Reset, Backup, and Restart for your server by selecting the respective button.

Subscription management
- After purchasing the server, you will have an active subscription that will be paid, depending on your subscription period.
- If you want to cancel your subscription, you should click the “Cancel subscription” button and confirm the action.


- After canceling the subscription, the Minecraft Server will work until the end of the subscription. If the subscription was canceled you will receive a notification when the end of the subscription period is approaching.

- After the subscription expires, your server will be frozen, and you will have several days to renew your subscription, otherwise, your server will be deleted.
- To renew your subscription, you should click the button “Renew subscription”.
- Then choose the period of the new subscription, agree with the “terms and conditions” and press the “Buy” button.


- Proceed with payment.
We hope this Usage guideline was effortless to read and not sophisticated to understand and you have learned how to create a Private Minecraft Game Server. We will be glad if it sheds light on all of the questions you have or will get.
Nevertheless, if something was unclear and you require any further information please feel free to contact us at support@tidalmediainc.com! If we can be of assistance on any issue or with advice – It would be a pleasure to provide you with this. Good Luck!
