Connection Settings of Zabbix: Network Monitoring System on Linux CentOS 8
- To work, you must open port 80 (TCP) in the network properties in the AWS firewall.
- To work with the server, you should connect to it via PuTTY (Download PuTTY)
- Go to the home page of “Session”, enter the IP address of the VM
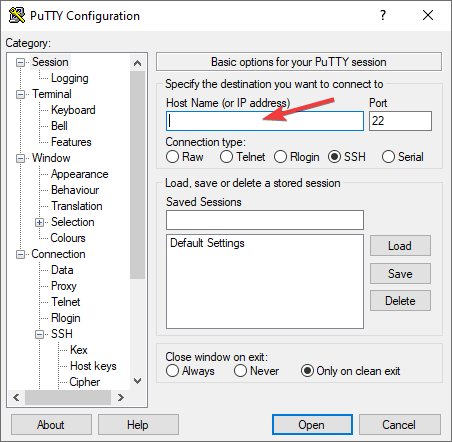
4. Go to section SSH on the left panel, and then in Auth. In the “Auth” section, click “Browse” and specify the path to the .ppk file you received earlier.
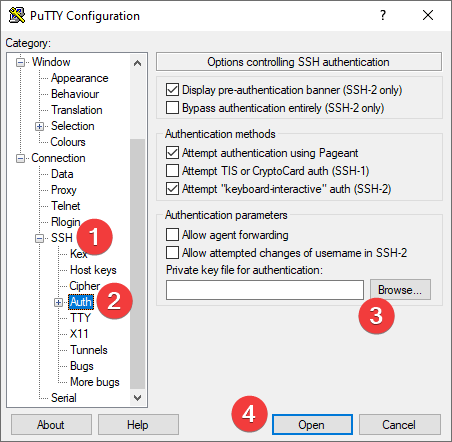
- In the console that opens, you must enter the standard login that appears when creating a virtual machine – centos.
Or use the User name that was specified after the VM was created.
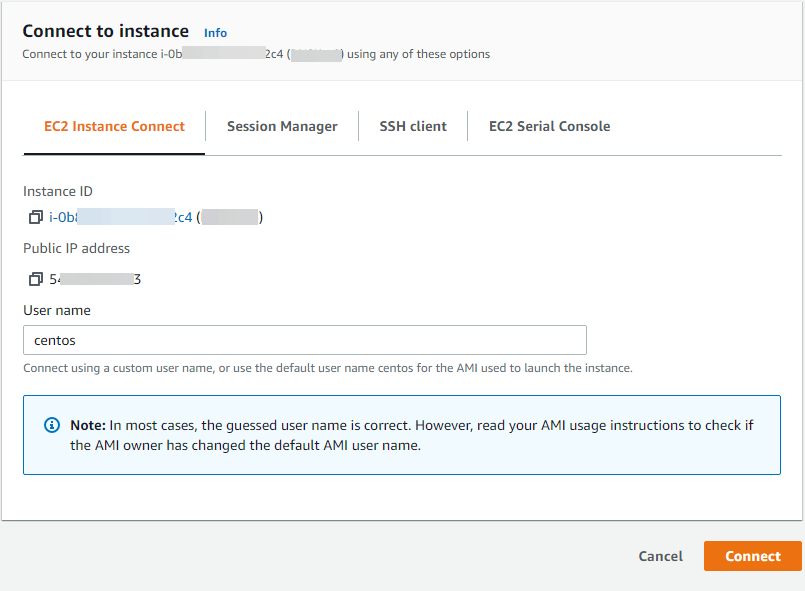
- In the opened console you will need to enter the login – centos
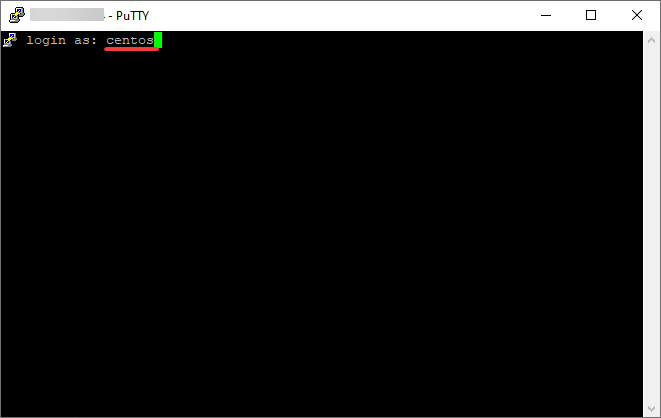
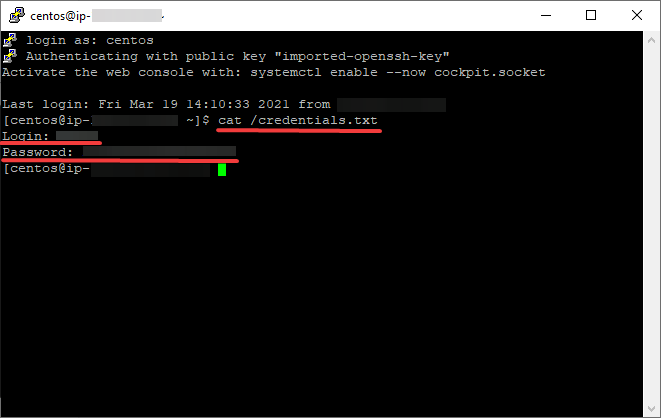
- In the console, enter the following command:
> cat /credentials.txt
And in response you will get the username and password to log in zabbix.
- After starting the VM, you can go to the admin panel. To do this, go to the following address http://vm_ip/zabbix
- When you go to the site, a page with authorization will open.
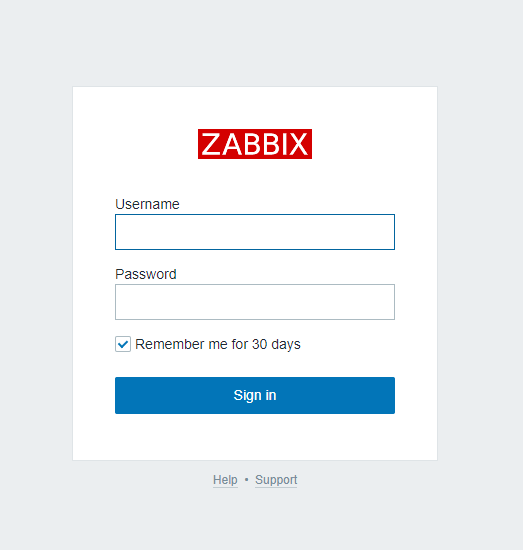
Username to log in – “Admin” (note the case of text is important!)
In the password field, enter the Instance ID of your VM

Also, the data is duplicated in the file / credentials.txt (эта команда была прописана в шаге 6)
- After entering your login information, you will be taken to the main page
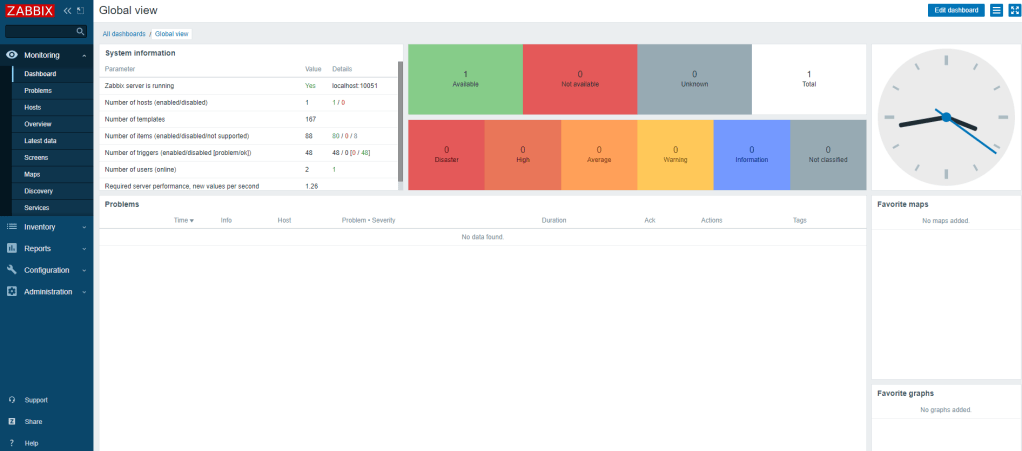
11. By default, the system includes checks and monitoring of this server itself according to various criteria.
If you have any questions, please refer to the main documentation – https://www.zabbix.com/documentation/current/manual
Official website – https://www.zabbix.com
License – https://www.zabbix.com/true_open_source
If you want to use agents in active mode, you need to open TCP port 10051 in the AWS firewall

