Tuleap is a solution to improve the management of software developments and collaboration. With a single web-based solution, project managers, developers & quality managers can easily build, deploy software projects.

This is a quick deployment and ready-to-run image.
Simple and rapid installation. Easy to maintain.
Configuration and connection to Tuleap on LINUX CentOS 7.8
1. After purchasing a virtual machine, find its IP address in the Azure personal account.
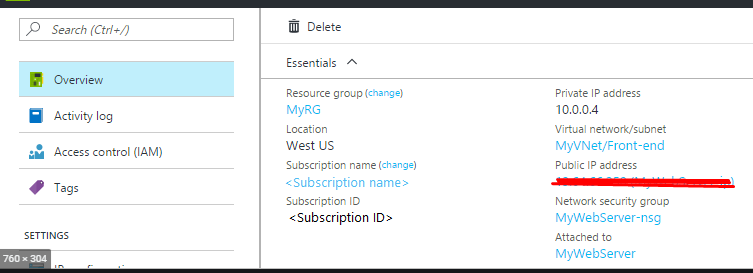
2. To connect to the Tuleap, you need to open 80 and 443 TCP ports in the Azure network settings.
3. You must create a DNS name.In the Azure admin panel, go to the VM properties, the “Overview” section on the left. You should configure the DNS name there. The name will be, for example, “tule123.eastus.cloudapp.azure.com”. If you have your own DNS name, then you do not need to configure it.
4. Connect to VM via SSH. To connect to the virtual machine you can use the PuTTY client (you can download it from the official site: https://www.putty.org/). When the app was started, you will see the following window:
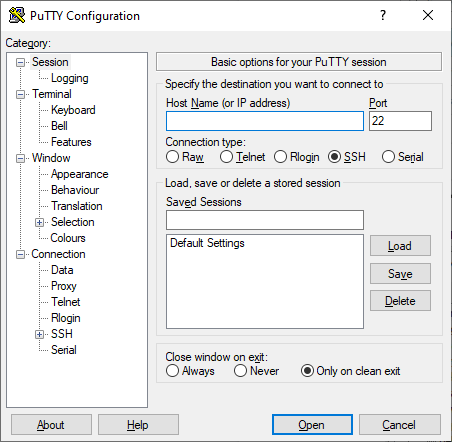
5. In the “Host Name (or IP address)” field you should enter the IP address of the virtual machine from the personal account in Azure. In the “Port” field enter the 22 value, select the “Connections type” – SSH and click on the “Open” button.
The following window will be opened:
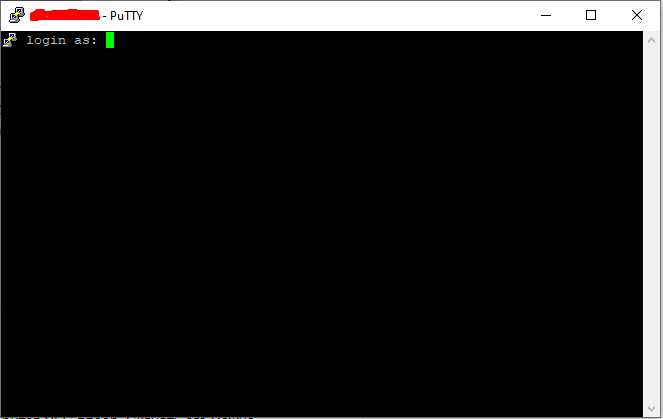
In the window above you should enter the login and password of the user of the virtual machine. (while typing the password, the data isn’t displayed!)
6. You need to enable superuser rights. To do this, enter the command:
“sudo su”

 To confirm the changes, enter the password of the VM user (the same as when logging in via PuTTY)
7. Run the following command:
/usr/bin/my-tuleap domain_name (where domain_name, this is the name of your domain or, for example, name of configured domain in step 3 – “tule123.eastus.cloudapp.azure.com”
the command will look like this:
/usr/bin/my-tuleap tule123.eastus.cloudapp.azure.com
After entering the command, the system will ask if the user will continue to work
To confirm the continuation, enter “y” and press Enter.
8. Wait for all configuration steps to complete.
If successful, the system will display messages:
info Configuration completed
Reloading nginx…
OK
Restarting tuleap.service…
OK
9. In the configuration actions process, login and password of administrator portal will be created.
The login always – admin
To find out the password, execute the command:
cat /root/.tuleap_passwd
We are interested in the following line:
Site admin password (admin): xgbfTtgwwqeqwesxnX9HuLk1t4lVve3UjzmincW
xgbfTtgwwqeqwesxnX9HuLk1t4lVve3UjzmincW – this is the password
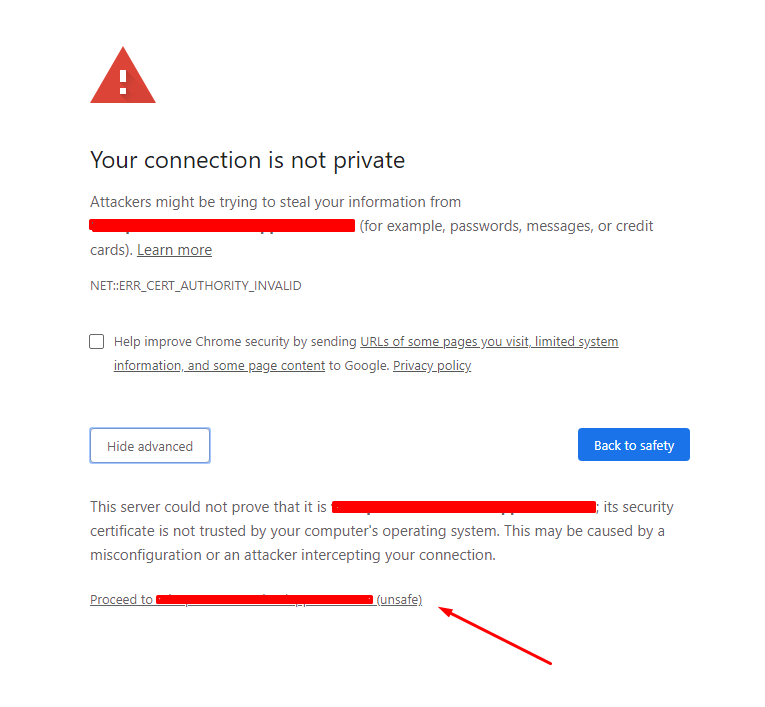
10. Open a browser and go to the DNS address of our VM, for example: http://tule123.eastus.cloudapp.azure.com
When you open it, there will be a warning that the SSL certificate itself is signed.
Click Advanced on the page and follow the link
Upon transition, the following page will be displayed:
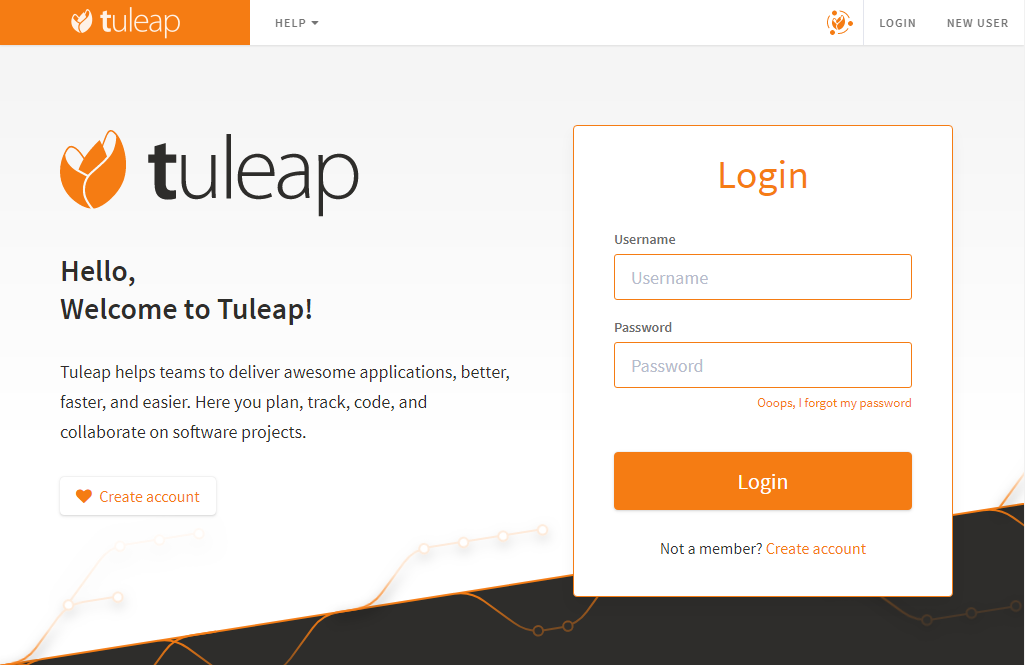
Username for logging in tuleap – admin
Password determined in the step 9
More detailed instructions can be found at:
