Trac is a web-based project management and bug tracking system. Trac integrates with major version control systems “out of the box” including Subversion and Git.

This is a quick deployment and ready-to-run image.
Simple and rapid installation. Easy to maintain.
Configuring and connecting to Trac – Wiki Issue Tracking System for Windows 2019
- Launch and connect to VM via RDP connection.
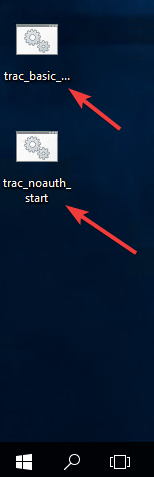
- To start the server, run one of the following commands on the desktop.
“trac_noauth_start” – server startup without authentication
“trac_basic_auth_start” – server start with authentication
- To open the site, go to the following address in any browser convenient for you http:// vm_ip:8000.
- You will be asked to select the project. The system has already created one project called “My project” by default.
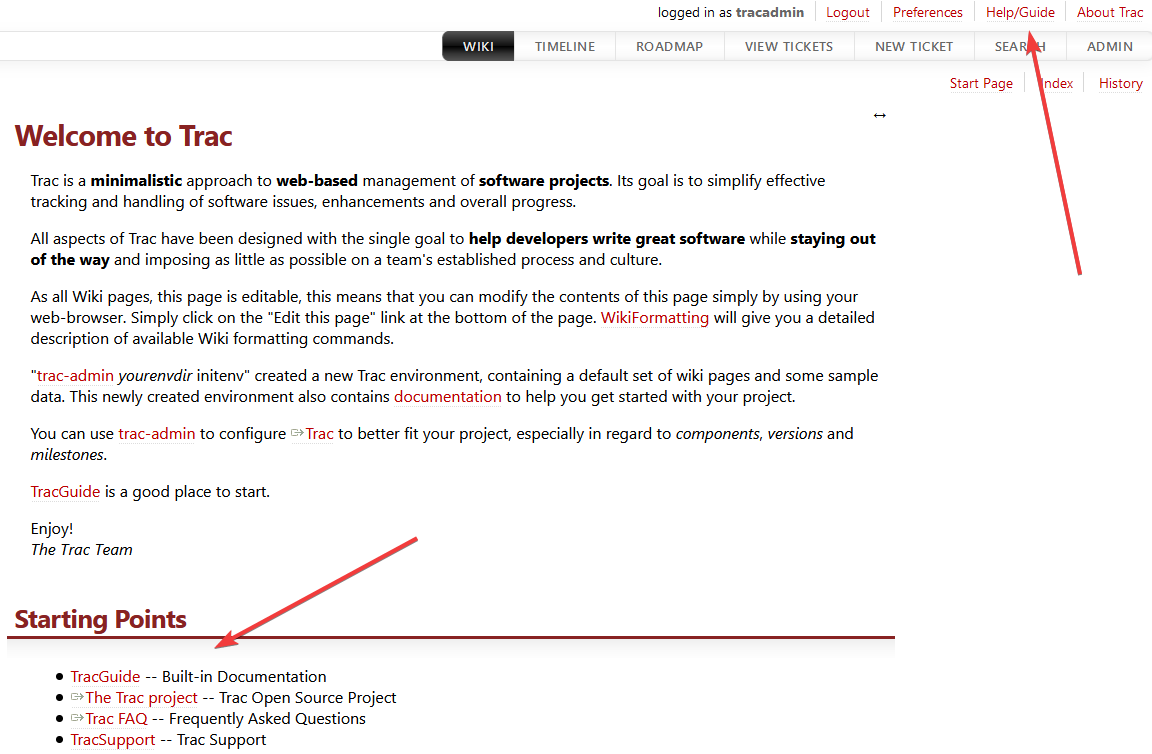
- If you started the server with authentication, you can click the “Login” button to get advanced administration features.

- The “tracadmin” user is already available for authorization. The password for the account is located on the desktop in the “trac_admin_pwd” file.
- For further setup and site operations, see the manuals and setup guides. You can find links at the bottom of the page in the “Starting Point” section or the “Help/Guide” link in the upper right of the page.
Create a new project
- Open the console on the VM. To do this, press start, type “cmd” and press “Enter” on the keyboard.
- Enter the following command:
trac-admin “C:\trac\new_project” initenv, where C:\trac\ new_project is the path and folder in which the project will be stored.
- Then in the command line specify the name of the project.
- Now you need to specify the data to connect to the database. You can find the necessary address for connection in the trac_admin_pwd file on the desktop. Copy and paste the address into the command line.
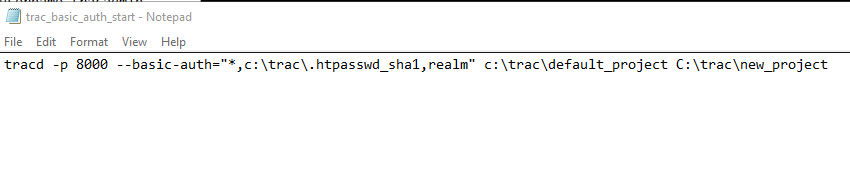
- Before starting the server, you must specify the path to the new project. To do this, right-click on the required server startup file (trac_noauth_start or trac_basic_auth_start) and select Edit from the context menu.
- At the end of the line, type the path to your new project, or replace an existing one.
- Run the edited file, and go to the address http://vm_ip:8000 to verify the addition of a new project
Add new user
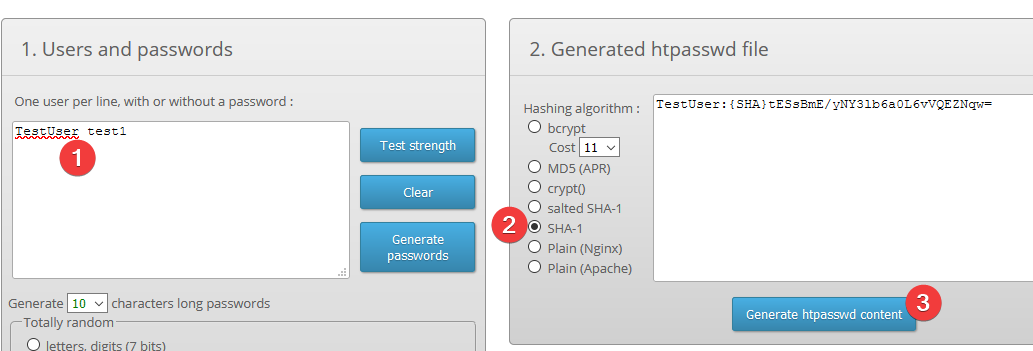
- First, you need to generate an encrypted password. To do this, go to the htpasswd file generator website.
- In the left field, you must enter a username and password with space, for example TestUser test1.
- Then in the second block select “SHA-1”.
- Click “Generate htpasswd content”.
- Copy the resulting string and open VM through RDP.
- On the virtual machine, go to the path “C:\trac” and open the “.htpasswd_sha1” file with a text editor.
- Paste the generated line at the end of the text file and save.
- Done, now starting the server with authentication enabled, you can log in using just added user.
