TinyProxy Server on Linux CentOS 8.2 by Tidal Media Inc. will be a perfect decision for someone who needs a proxy server to use in a small network or at home.

This is a quick deployment and ready-to-run image.
Simple and rapid installation. Easy to maintain.
Configuration and connection to TinyProxy – Auth Proxy Server on Centos 8.2
- To connect to a VM, you need the PuTTy application to connect via ssh. You can download it at the following link – Download
- Run Putty, enter the VM address in the “Host” field and click “Open” to connect.

- In the opened console you will need to enter a username and password that were specified when the VM has been creating.
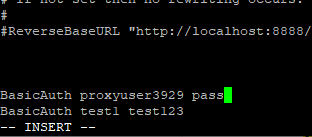
- To use a proxy, you should configure login and password for the connection (or use the standard ones that were generated while creating a VM), which can be found by running the following command:
> cat /etc/tinyproxy/credentials
- To change a user, or add a new one, you should open the configuration file and enter the data in the form “BasicAuth login password”. To do this, enter the following command:
> sudo vi /etc/tinyproxy/tinyproxy.conf
In order to go to the desired line, use the arrows on the keyboard. To create a new line press the “O” button on the keyboard. When creating a line you will be switched to the editor mode immediately, which you can also enter using the “I” button.
- In order to finish file editing press the “Esc” key (to leave editor mode) and enter the next command “:wq” (colon is a part of a command, it should be entered necessarily)
- Restart the proxy server service for the changes to take effect. To do this, enter the command:
> sudo systemctl restart tinyproxy - To use the proxy server through the built-in Windows tools, you must open the settings.
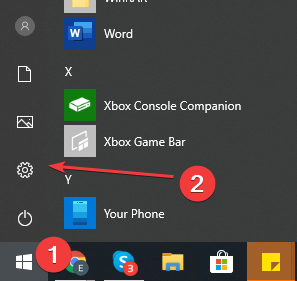
- In Settings select Network & Internet

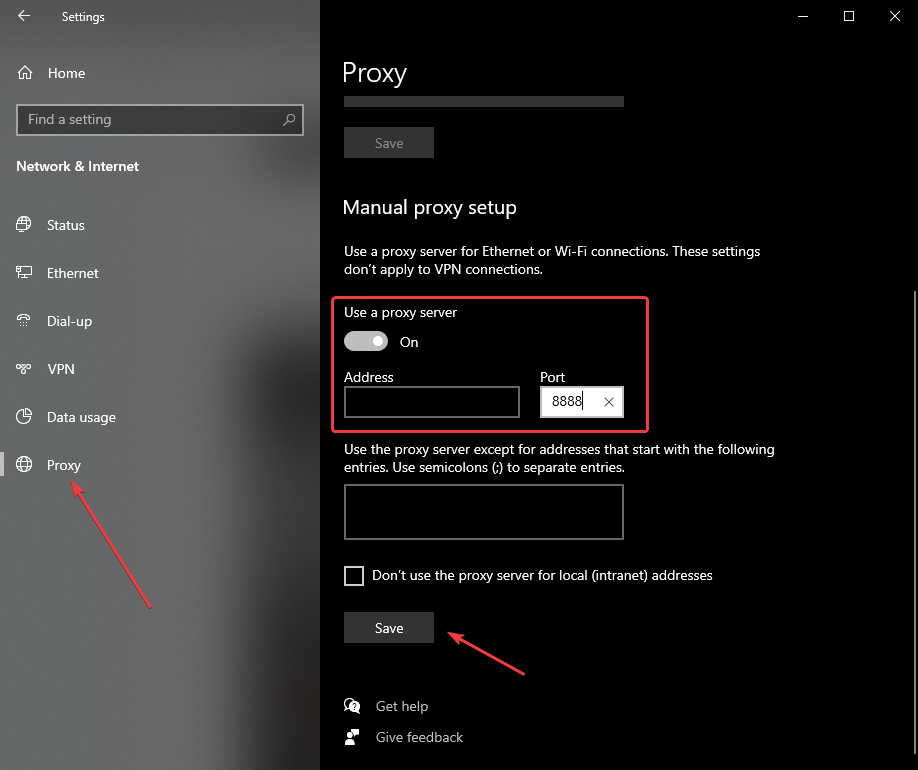
- Go to the “Proxy” section and set the “Use a proxy server” switch to On.
- In the Address field, enter the address of the VM, and in the Port field, specify 8888. Then click the Save button.
- To check the connection to the proxy server, open the https://www.myip.com/ website in any browser and check if your IP address has changed.
