Squid Protected Caching Proxy Server for Ubuntu 20.04 is a full-featured web proxy cache server application that provides proxy and cache services for Hyper Text Transport Protocol (HTTP), File Transfer Protocol (FTP), and other popular network protocols.

This is a quick deployment and ready-to-run image.
Simple and rapid installation. Easy to maintain.
Connection to Squid Protected for Ubuntu 20.04 Server using Windows Settings
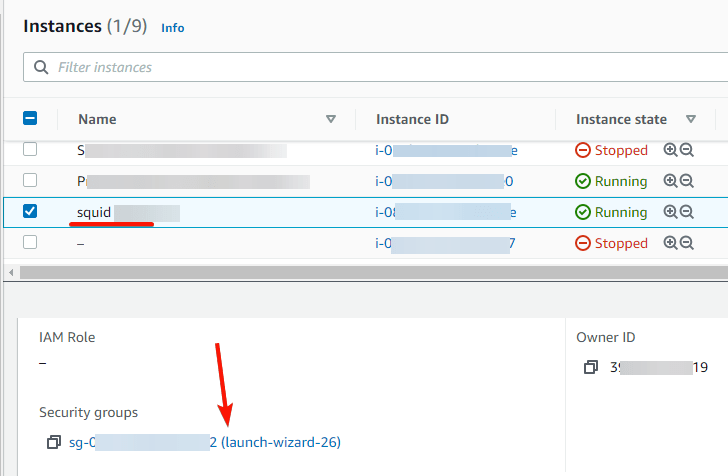
- To access the proxy server, you must specify a list of IP addresses in the Security Group. To do this, select your Instance, go to the “Security” section and click on the security group.
- Click “Edit inbound rules”.
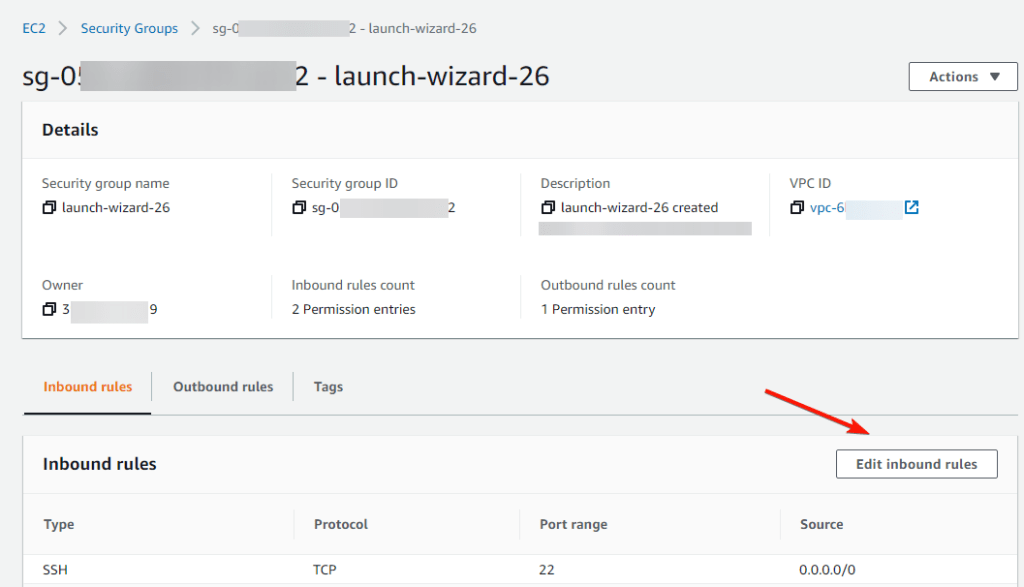
- Click “Add rule” to add the port.

- In the field that appears, select the option “Custom TCP Rule”.

- Select TCP In the “Protocol” field.
Specify “Port Range” 3128.
In the Source field, enter the IP address access to which will be provided to connect to the proxy server. For example, you can specify your IP address, you can find it on the site https://www.myip.com/

- To use the proxy server through the built-in Windows tools, you must open the settings.

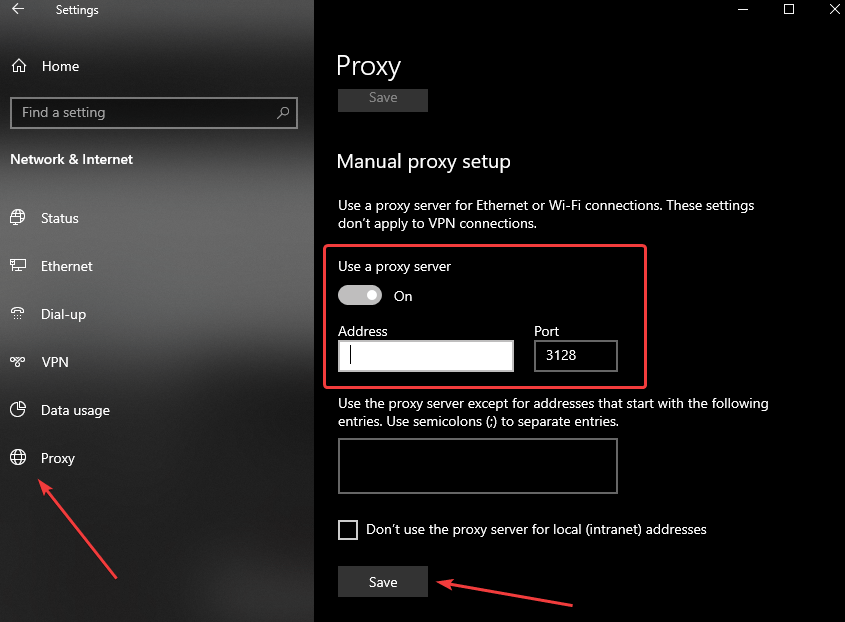
- In Settings select Network & Internet

- Go to the “Proxy” section and set the “Use a proxy server” switch to On
- In the Address field, enter the address of the VM, and in the Port field, specify 3128. Then click the Save button.
- To check the connection to the proxy server, open the https://www.myip.com/ website in any browser and check if your IP address has changed.
