Squid Easy Сaching Proxy Server offers a rich access control, authorization, and logging environment to develop web proxy and content serving applications, plus a rich set of traffic optimization options, most of which are enabled by default.

This is a quick deployment and ready-to-run image.
Simple and rapid installation. Easy to maintain.
Connection to Squid Easy Caching Proxy Server on CentOS Stream 9 using Windows Settings
- Launch VM through your AWS account. When starting the VM, the proxy server starts automatically.
- To use the proxy server through the built-in Windows tools, you must open the settings
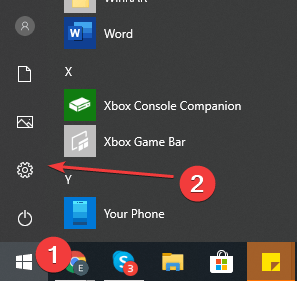
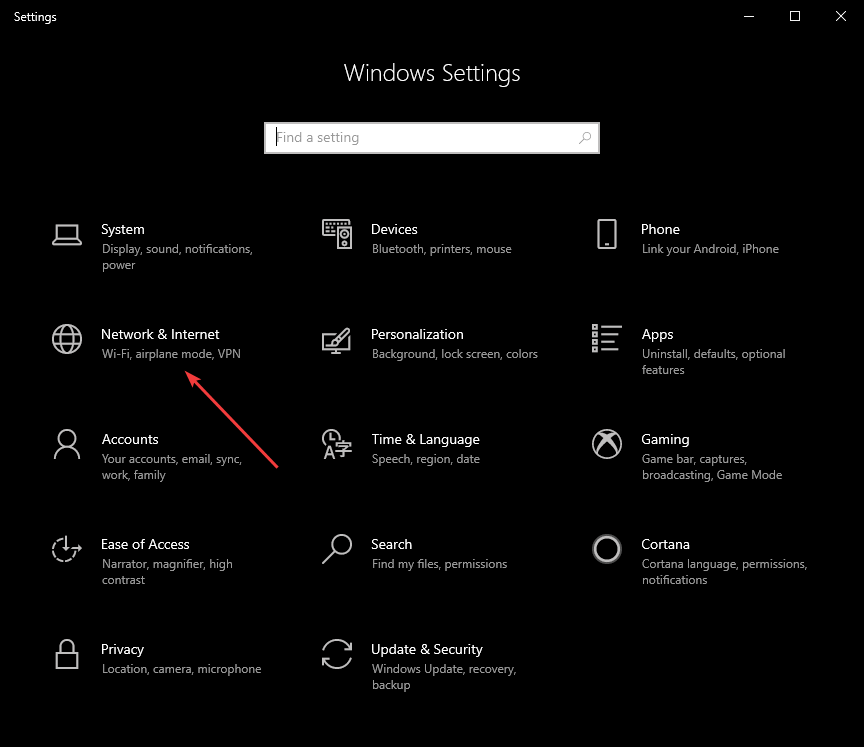
- In Settings, select “Network & Internet”.
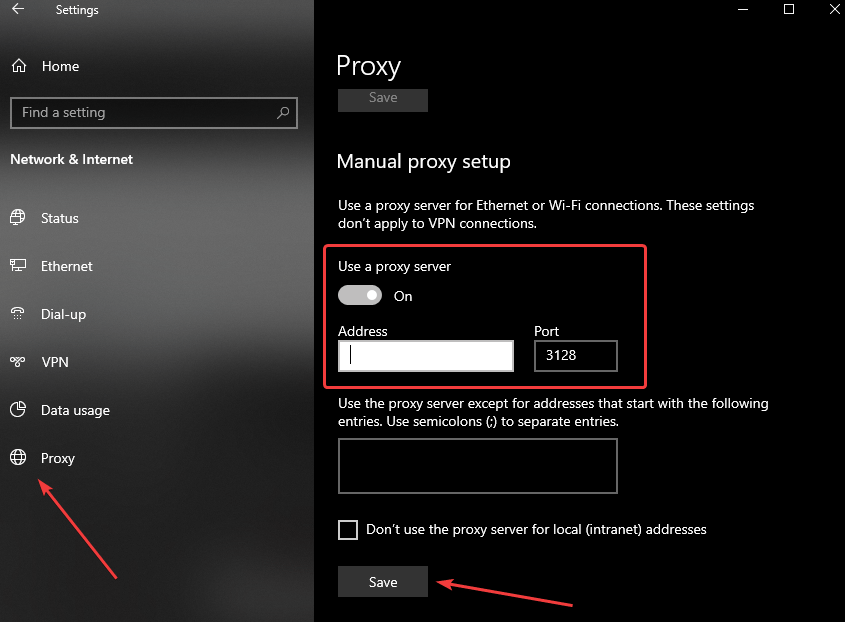
- Go to the Proxy section and set the Use a proxy server switch to On
- In the Address field, enter the address of the VM, and in the Port field, specify 3128. Then click the Save button.
- To check the connection to the proxy server, open the https://www.myip.com/ website in any browser and check if your IP address has changed.
- Check out the following links for further documentation and support for Squid Proxy
