Configuring and Connecting to Jenkins Automation Server on Ubuntu 24.04
Connecting and managing Jenkins server
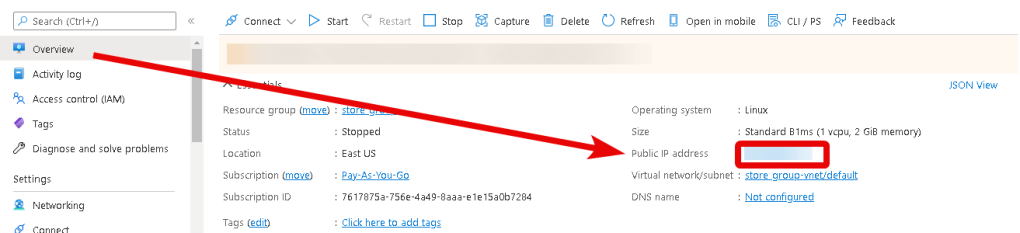
- Run the VM through the Azure Portal. To customize the Server, first, you need to know the server IP address. You can find it in your Azure account. (You need to select the virtual machine from the list. By clicking the item “Overview”, your IP is displayed in the line “Public IP Address”).
- To work, TCP port 8080 should be open. You can check it in the Network settings of your VM.
- To connect to the Jenkins server, you should connect to a VM.
- With OpenSSH
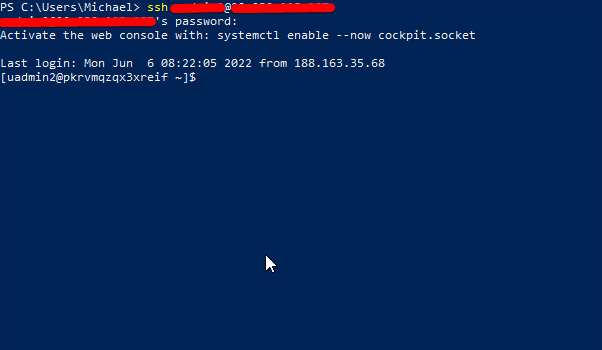
In the Windows 10 operating system (starting with version 1809), an OpenSSH client is available, with which you can connect to Linux servers via SSH. If Windows 10 is suitable and the OpenSSH client is installed, you can start connecting via SSH. To do this, launch a normal Windows command prompt and enter the command “ssh user@*vm_ip*”.
“User” is the username specified while creating the virtual machine, and “*vm_ip*” is the VM IP address.
In the opened console, it is necessary to enter the password that was specified while creating the virtual machine.
- With the PuTTY application
To do this, you need the PuTTY application to connect via SSH. You can download it at the following link – Download.
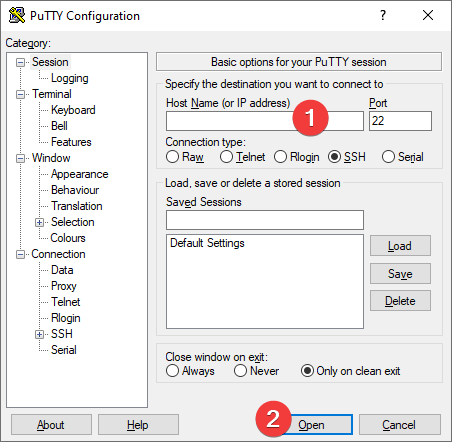
Run PuTTY, enter the VM address in the “Host” field, and click “Open” to connect.
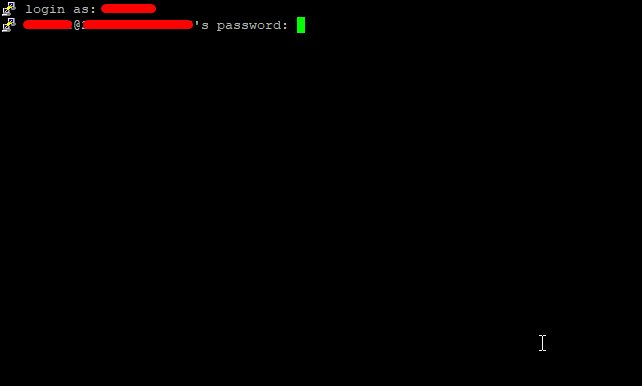
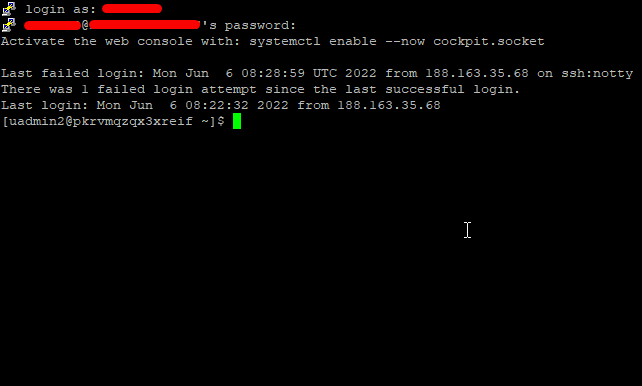
In the opened console, you will need to enter a username and password that were specified while the VM was being created (you’ll not see the password in the console while entering it).
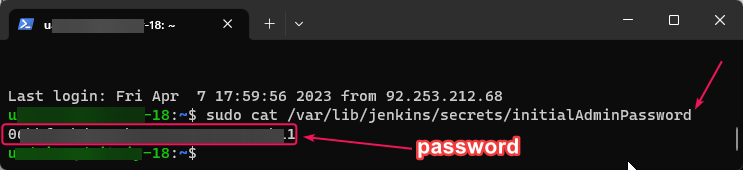
- You should know the default admin password. Enter command
sudo cat /var/lib/jenkins/secrets/initialAdminPassword
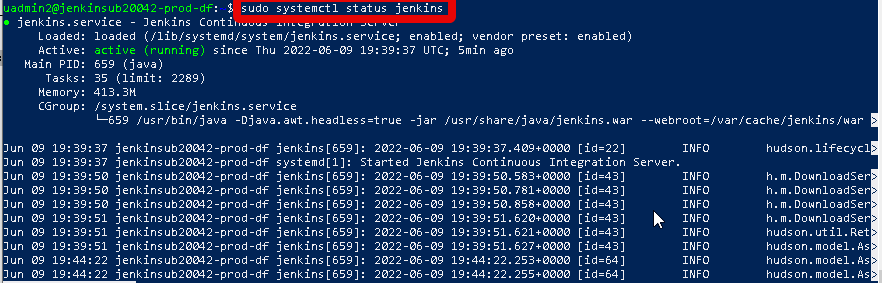
- You can check the status of the Jenkins service using the command:
sudo systemctl status jenkins
Also, you can enable the Jenkins service to start at boot with the command:
sudo systemctl enable jenkins
You can start the Jenkins service with the command:
sudo systemctl start jenkins
Configuration of Jenkins server
- After starting the VM, you can go to the main page. To do this, go to the following address, http://*vm_ip*:8080.
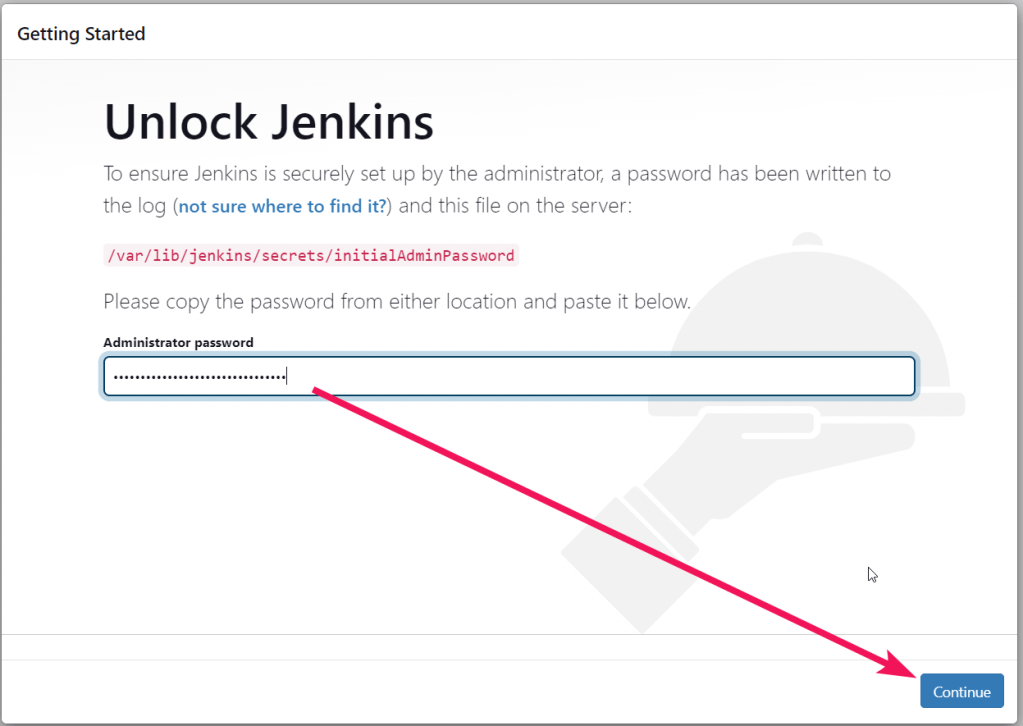
- The login page will open. Use the password from step 4 of the previous chapter and click Continue.
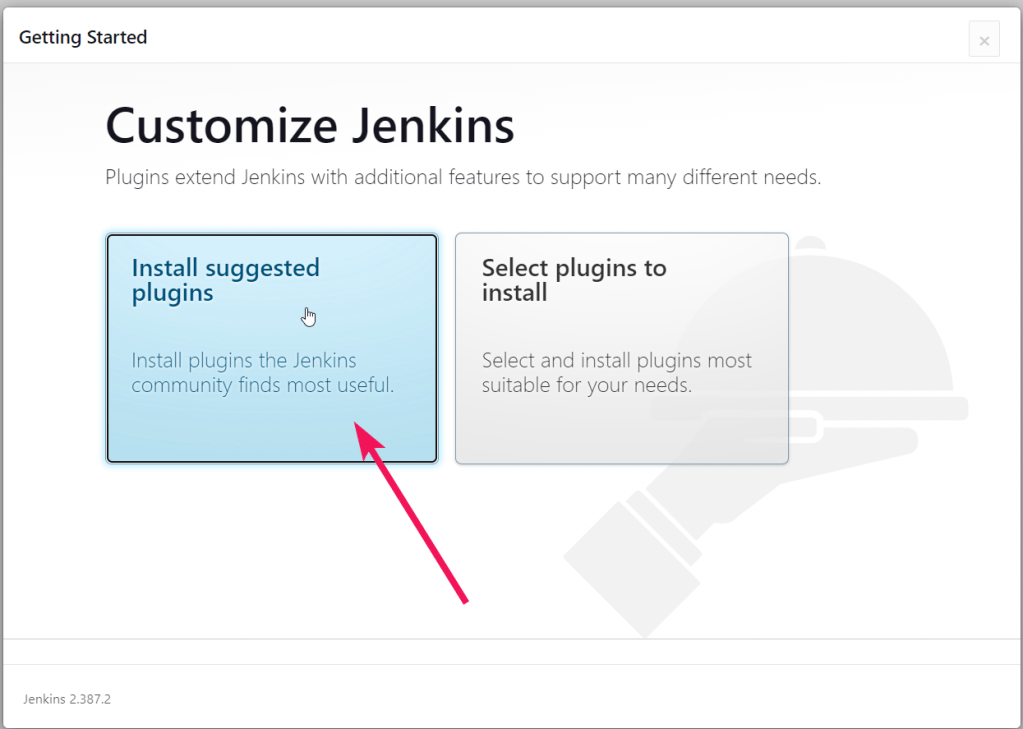
- Select Install suggested plugins.
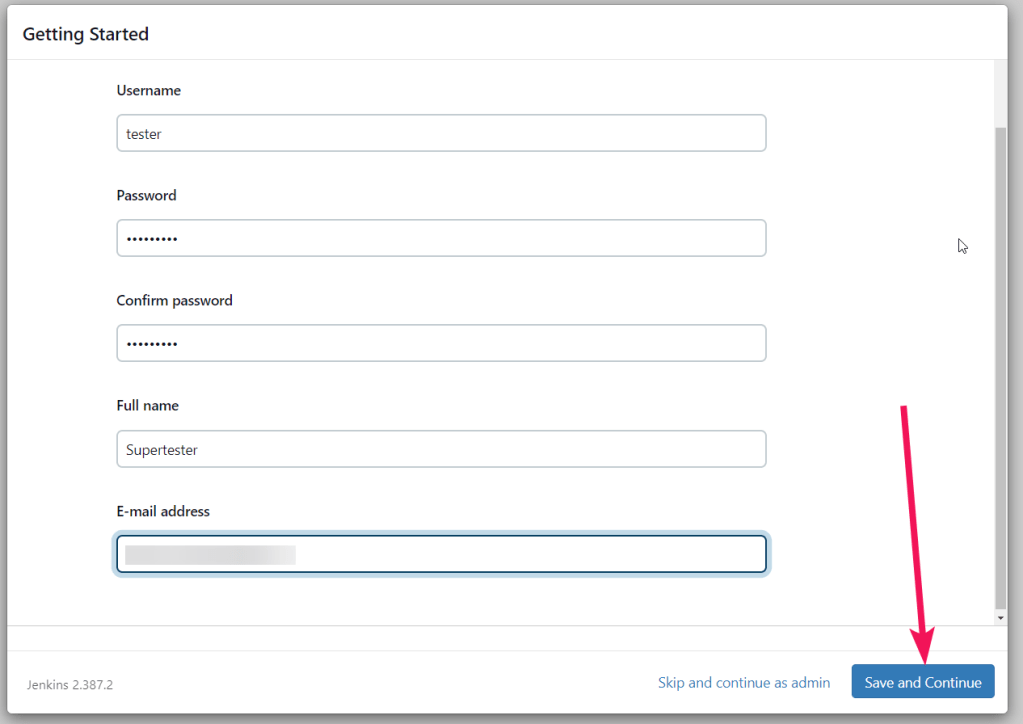
- You should create the first admin user. Fill in all fields and click Save and continue.
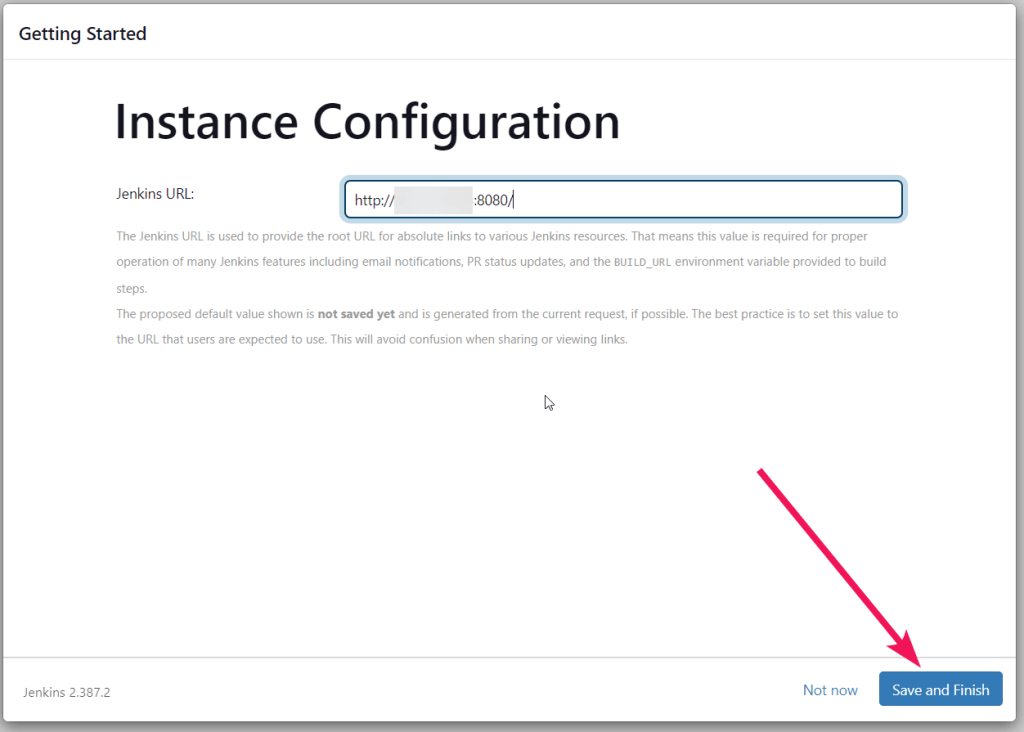
- Confirm Jenkins URL
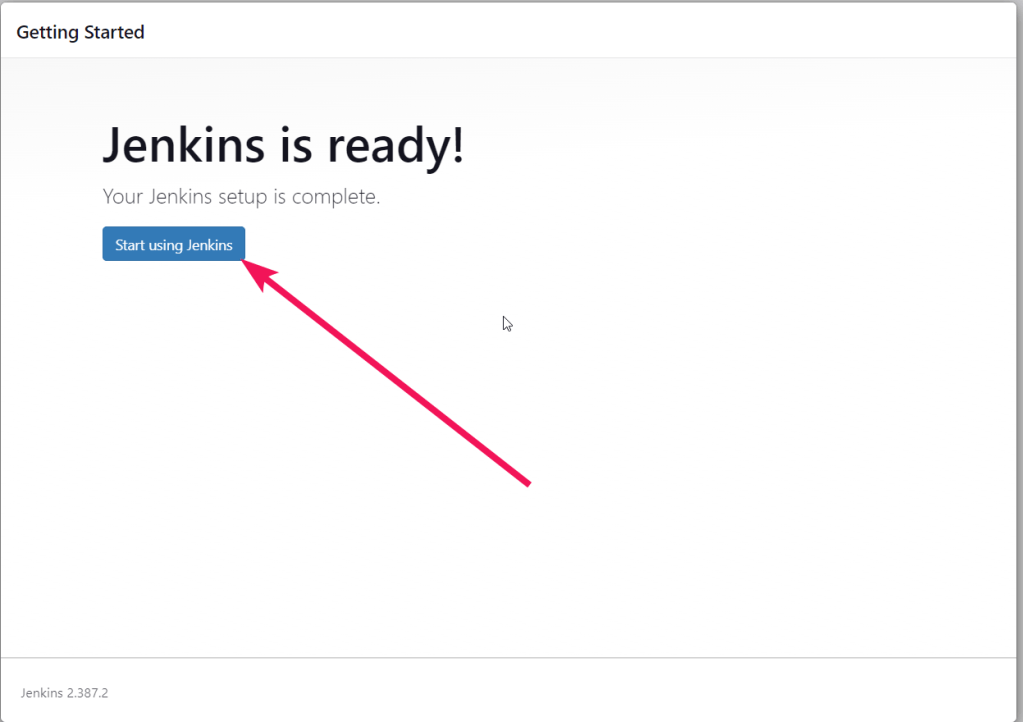
- You are ready to start using Jenkins.
- To configure system settings, go to ‘Manage Jenkins -> Jenkins Configuration’
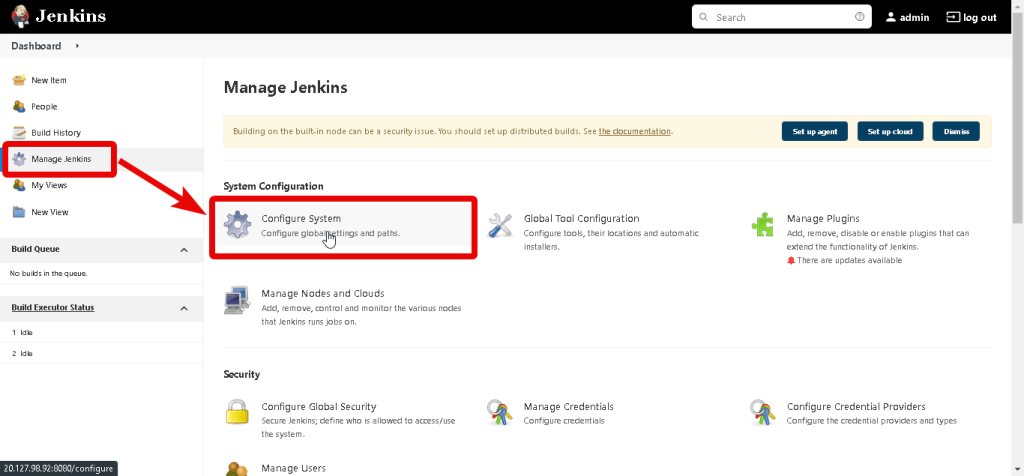
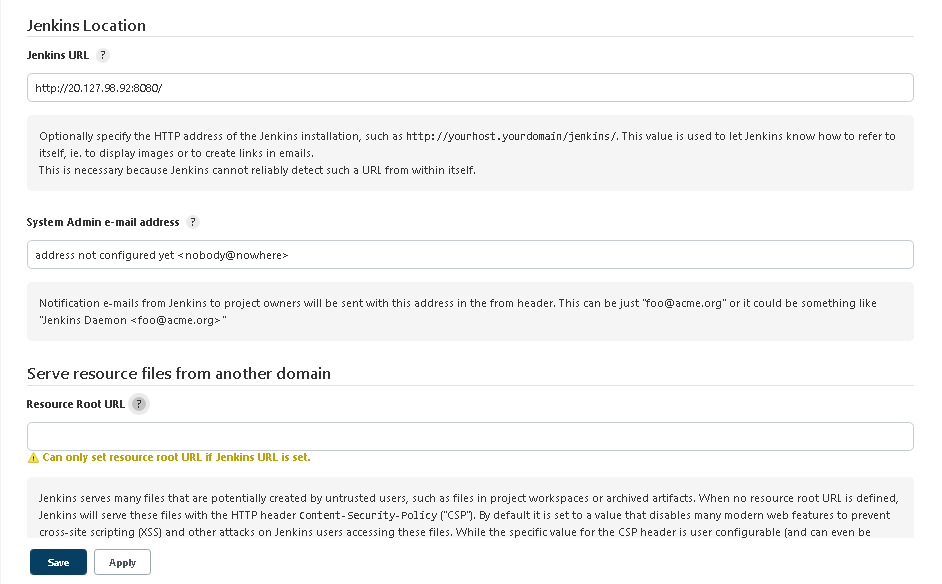
Here you can see and change the ‘Jenkins URL’ (using your domain name), the System Admin email, and set a lot of the options you need.
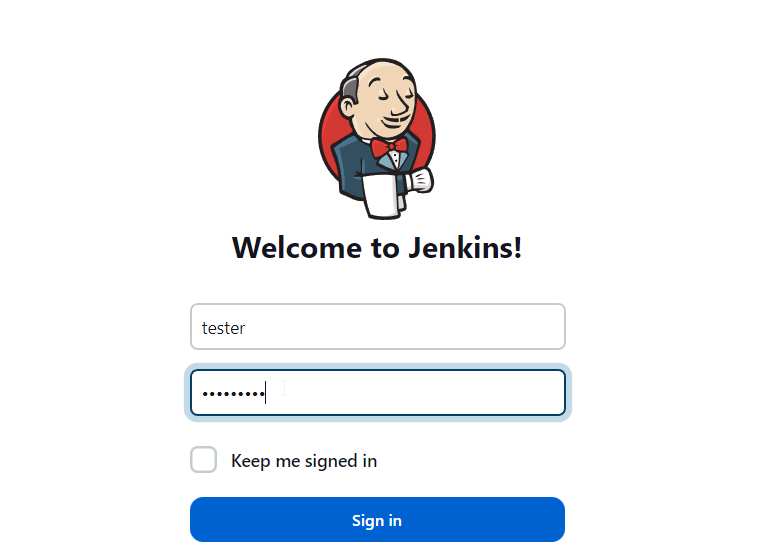
- Next time, you should use the credentials you created in step 4 of this chapter.
Jenkins on Debian 10 helps you to automate all sorts of tasks related to building, testing, and delivering or deploying software.
More information – Jenkins Handbook

