Secure VPN Server with WireGuard on Ubuntu 24.04 LTS provides a modern long-term support Linux platform with WireGuard included, enabling fast deployment of secure, high-performance VPN infrastructure.

This is a quick deployment and ready-to-run image.
Simple and rapid installation. Easy to maintain.
Configuration and Connection to Secure VPN Server with WireGuard on Ubuntu 24.04 LTS
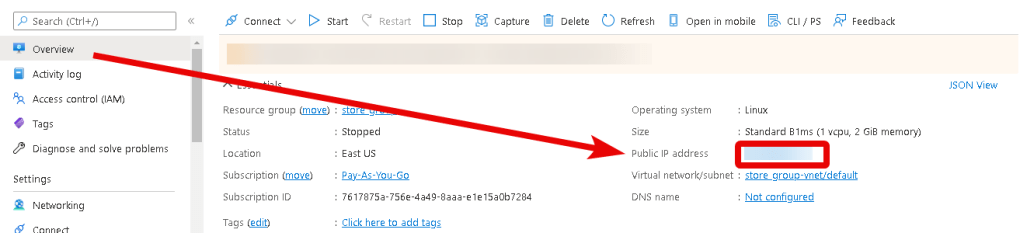
After purchasing and starting the VM, you should know its IP address. You can find it in your Azure account. Select the virtual machine from the list. By clicking the “Overview” item, your IP address will be displayed in the “Public IP Address” field.
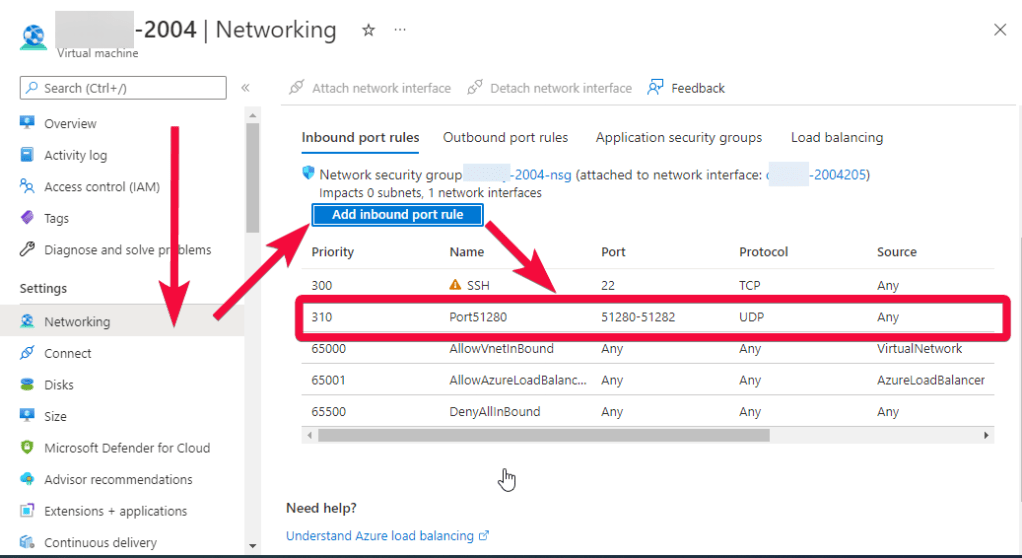
To work, you should open ports 51280-51282 UDP in the network properties in the Azure firewall.
Connection to WireGuard Server
- To manage the WireGuard server, you need to connect to the VM.
- With OpenSSH
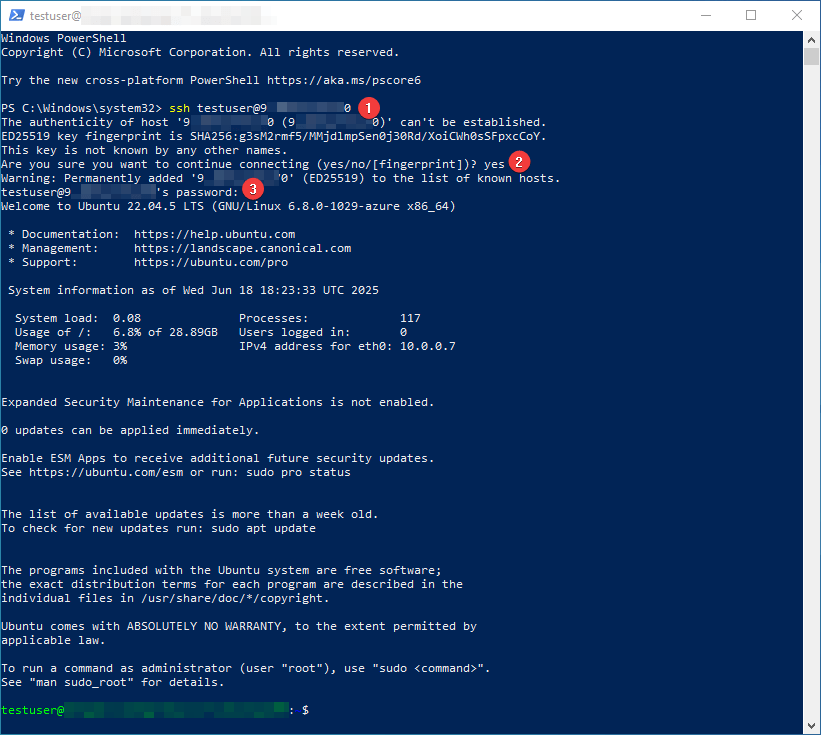
In the Windows 10 operating system (starting with version 1809 ), an OpenSSH client is available, with which you can connect to Linux servers via SSH. If Windows 10 is suitable and the OpenSSH client is installed, you can start connecting via SSH. To do this, launch a normal Windows command prompt and enter the command “ssh user@*vm_ip*” (1), where “user” is the username that was specified while creating the virtual machine and “*vm_ip*” is the VM IP address.
Then type “Yes” (2) and enter a password (3) that was specified while creating the virtual machine.
- With the PuTTY application
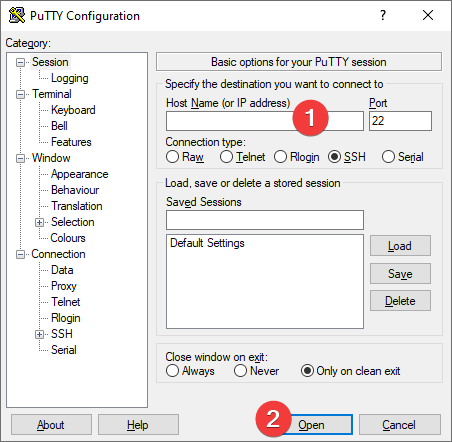
To connect via SSH, you need the PuTTY application. You can download it using the following link – Download
Run PuTTY, enter the VM address in the “Host” field (1), and click “Open” (2) to connect.
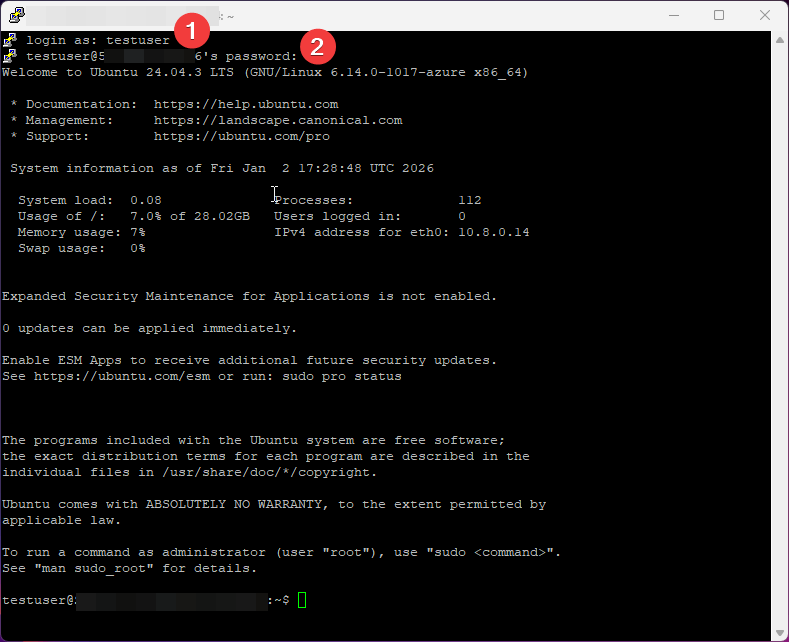
In the opened console, enter the username (1) and password (2) specified during VM creation (the password will not be visible while typing).
- Next, enter the following command to create a user:
$ sudo addvpnuser
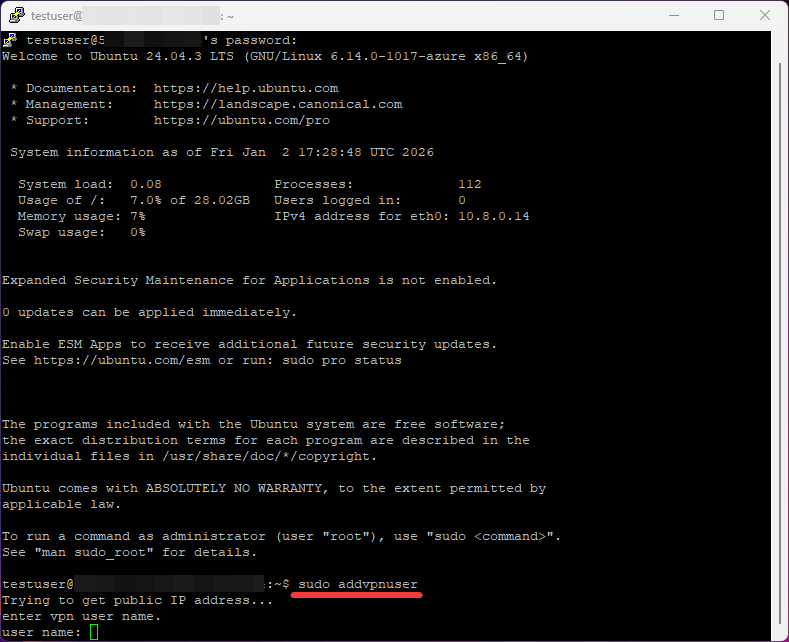
- Enter the username and press Enter button
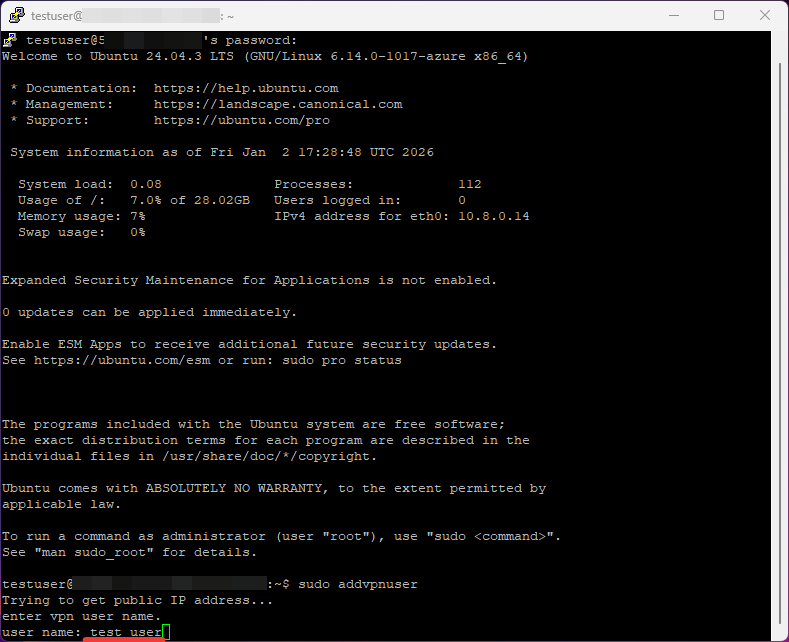
- Next, one of the free IP addresses will be offered, press Enter
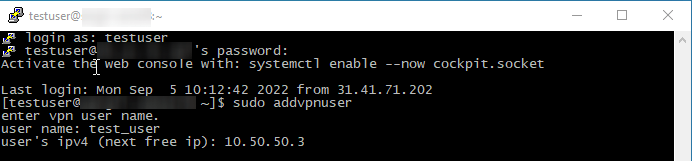
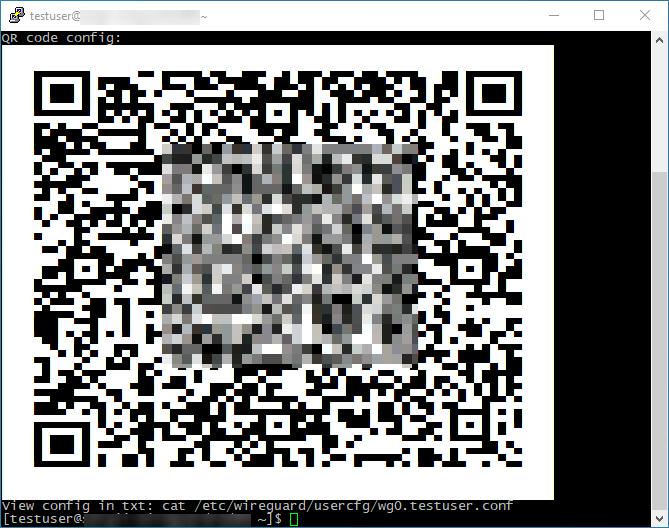
- The console will display QR codes for mobile devices and the configuration file path.
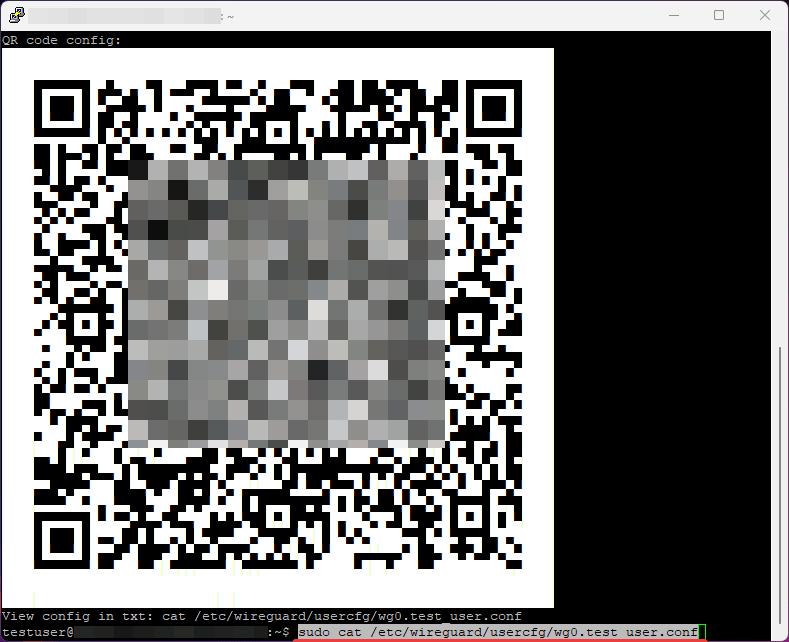
- Enter the command to open the configuration file:
$ sudo cat /etc/WireGuard/usercfg/wg0.test_user.conf
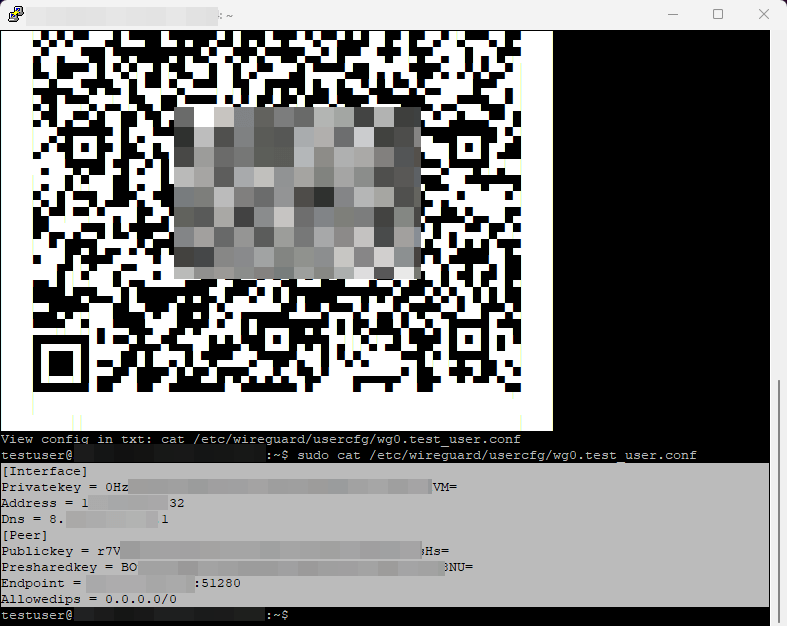
- Copy the part of the code highlighted in the screenshot using Ctrl + C.
- Create a blank text document and paste the copied code using Ctrl + V.
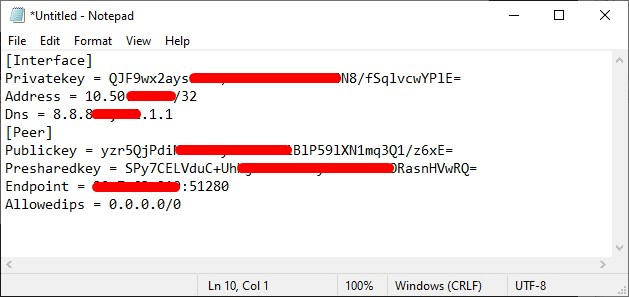
- Press File, then Save as.
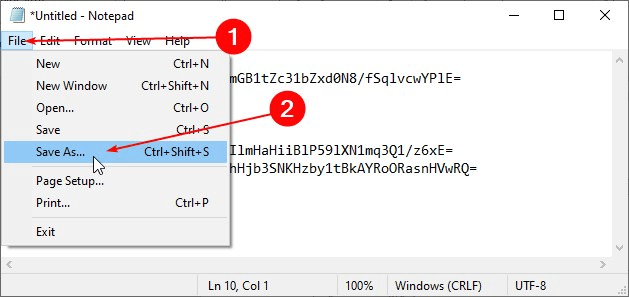
- In the line Save as type, select All files from the drop-down list. In the File name line, enter the file name and the “.conf” extension. Save the document by clicking on the Save button.

Connection to WireGuard Server
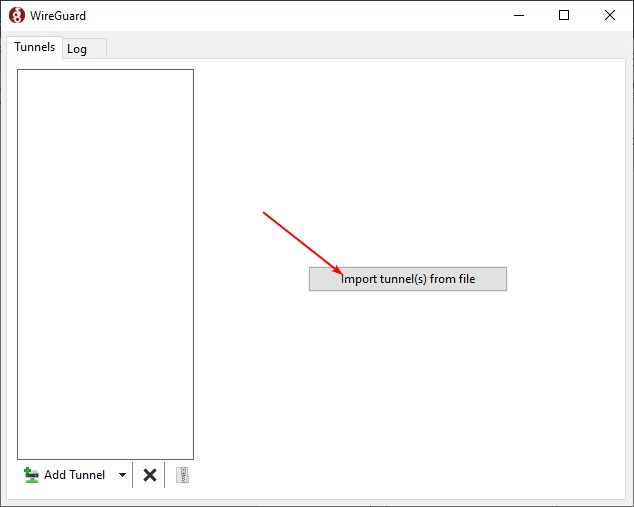
- Next, install the WireGuard application. Download link – Installation – WireGuard. Launch the application.
- Click on the Import tunnel(s) from the button and select the file created earlier.
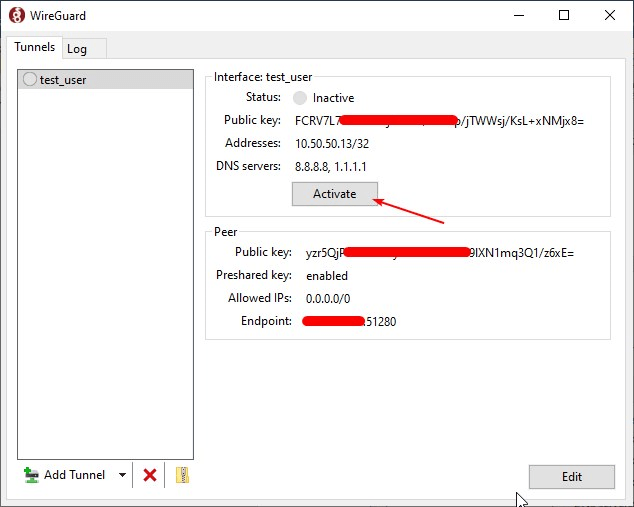
- Press the Activate button
- Congratulations! We hope this tutorial helped you configure the WireGuard VPN server and client. This setup allows you to browse the web anonymously by keeping your traffic private.
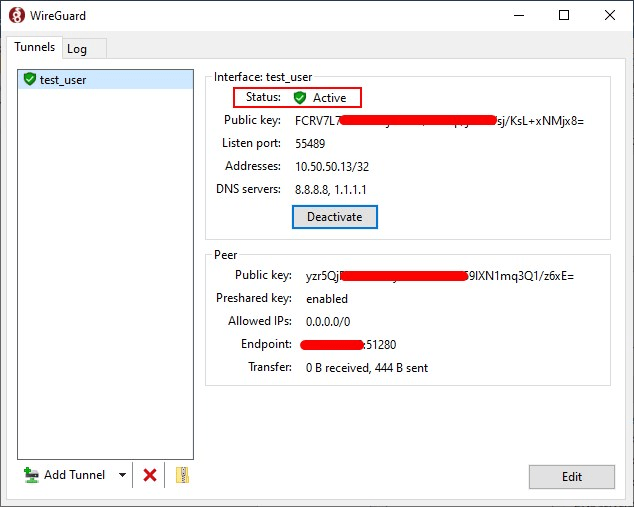
You can verify the IP address change by visiting What Is My IP before connecting to the WireGuard server and after connecting.
