Dedicated Minecraft Game Server Image is a one-click deployment and specially pre-configured for seamless work in AWS Environments.

This is a quick deployment and ready-to-run image.
Simple and rapid installation. Easy to maintain.
The guide on how to work with the Minecraft Java Game Server for Windows 2019 on amazon
To connect via RDP, you must create a password for the connect
ion first. To do this, use the following Guide.
- In order to launch the server, run the “start” file located in the following path: C:\minecraftserver

Also you should allow the access by port 25565 (TCP+UDP), you can do in properties of amazon firewall network.
Run your client to play the Minecraft Java Edition.
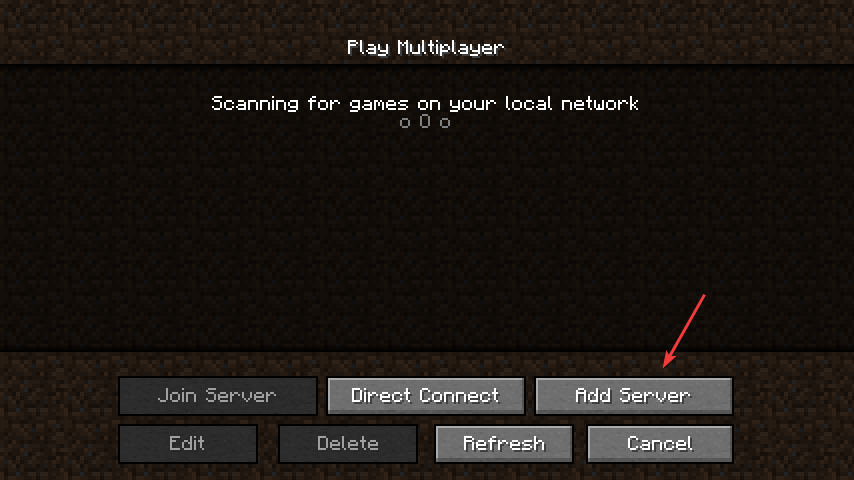
Click “Multiplayer” in the main menu.
Click “Add Server”.
- In the appeared window, in the “Server Name” field name the server as you like.
- In the “Server Address” field enter the IP address of the VM and click “Done”

In the server list, select the previously added server and click “Join Server”

By using the server you agree to the EULA: https://www.minecraft.net/en-us/eula/
