MailEnable Standard is the mail server designed for the Windows platform. Many corporate companies benefit from it. MailEnable Standard includes a webmail client that has been developed to be user-friendly.

This is a quick deployment and ready-to-run image.
Simple and rapid installation. Easy to maintain.
The configuration of the mail server MailEnable Standard on Windows 2016
Static Ip address – Your virtual machine should have the static IP address, if you want to constantly change the domain settings (because if the address is dynamic, after the rebooting of the machine it’ll change to the static one).
After creating the machine, it’s possible to get the access to the web-panel either directly through the IP address or by adding to the domain MX records
The instruction how to do that:
Google Domain – https://support.google.com/a/answer/6248174?hl=en
Namecheap – https://protonmail.com/support/knowledge-base/dns-records-namecheap/
GoDaddy – https://www.godaddy.com/help/what-is-an-mx-record-324
(For your site, where you’ve bought the domain – please, google “youdomainSeller add mx records” or contact seller customer support)
There is the detailed instruction how to work with the mail server on the desktop of the virtual machine:
MailEnable Standard Guide
MailEnable System Manual
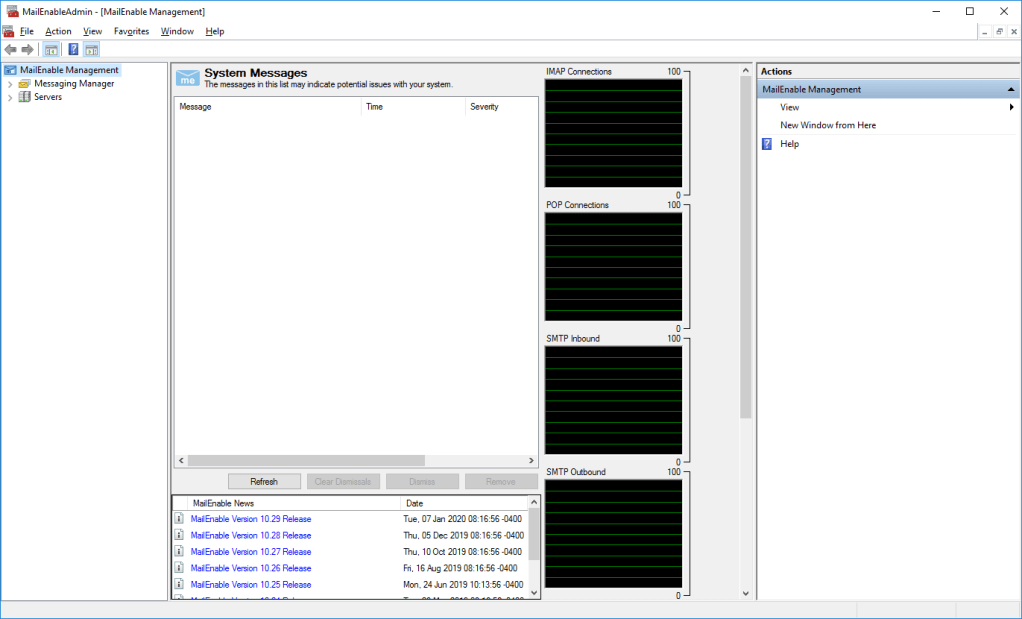
To get started with the mail service, run the app called MailEnable Admin from the desktop.
When the app is started, you will see the following window:
After the initial installation, you should make sure that these services are working. Expand Servers> localhost> System and click “Services Status”. You will see the following:

Next, you need to register your domains and mailboxes in the application. Detailed instructions are available at:
http://www.mailenable.com/support/MailEnable_Quick_Start_Guide.pdf
For the mail service to work, it is also necessary to open the following TCP ports for MailEnable in Amazon firewall:
25, 110, 995, 587, 465, 143, 993, 389, 80, 443, 8080, 8443
A list of these ports is displayed here:
https://www.mailenable.com/kb/content/article.asp?ID=ME020202
After all the settings, go to your preferred email client (for example Microsoft Outlook, Firefox Thunderbird, etc.) and now you can work with the mailboxes that you’ve created.
