ICTFAX – FAX Software Server for LINUX CentOS 7.9 is a multi-tenant Fax over IP software solution for businesses and Internet Voip/Foip service providers that will enable them to offer Outbound/Inbound Fax Services to their customers like Efax or myfax.

This is a quick deployment and ready-to-run image.
Simple and rapid installation. Easy to maintain.
The guide how to work with the ICTFAX – FAX Software Server for LINUX CentOS 7.9
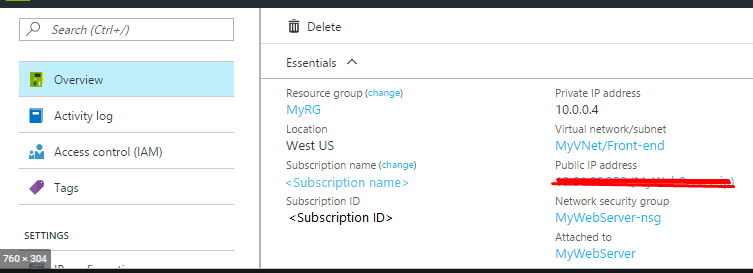
1. After purchasing and start of the VM you should know its IP address. You can find it in the personal account of Azure. (You need to select the virtual machine from the list. By clicking the item “Overview”, your IP is displayed in the line of “Public IP Address”).
2. To work, you must open port 80 (TCP) in the network properties in the azure firewall
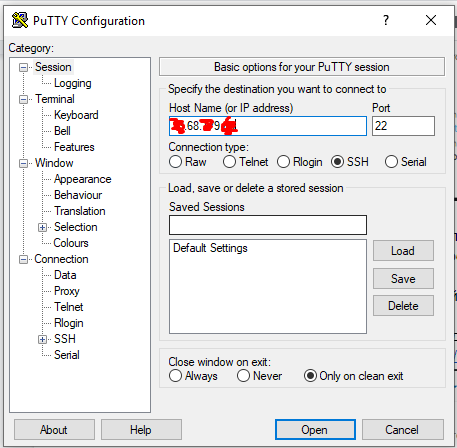
3. To connect to the VM you can use the SSH and PuTTY apps
4. When the app was started, you should enter the login and password.
5. The initial configuration for the VM has been made already, so after turning it on you can go to the admin panel.
6. To access the admin panel, you need to enter in the address bar http://yourVM’sIP/ictfax
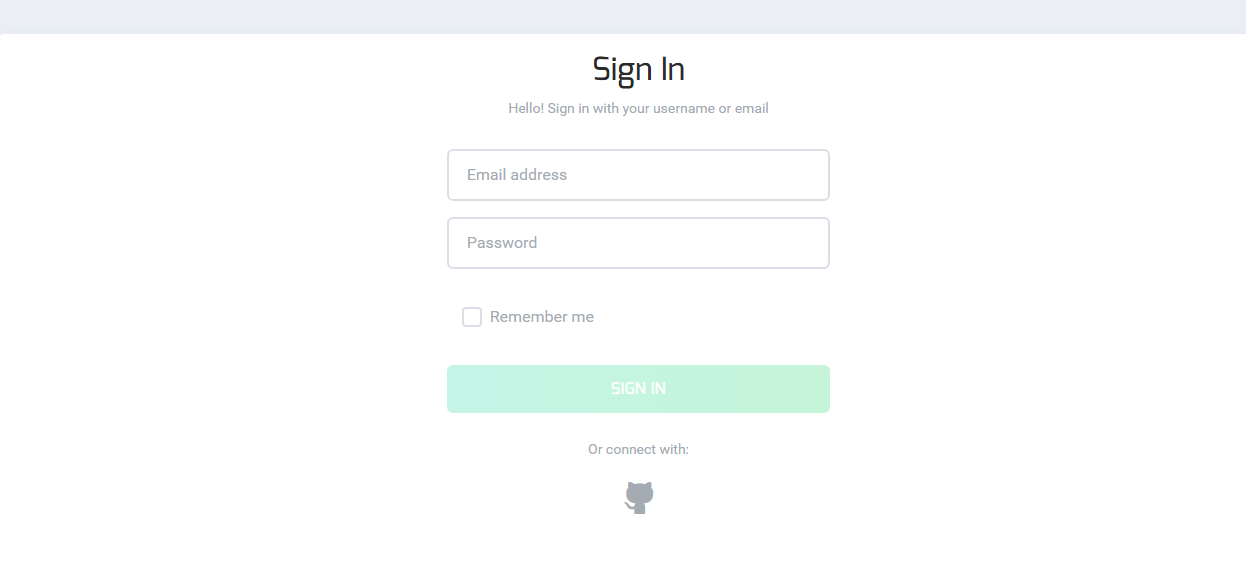
7. To enter an already created account, you can use the following data:
Login – admin@ictcore.org
Password – helloAdmin


Useful links:
Initial setup and first fax sending – https://ictfax.org/content/ictfax-installation-guide
Admin Guide – https://ictfax.org/content/ictfax-admin-guide
