Configuring and Сonnecting to the GLPI® System Server for Oracle Linux® 9
To start the server, run the VM through the Azure Portal.
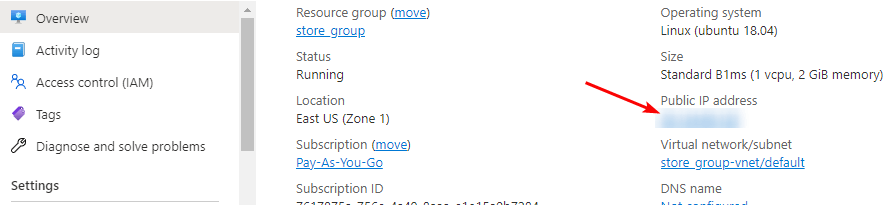
- To connect to the server, you should know the the VM’s IP address. You can find it in your Azure account. (You need to select the virtual machine from the list. By selecting the virtual machine from the list and opening the Overview tab, the IP address is displayed in the Public IP address field).
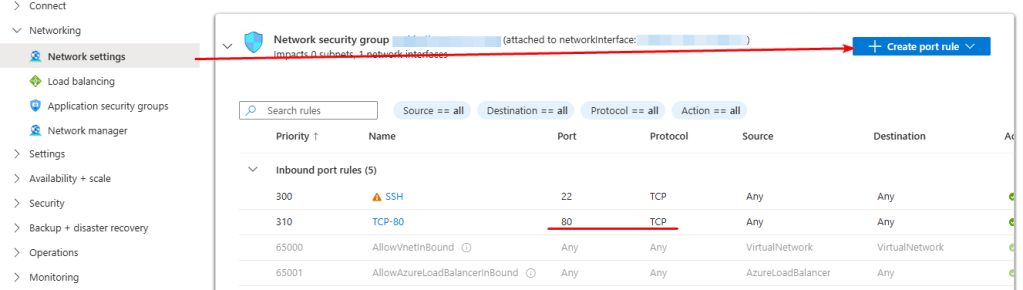
- To access the web interface, you must open TCP port 80 in the Azure network security settings (NSG).
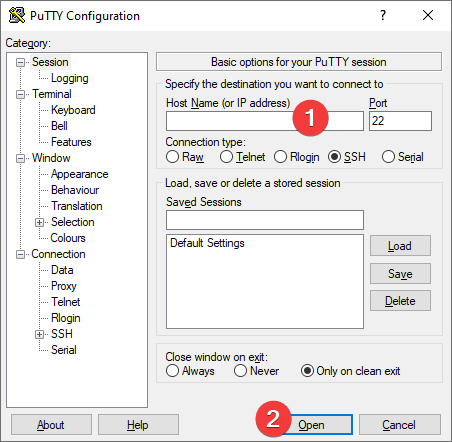
- To connect to the VM via SSH, use the PuTTY application. You can download it from the following link – Download.
- Run PuTTy, enter the VM address in the “Host” field, and click “Open” to connect.
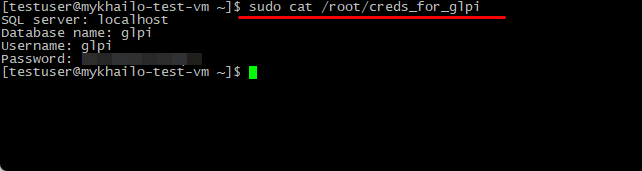
- In the opened console, enter the username (1) and password (2) specified during VM creation. The password will not be visible while typing.

- To obtain the credentials required for GLPI configuration, run the following command: sudo cat /root/creds_for_glpi
- To open the web interface, navigate to the following address in your web browser: http://vm_ip.
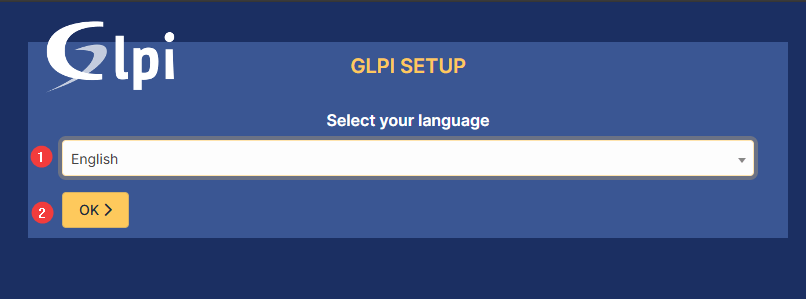
- Select language (1), and click OK (2)
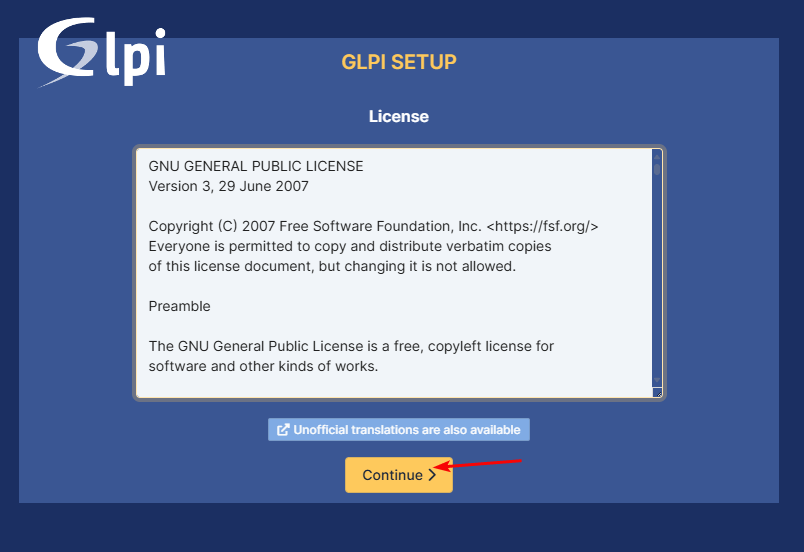
- Agree to the license, click Continue.
- Click Install.

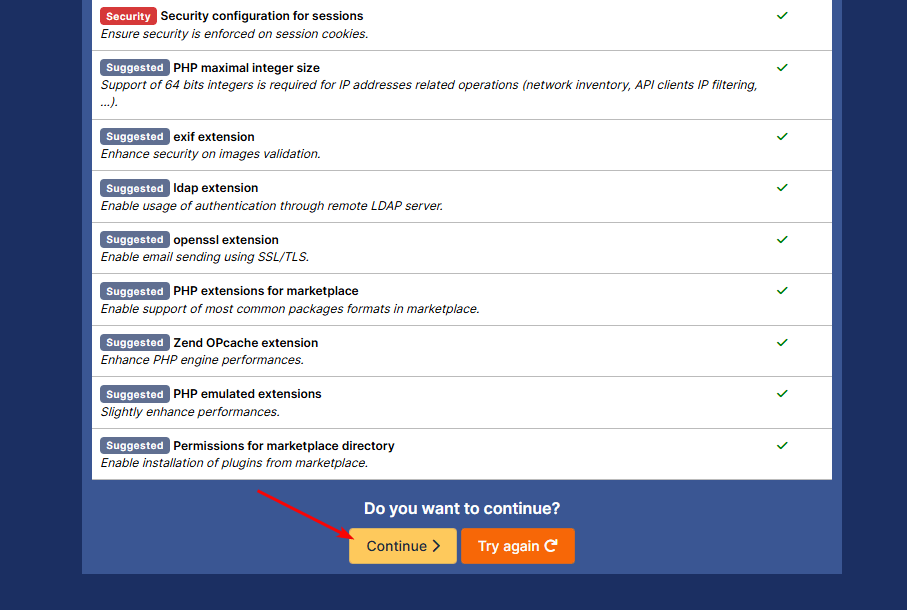
- Scroll down, and click Continue.
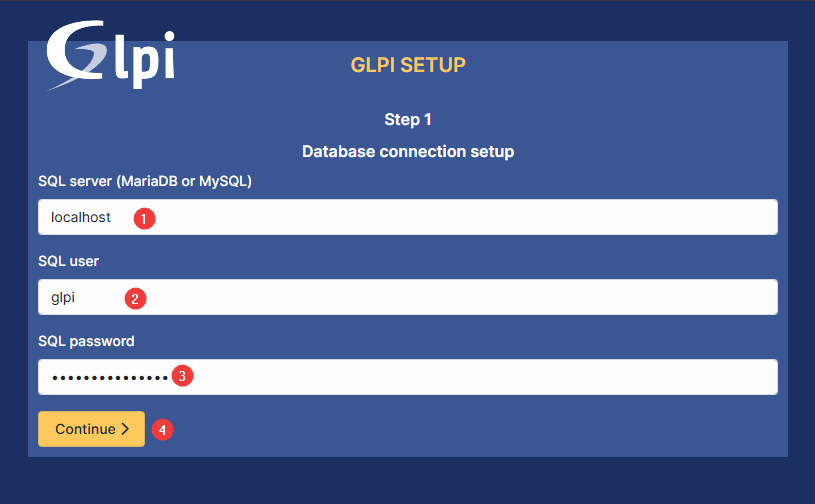
- From step 6 of this instruction, paste into the Server name (1); Username (2) and Password (3) fields. Click Continue (4)
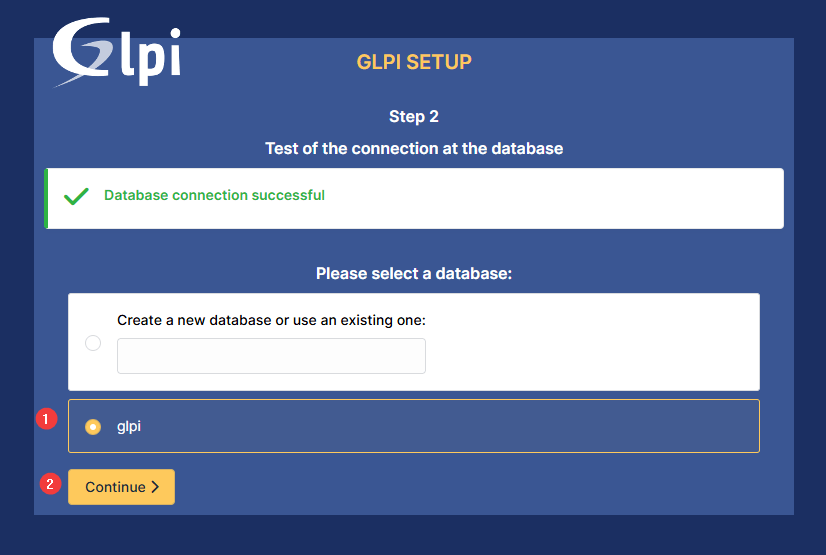
- Select the GLPI database (1) and click Continue (2).
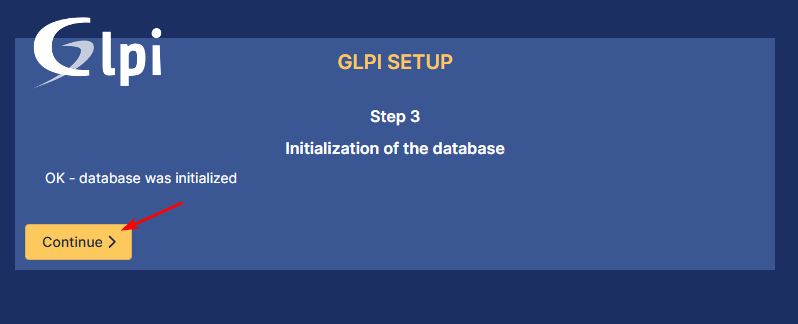
- Click Continue.
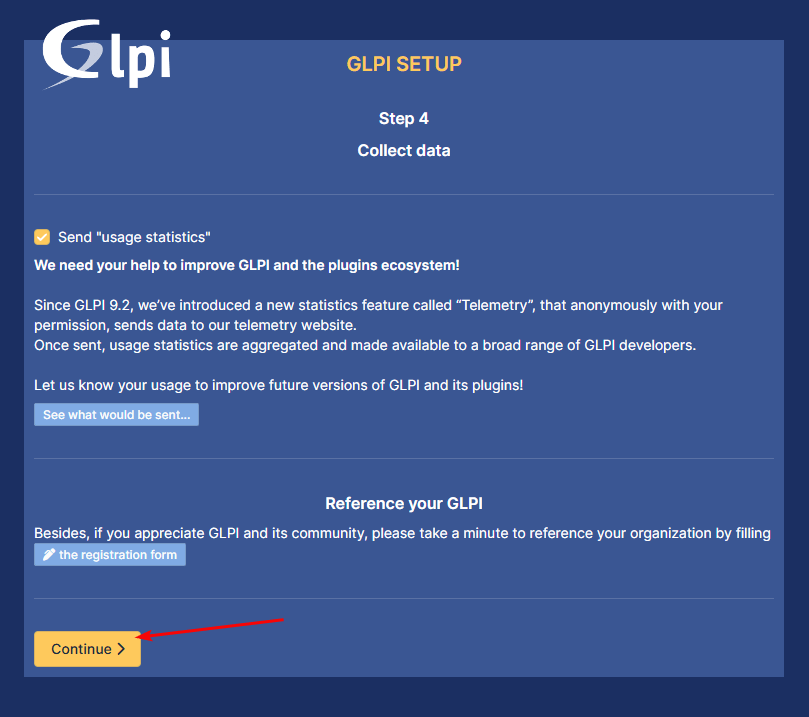
- Click Continue.
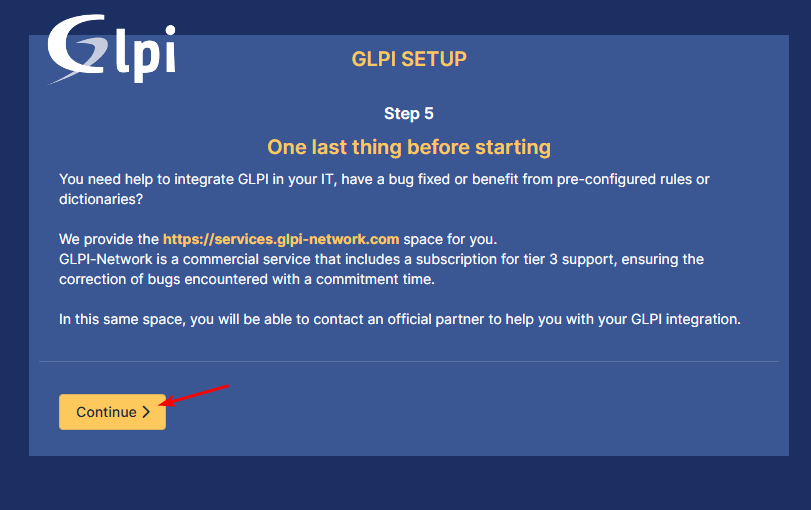
- Click Continue.
- Click User GLPI.
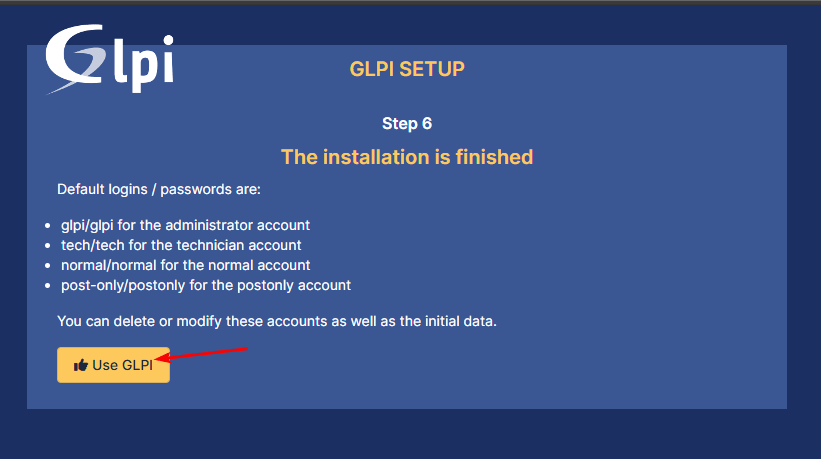
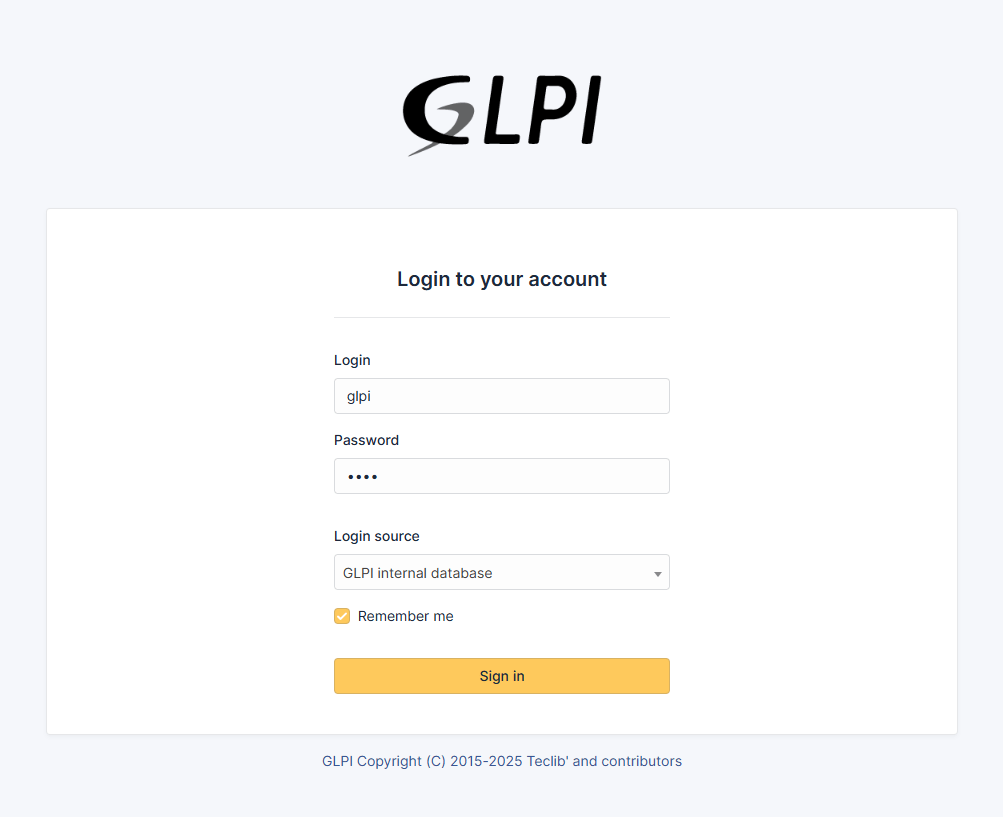
- You will be asked to log in. Default credentials are:
- for the administrator account – glpi/glpi
- for the technician account – tech/tech
- for the normal account – normal/normal
- for the postonly account – post-only/postonly
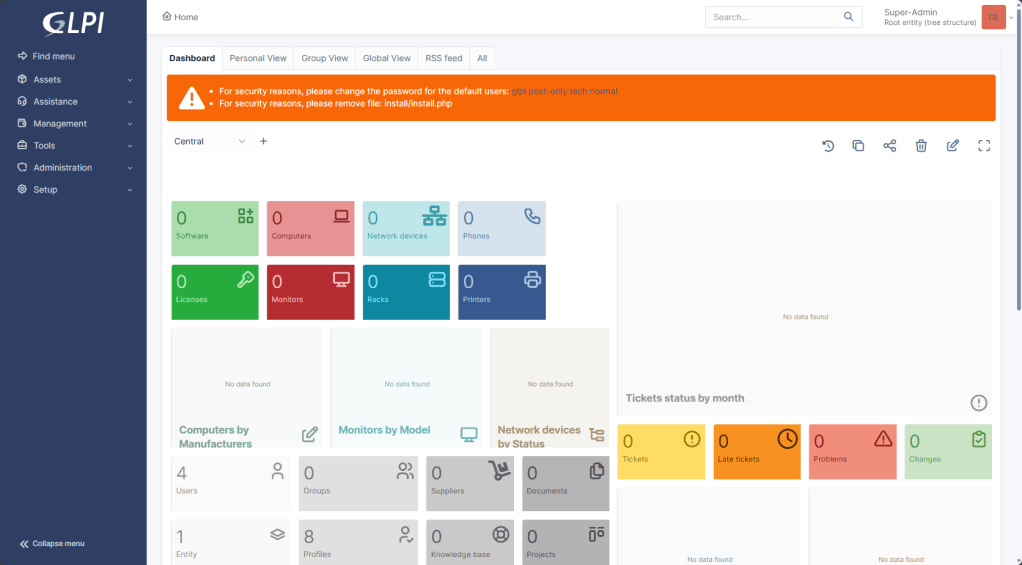
- The dashboard window will be displayed.
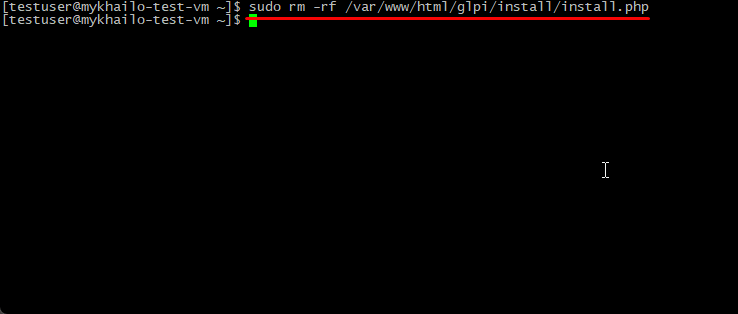
- After completing all configuration steps, reconnect via SSH (see step 4) and remove the installation file by running the following command:
sudo rm -rf /var/www/html/glpi/install/install.php
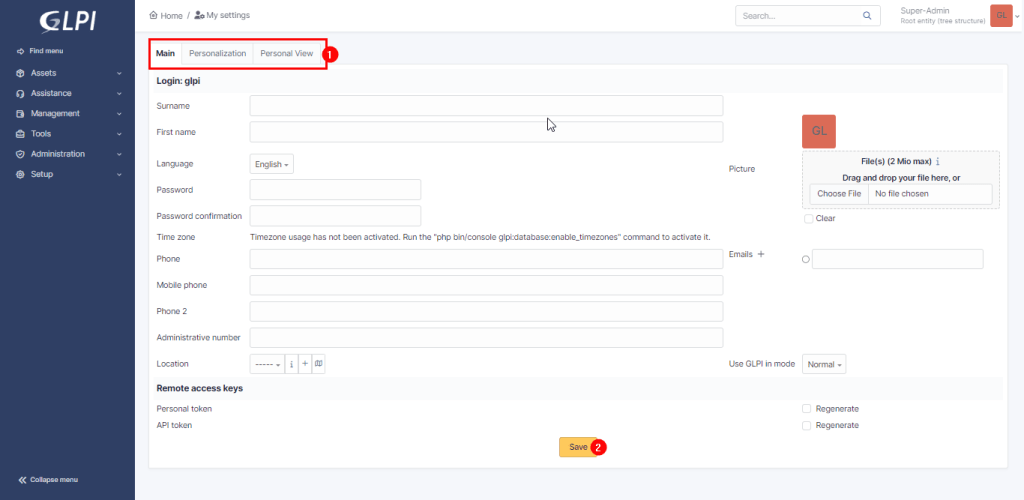
- To enter your details and set a new password, click “Account ⇒ My Settings” in the upper right corner.

- Fill in the required fields in the tabs (1) and click “Save” (2).
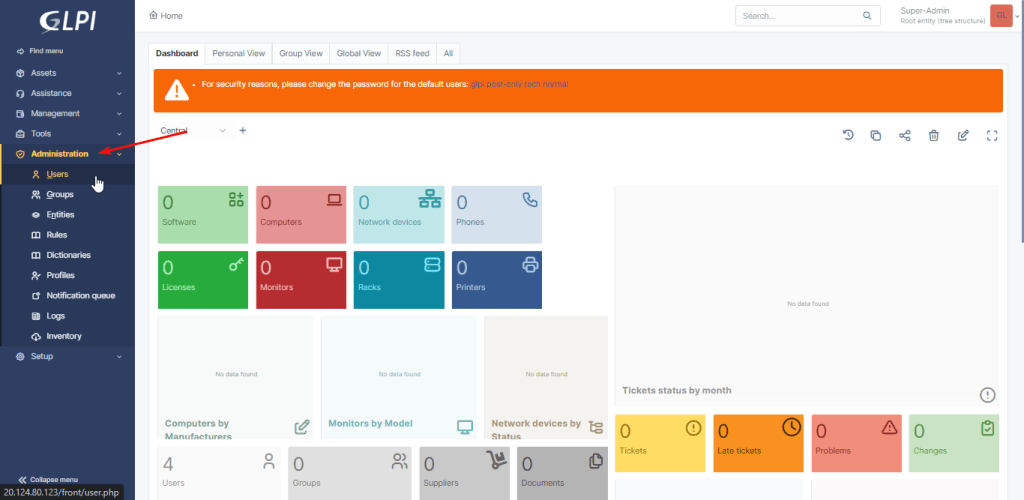
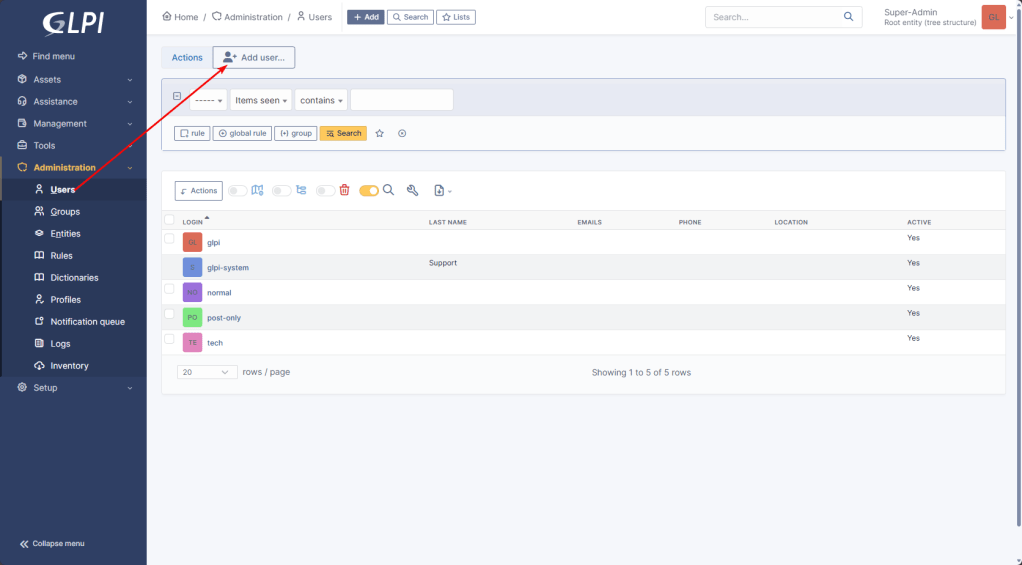
- To manage users and user groups, click “Administration ⇒ Users/Groups.”
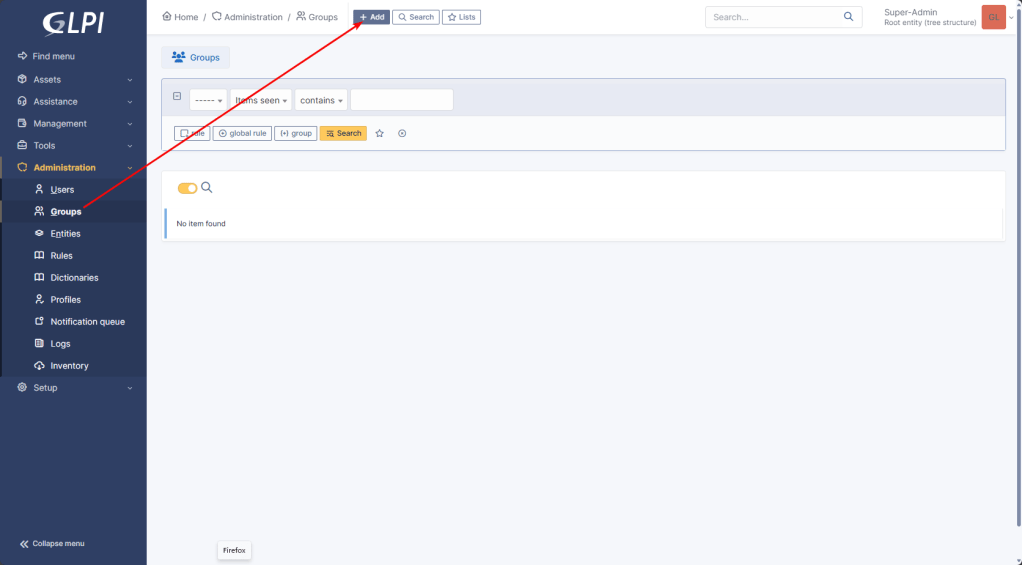
- Here you can create a new group of users.
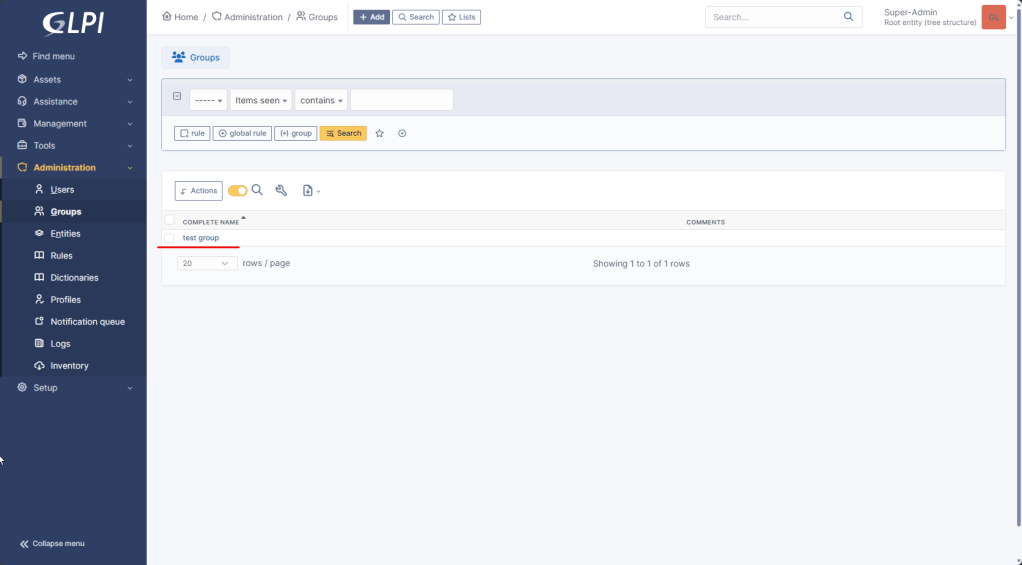
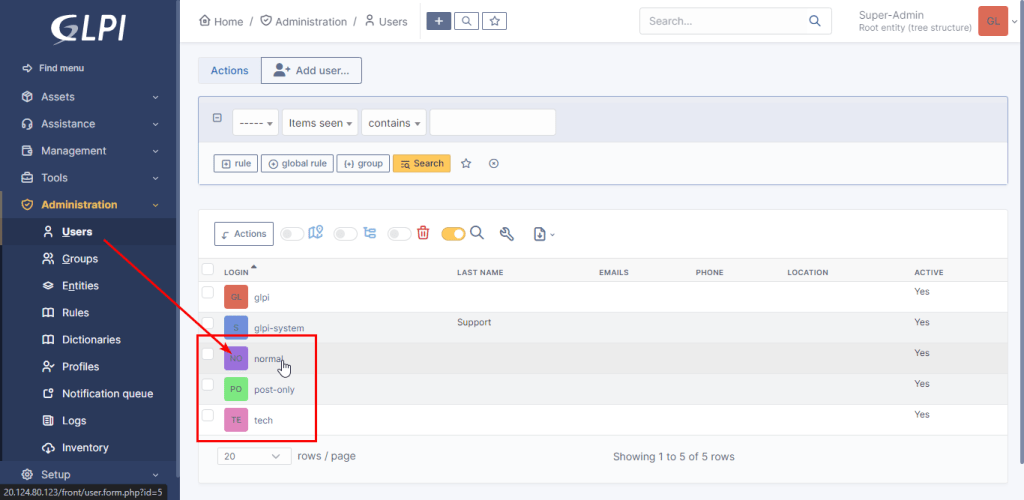
Add a newly created user here.
- You can also view and change user rights from step 18.

You can now use, configure, and manage the GLPI System Server.
For more information, see the official GLPI Documentation.
