Configuring and connecting to GLPI® System Server for Minimal Windows Server 2022 DC Azure
To start the server, run the VM through the Azure Portal.
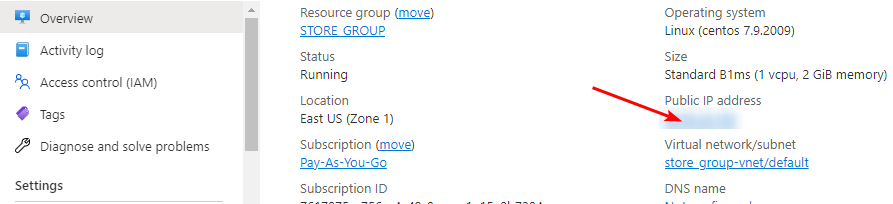
- For the connection to the server, you should know the IP address of the VM. You can find it in your Azure account. (You need to select the virtual machine from the list. By clicking the item “Overview”, your IP is displayed in the line “Public IP Address”).
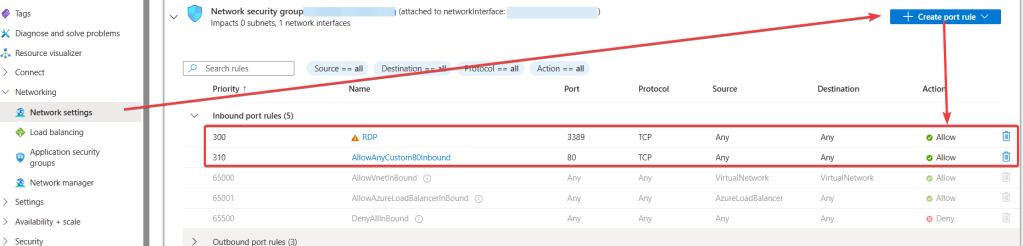
- To work, you must open port 80 (TCP) in the network properties in the Azure firewall.
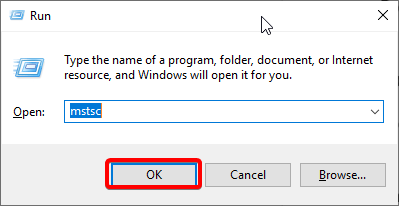
- To connect to the virtual machine, run the “Remote Desktop Connection” shortcut (Win + R). In the window that appears, enter “mstsc” and click “OK”.
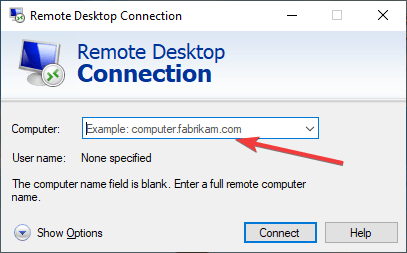
- In the window that appears, enter the virtual machine’s IP and click “Connect”.
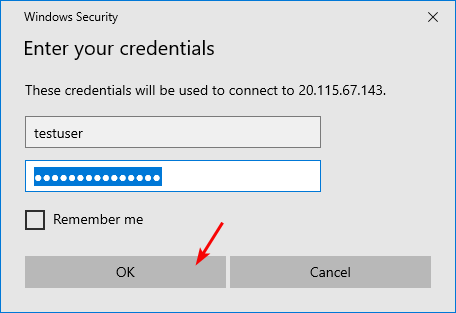
- Enter your username and password in the displayed window, then click “OK.”
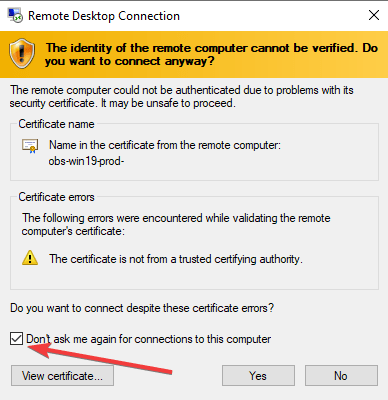
- Check the box and click “Yes”.
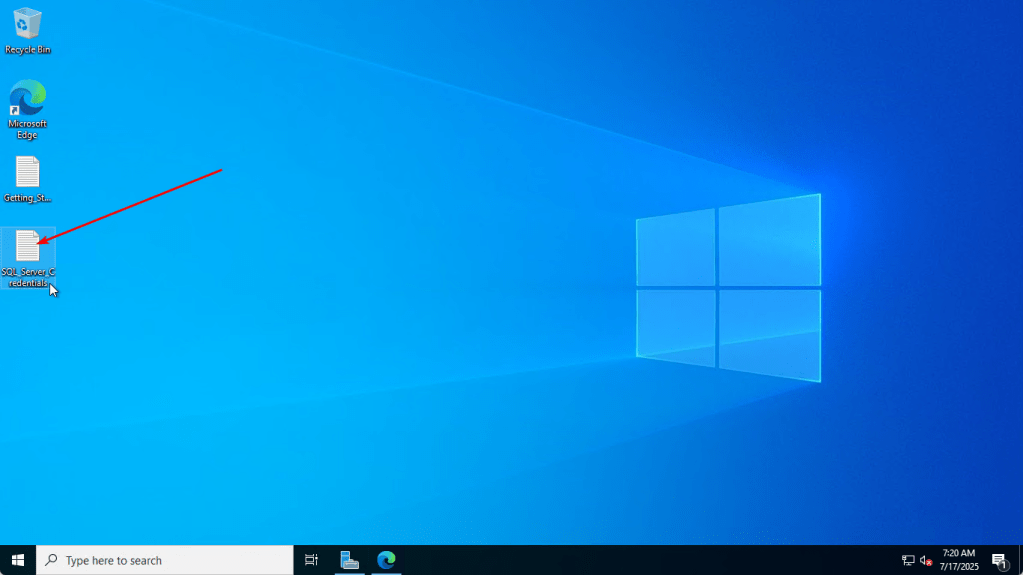
- Open the SQL_Server_Credentials.txt file to get the data for the first connection to the database on the desktop.
- To open the site, go to the following address in any browser convenient for you: http://vm_ip:80.
- After opening the site in the browser, the following settings need to be made:
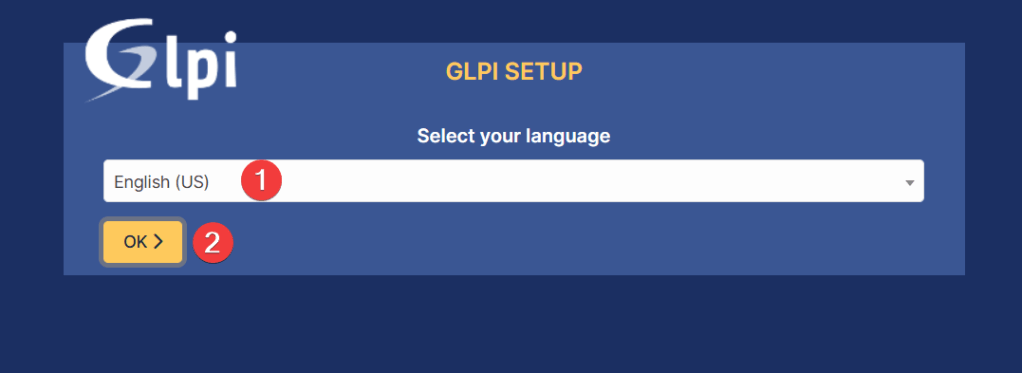
9.1 Select language (1) and click OK (2)
9.2 Agree with the License Agreement
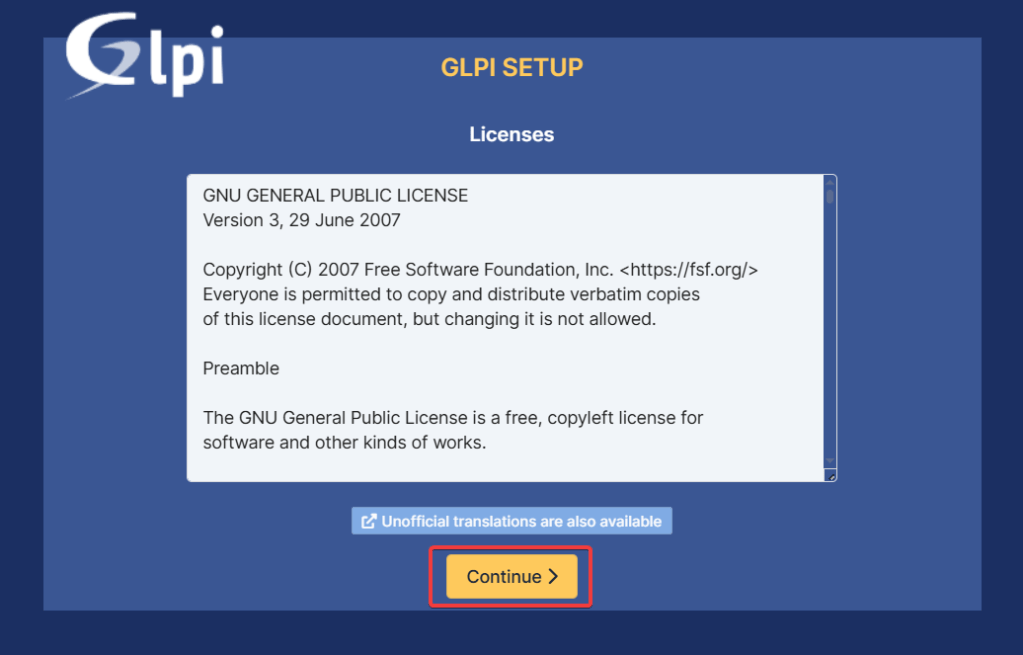
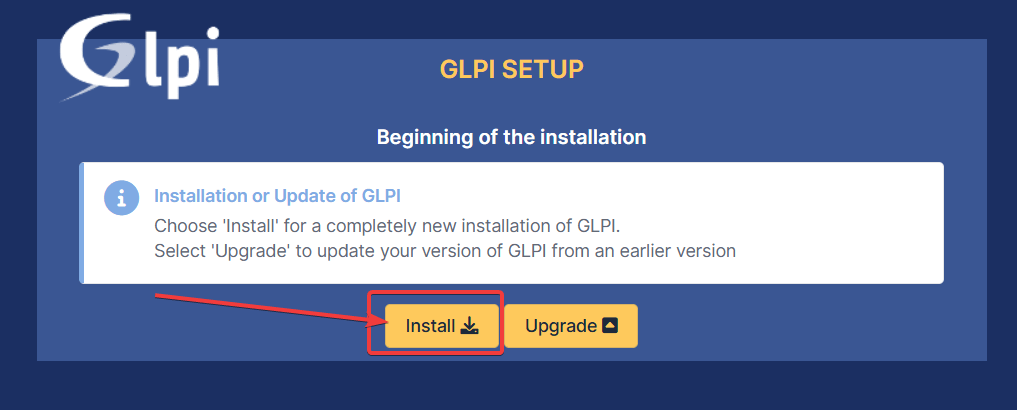
9.3 Click Install
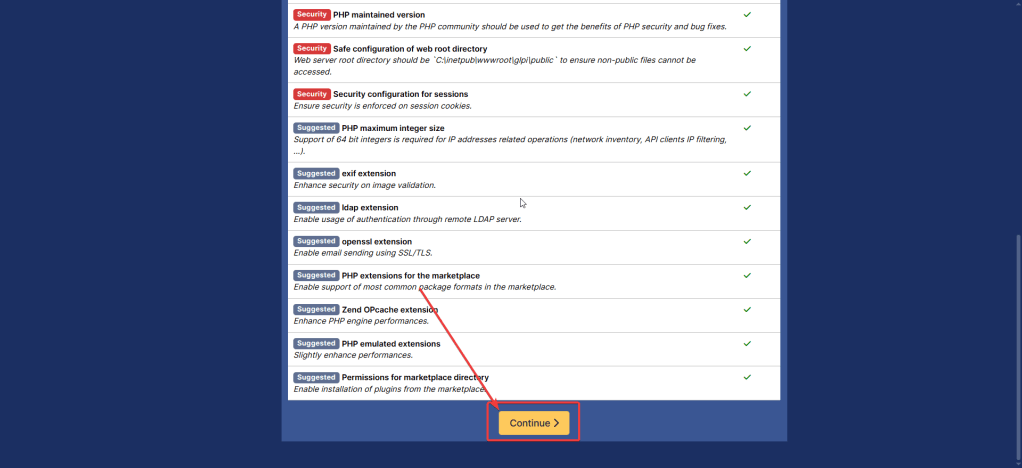
9.4 Scroll the page to the end and click Continue
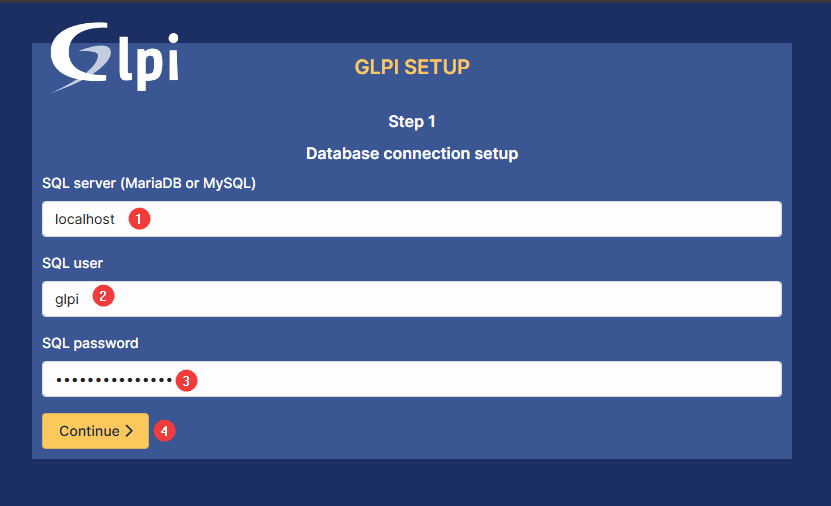
9.5 Set up Database connection: in the SQL server field, enter localhost (1), SQL username (2), and password (3) you can find in the file specified in step 7. After filling in all fields, click Continue (4)
9.6 In the next step, select glpi Database (1) and click Continue (2).
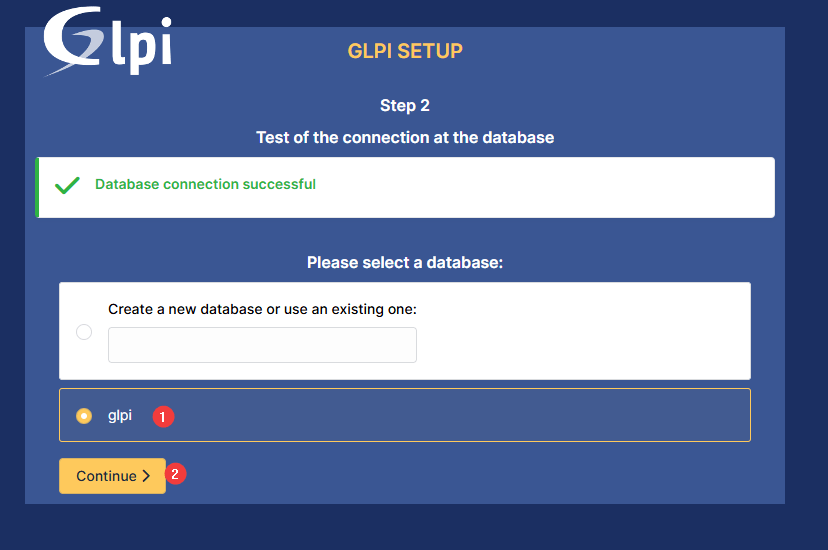
9.7 In the next step, click Continue
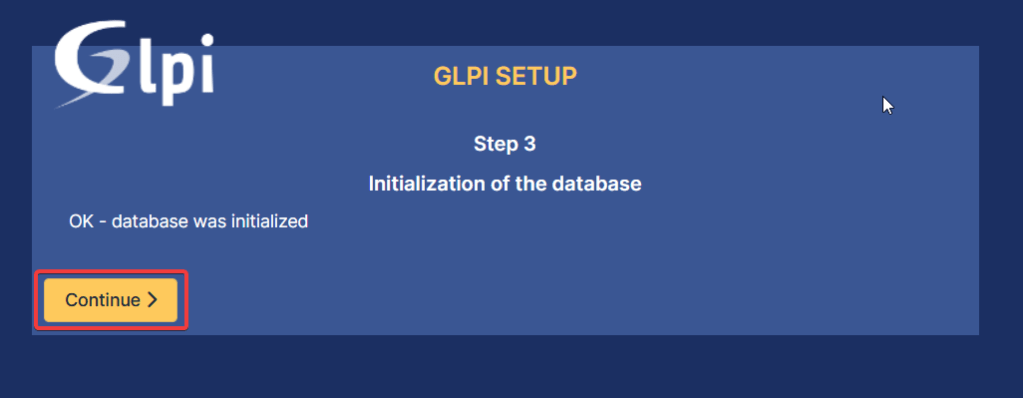
9.8 In the next step, click Continue
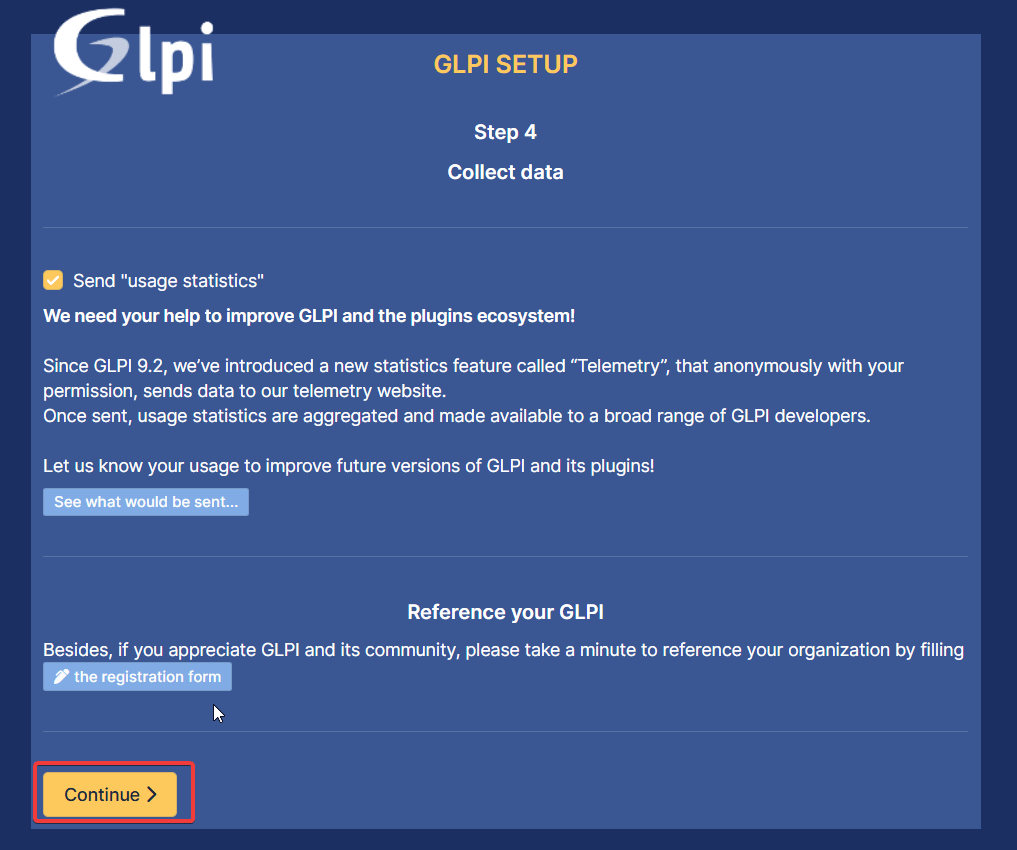
9.9 In the next step, click Continue
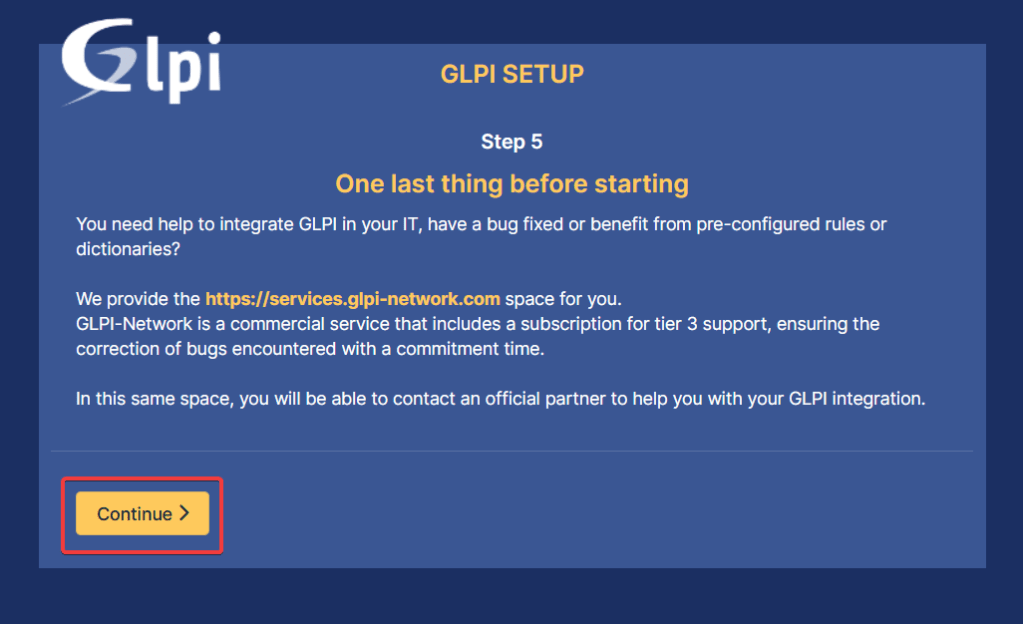
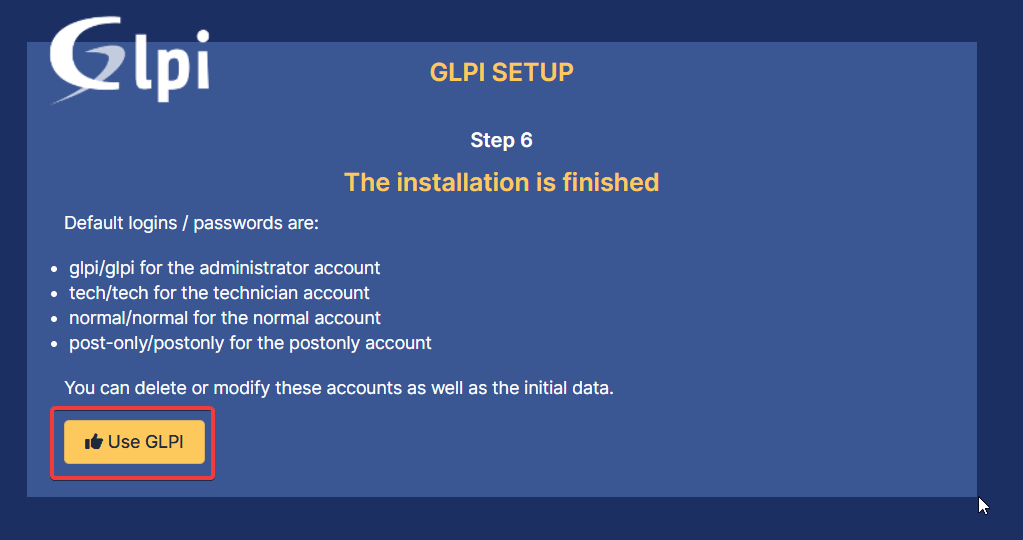
9.10 In the next step, click Use GLPI
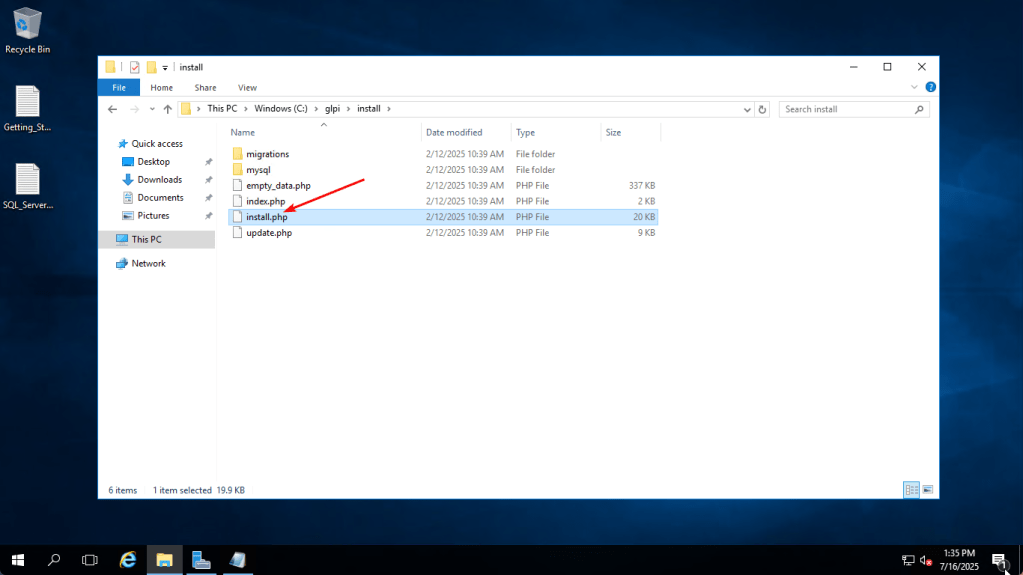
- After completing the settings, it is recommended to connect to the VM and delete install.php file from the folder C:/glpi/install/install.php.
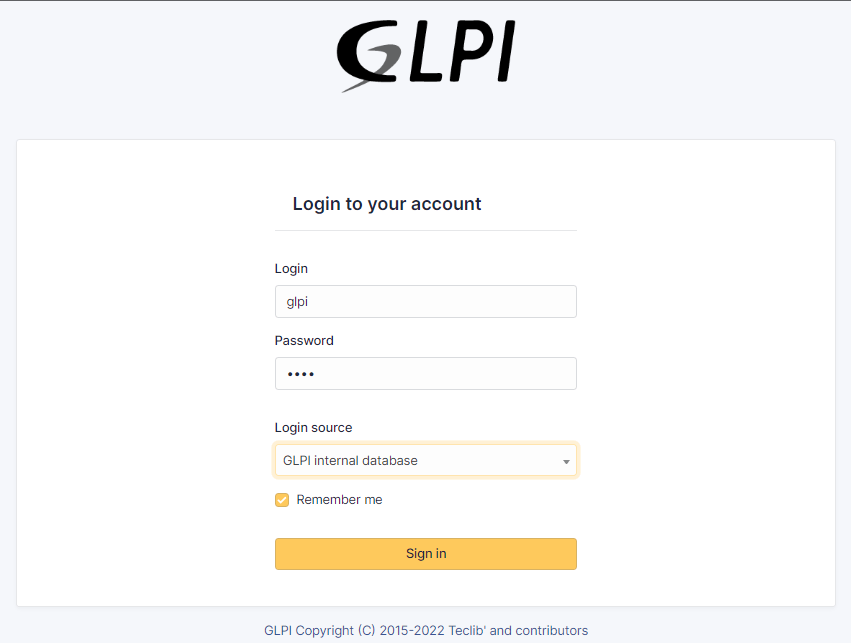
- You will be asked to log in. Default credentials are:
- for the administrator account – glpi/glpi
- for the technician account – tech/tech
- for the normal account – normal/normal
- for the post-only account – post-only/postonly
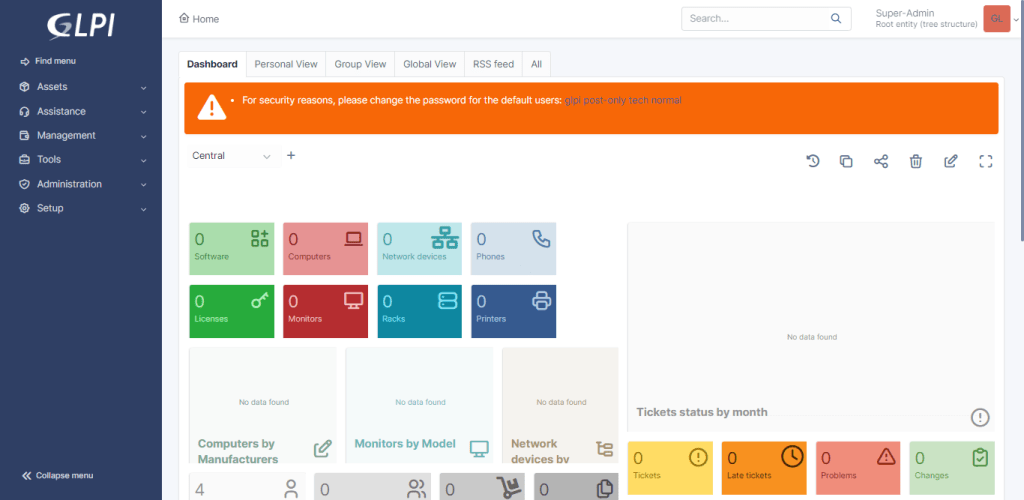
- The dashboard window will be displayed.
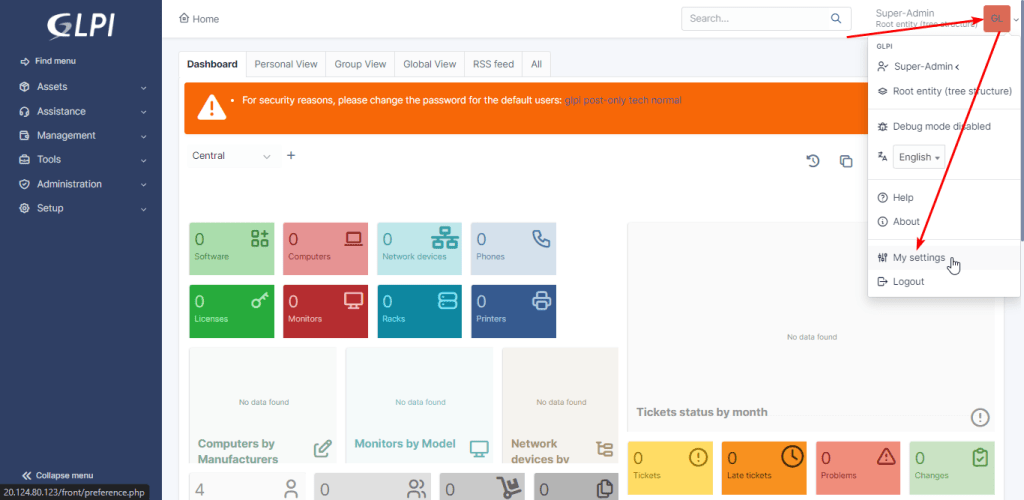
- To enter your details and set a new password, click “Account ⇒ My Settings” in the upper right corner.
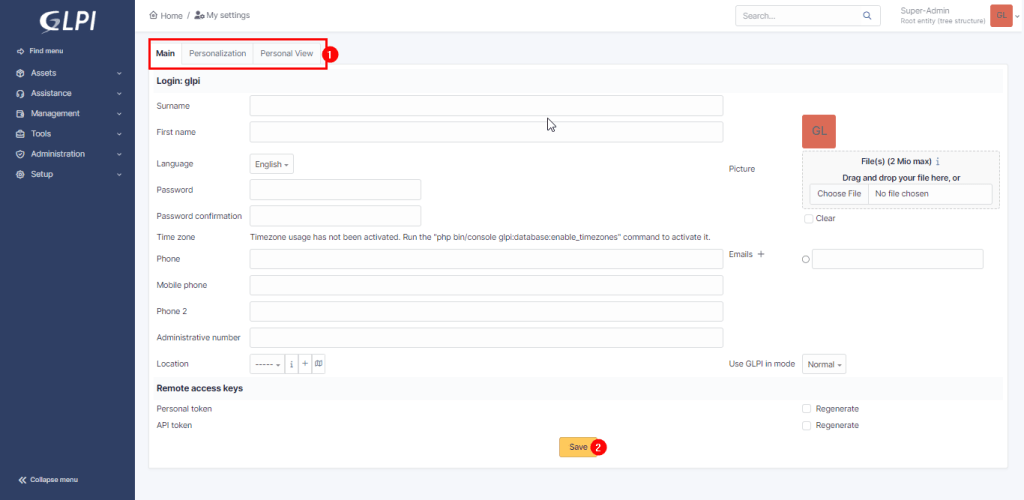
- Fill in the required fields in the tabs (1) and click “Save” (2).
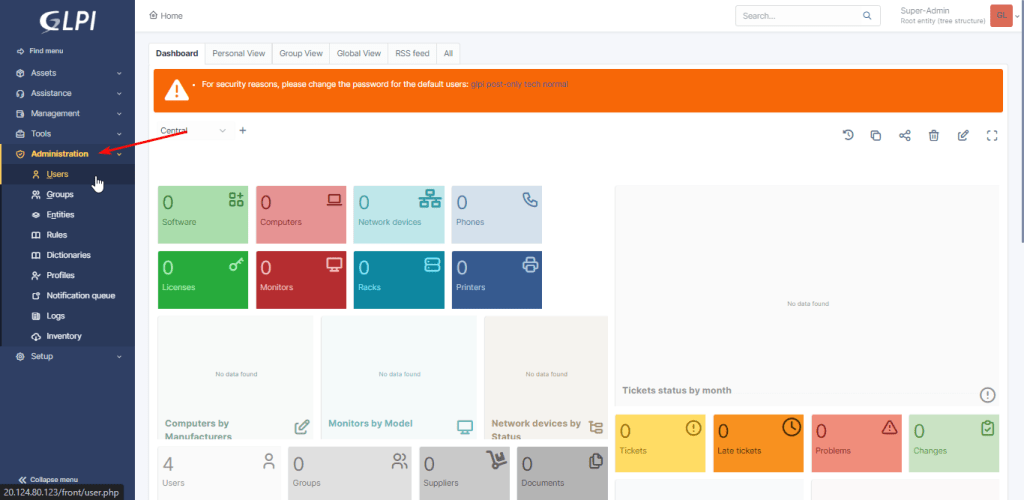
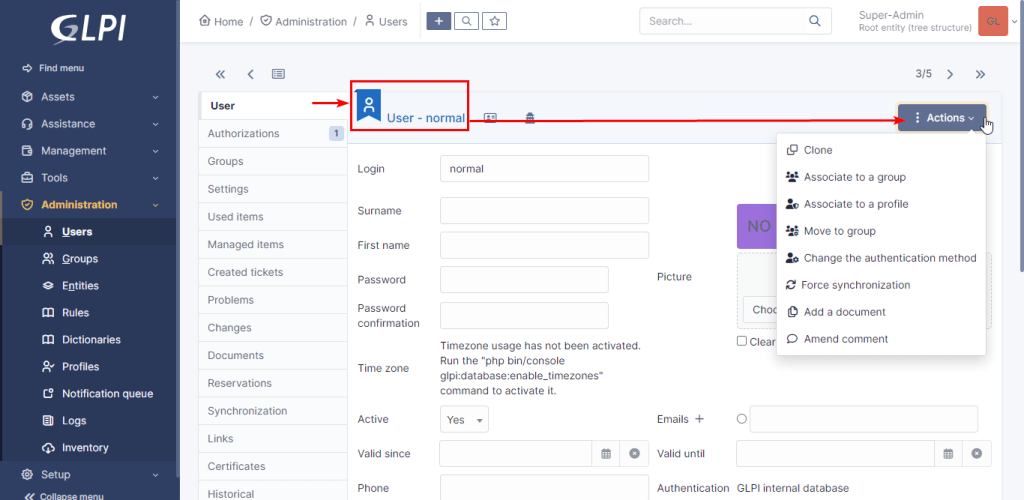
- To manage users and users groups, click “Administration ⇒ Users/Groups”
- Here you can create a new group of users.
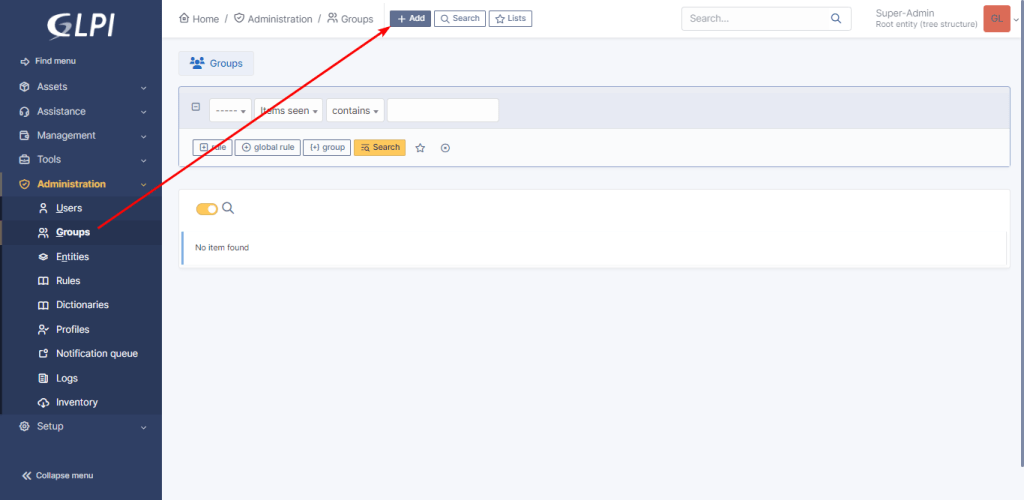
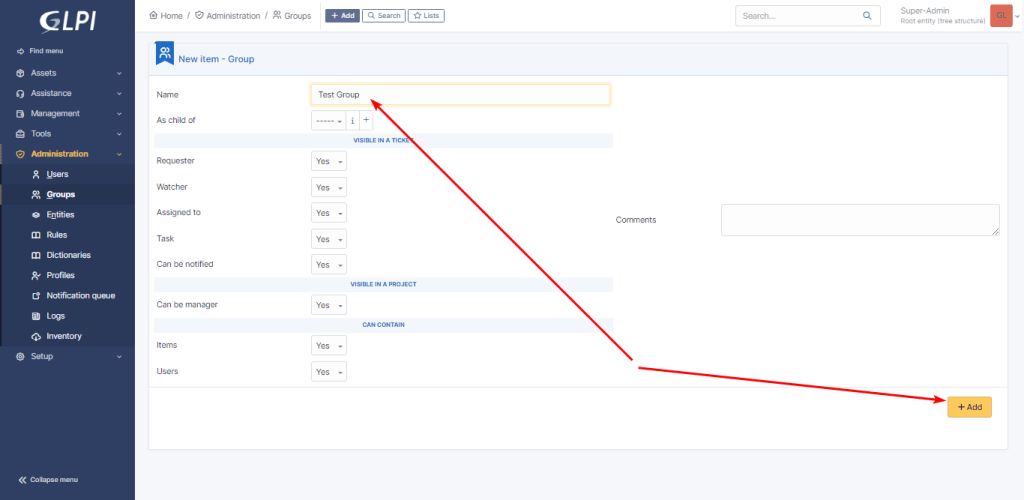
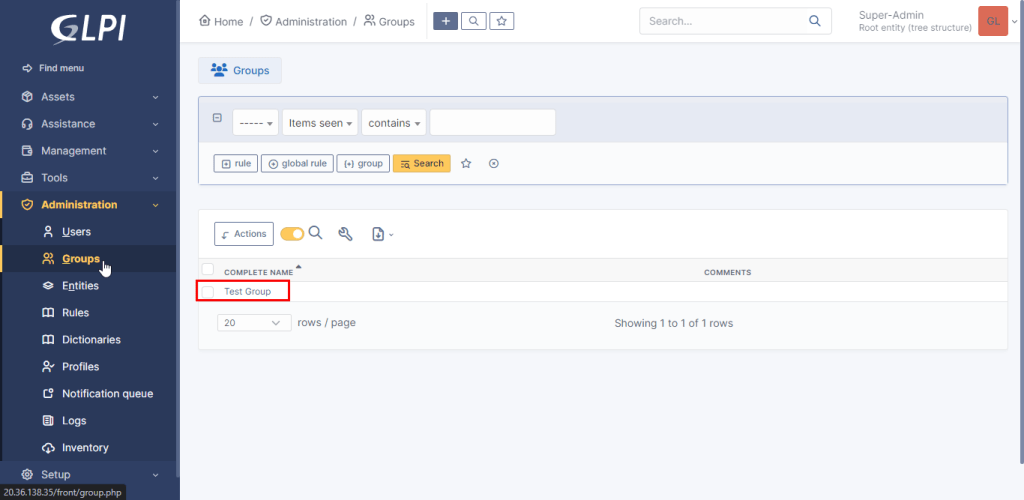
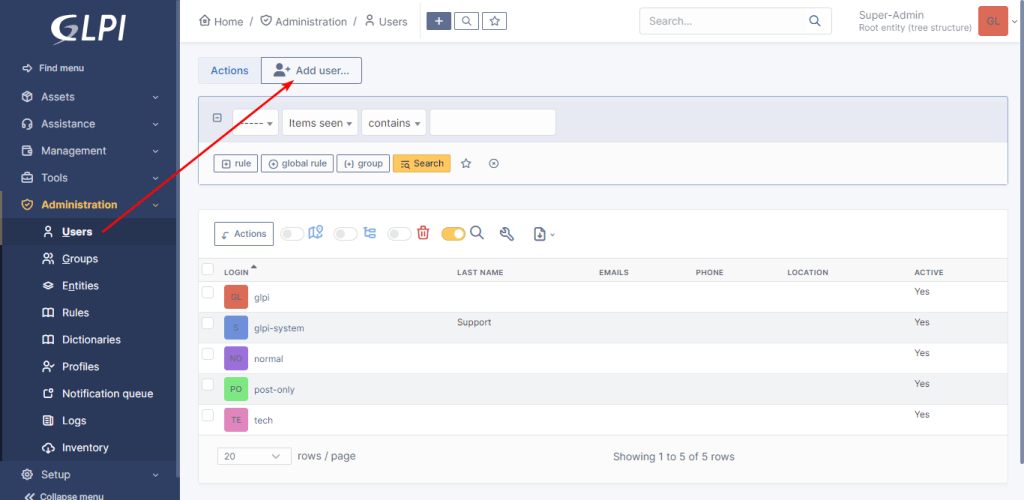
Add a newly created user here.
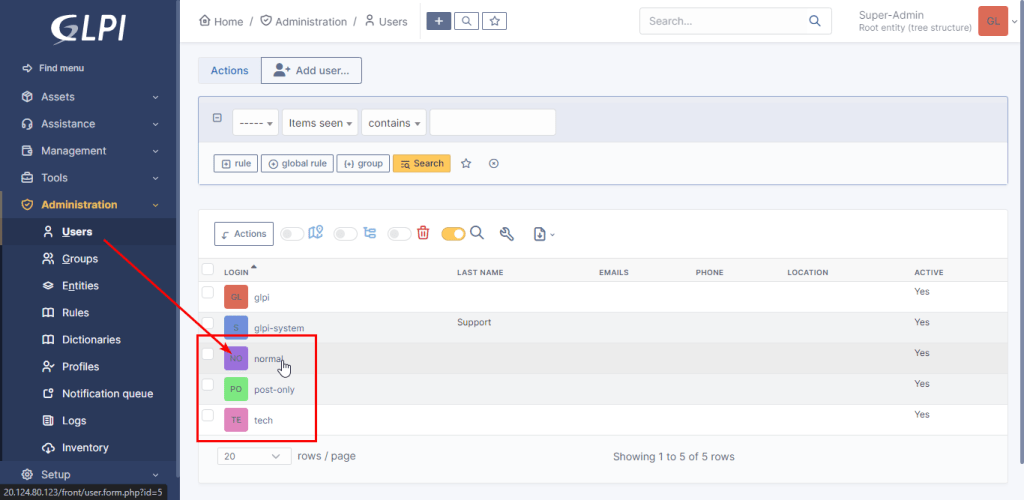
- You can also view and change user rights from step 4
Now you can use, configure, and manage GLPI® System Server with Windows Server 2016 DC.
More information – GLPI Documentation

