Enterprise VM on Windows 11 provides a reliable virtualized environment with Windows 11 installed, enabling organizations and professionals to run modern applications, development tools, and enterprise workloads in a flexible VM environment.

This is a quick deployment and ready-to-run image.
Simple and rapid installation. Easy to maintain.
Connecting to Enterprise VM on Windows 11
Starting Your Server in Azure:
Begin by launching the virtual machine (VM) through the Azure portal.
Connecting Using Remote Desktop:
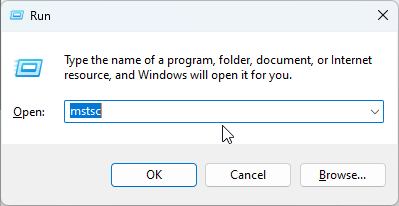
Once your server has been deployed, you can manually connect to it using your RDP client on your computer. Press Win + R, type mstsc, and click OK to open the Remote Desktop Connection.
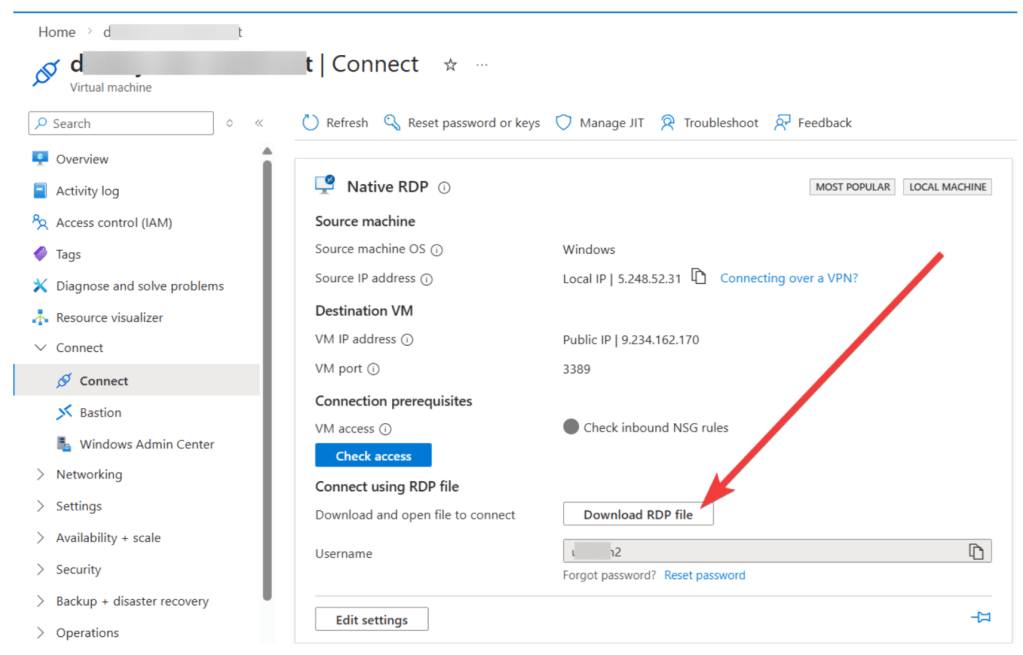
Downloading an RDP File (Optional):
To simplify future connections, go to the VM’s Overview (1) properties. Click the Connect button (2), choose the Connect option from the drop-down menu (3)
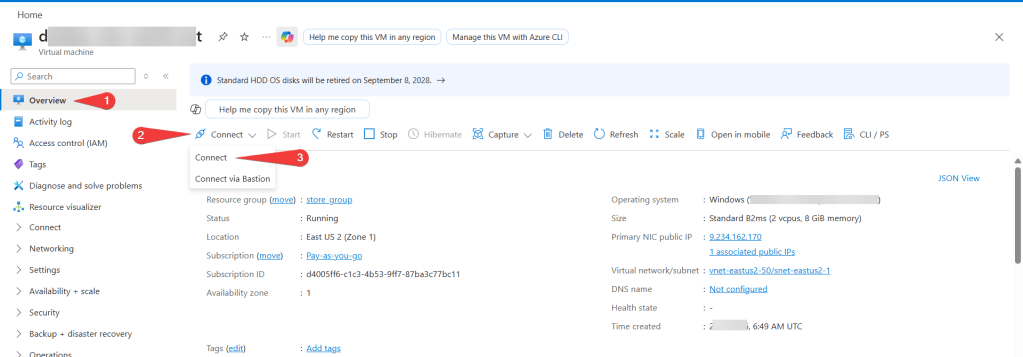
and download the RDP file to your computer.
Logging In:
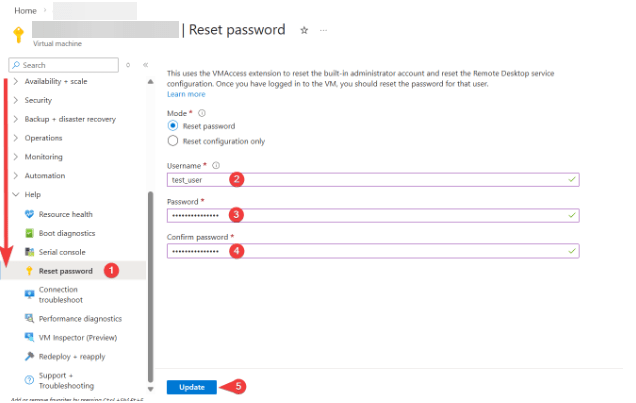
Use the username and password set up during deployment to log in via Remote Desktop.
If you need to change these credentials, navigate to Help → Reset Password in the sidebar (1), fill in your new username (2) and password (3), confirm them (4), and click Update (5).
Your Enterprise VM on Windows 11 is now ready to use in its clean, initial state.
