Discover a limitless and unpredictable world of Minecraft games by yourself or together with friends using our Minecraft Bedrock Server for Windows Server 2022 DC Azure Edition

This is a quick deployment and ready-to-run image.
Simple and rapid installation. Easy to maintain.
Configuration and connection to Minecraft Bedrock Server for Windows Server 2022 DC Azure Edition
- For the connection to the server, you should know the IP address of the VM. You can find it in the personal account of Azure. (You need to select the virtual machine from the list. By clicking the item “Overview”, your IP is displayed in the line “Public IP Address”).
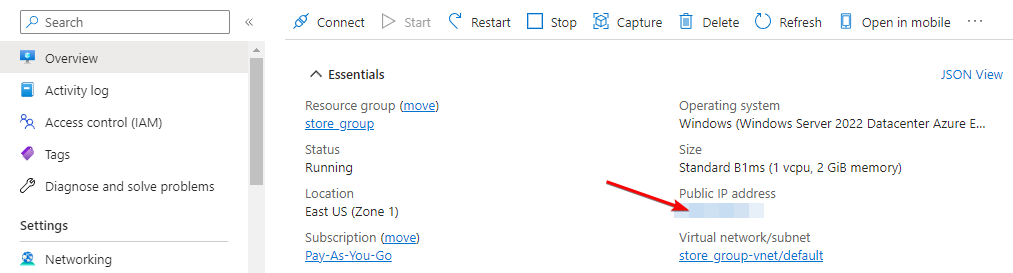
In order for VM to work correctly, you need to open port 19132 UDP in Azure Firewall

Connecting to the VM
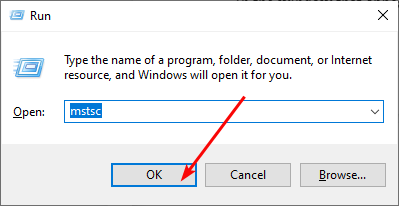
- To connect to the virtual machine, run the “Remote Desktop Connection” shortcut “Win + R”
In the window that appears, enter “mstsc” and click “OK”.
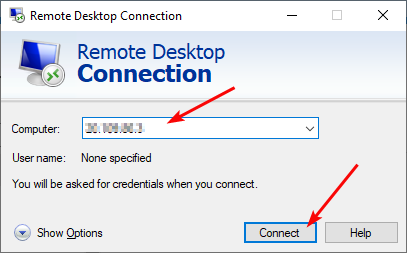
- In the window that appears, enter the IP of the virtual machine and click “Connect”.
- In the window that appears, enter your username and password and click “OK”.

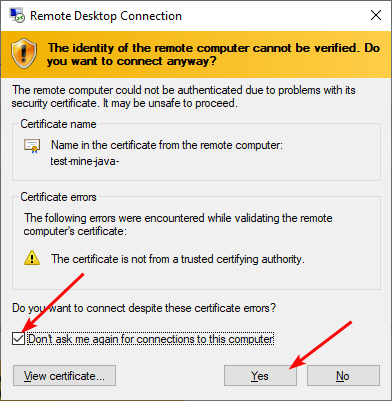
- Check the box and click “Yes”.
Running the server and starting the game
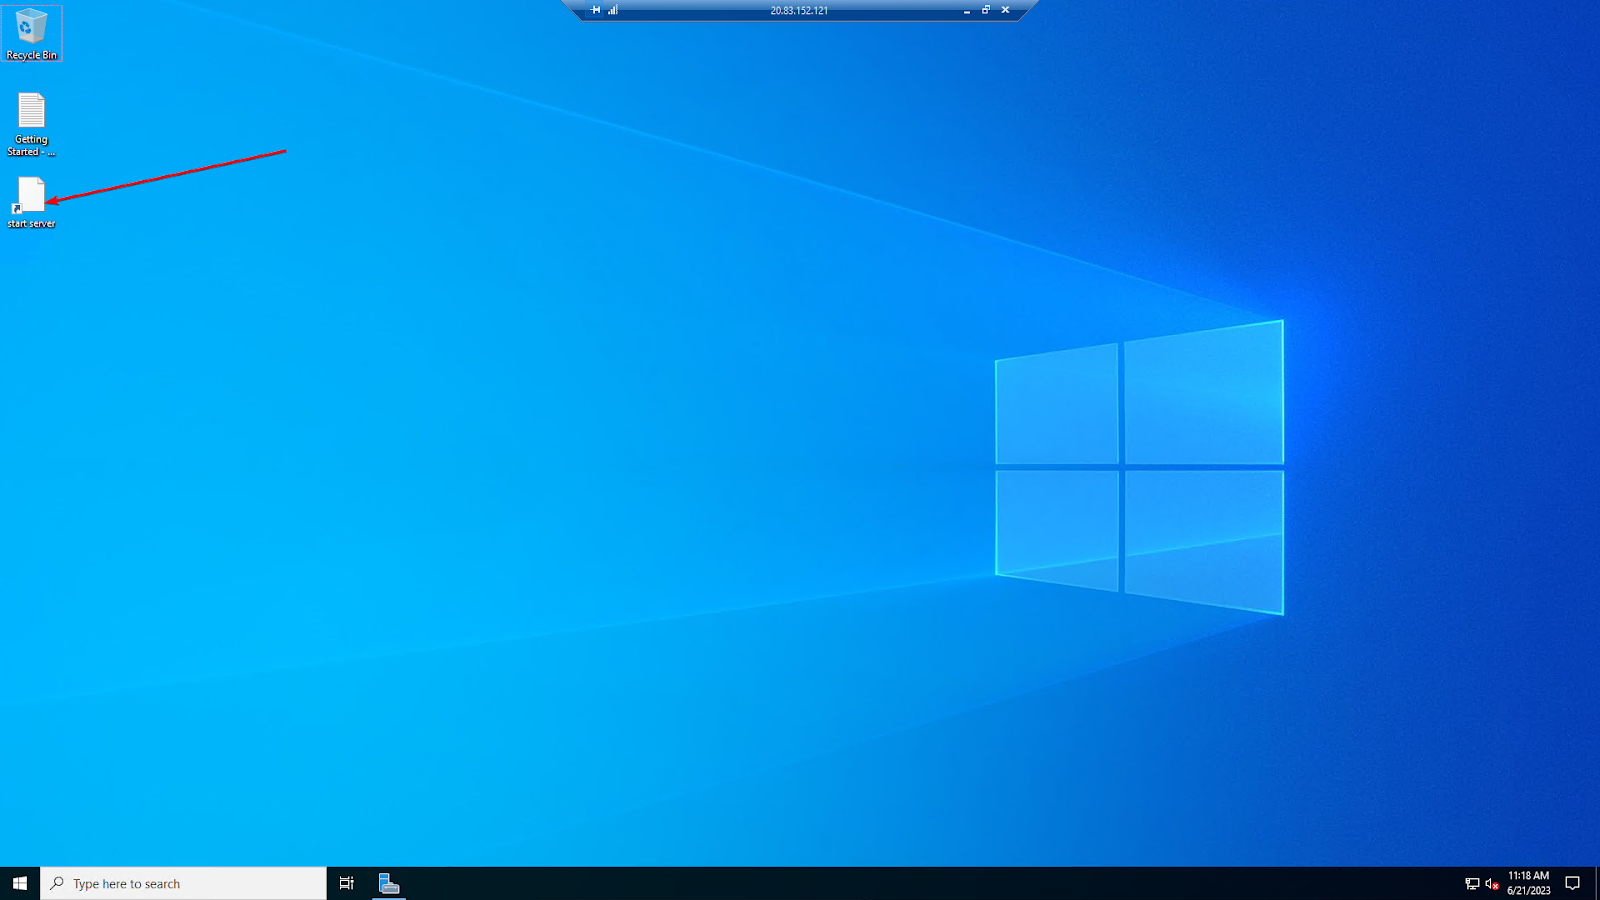
- To run the server, you should click the “start_server” icon on the desktop.
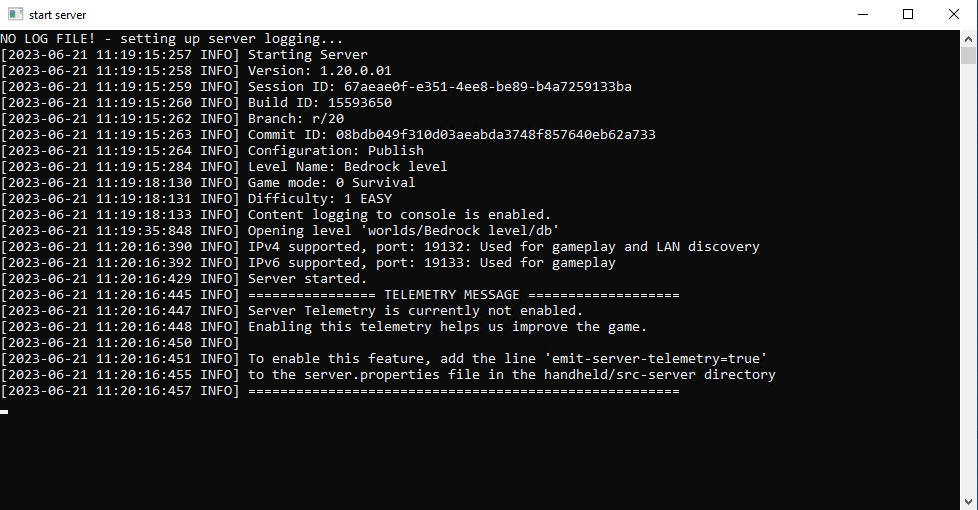
- Wait for the message to appear
- Run your client to play the Minecraft Bedrock Edition.
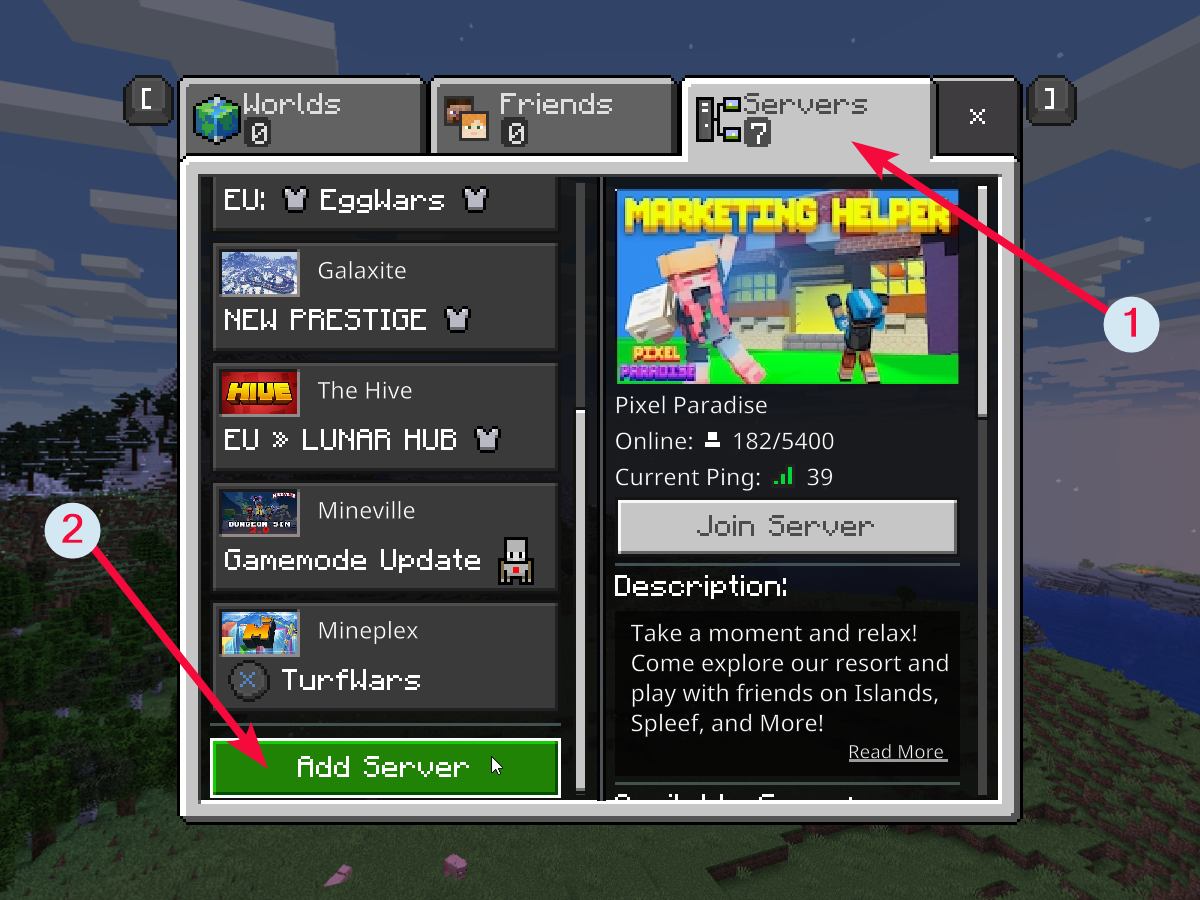
- Click “Play” in the main menu.
- Go to the “Servers” tab and click “Add Server”.
- In the window, in the “Server Name” field, name the server as you like.
In the “Server Address” field, enter the IP address of the VM. Leave the field “Port” with no changes. Click “Play”.

Get your own Minecraft universe!
