Web Application Proxy for Windows Server 2016 provides reverse proxy functionality for web applications inside your corporate network to allow users on any device to access them from outside the corporate network.
![]()
This is a quick deployment and ready-to-run image.
Simple and rapid installation. Easy to maintain.
The guide on how to work with the Web Application Proxy for Windows Server 2016
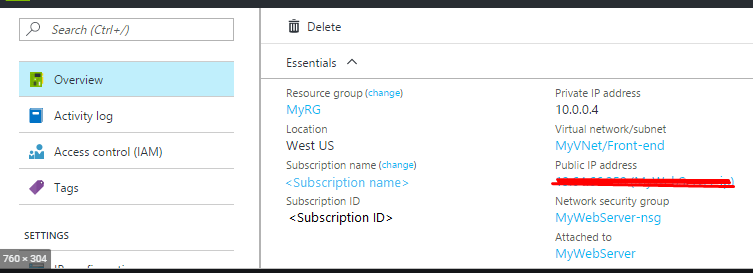
- After purchasing and running the VM you should know its IP address. You can find it in the personal account of Azure. (It is necessary to select the virtual machine from the list. By clicking the item “Overview”, your IP is displayed in the line of “Public IP Address”).
- After connecting to the VM, the server manager application will start, select the tab “Remote Access” in its window.
- Then you should select “More” on the yellow line.
- In the opened window click “Open the Web Application Proxy”.
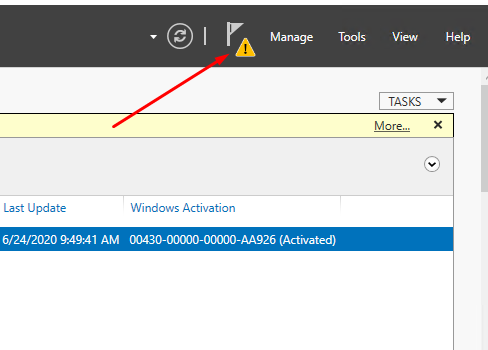
- Or click on the flag with an exclamation mark in the yellow triangle.
- In the opened window click “Open the Web Application Proxy”.
- Then click “Next”.

- In the next window, fill in the data and click “Next“.
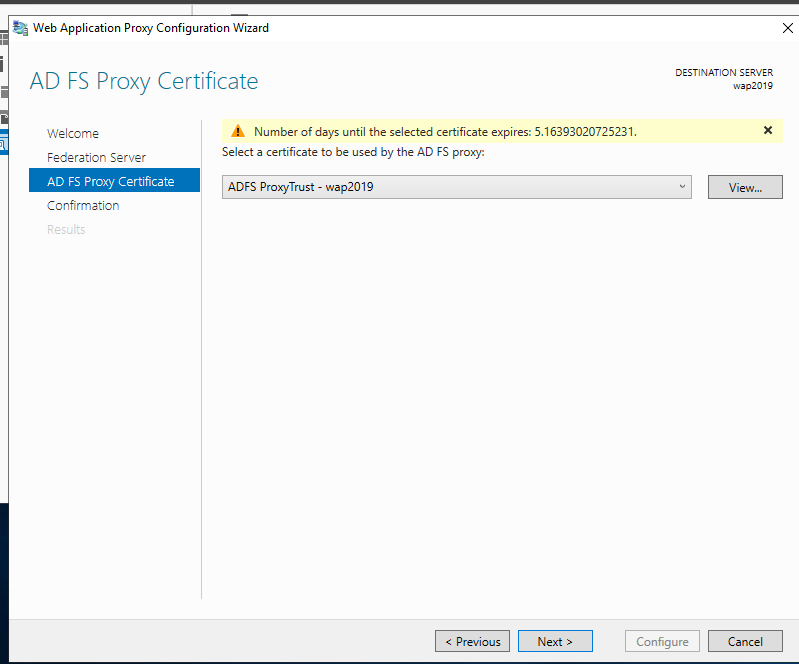
- Choose a certificate and move on.
- Now click “Configure” to start the configuration process.
- After successful configuration, you can use the WAP server.

If you have any problems during the server configuration, you can go to the following links to solve them:
https://docs.microsoft.com/en-us/windows-server/storage/work-folders/deploy-work-folders-adfs-step4
