Nagios is a computer software application that monitors systems, networks, and infrastructure.

This is a quick deployment and ready-to-run image.
Simple and rapid installation. Easy to maintain.
Connecting to Nagios: Network Monitoring System on Linux 8 using PuTTY
- To start the server, run the VM through Azure Portal.
- To work, you must open port 80 (TCP) in the network properties in the Azure firewall.
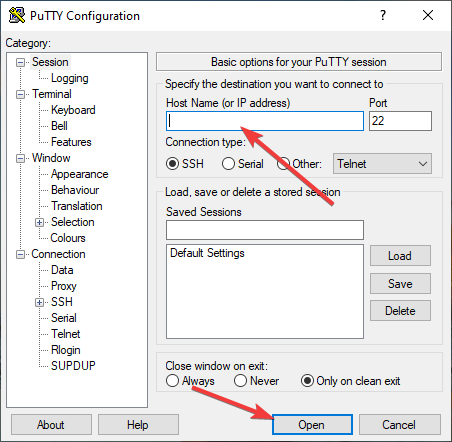
- Install PuTTY. You can download PuTTY from the link – https://putty.org.ru/download.html Launch PuTTY.
- In the “Host Name” field, enter the IP of the virtual machine and click “Open”.
- In the window that appears, click Accept.

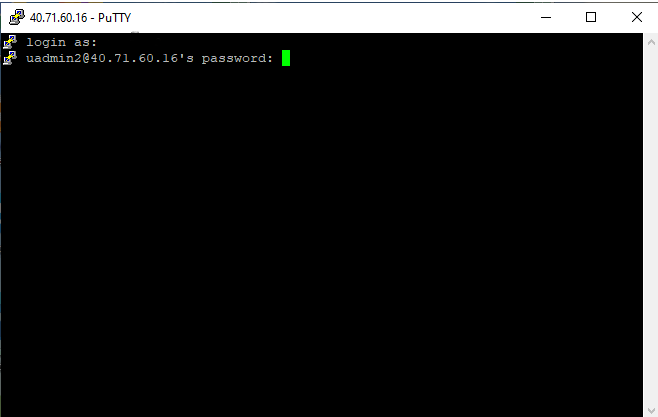
- Enter the username and password that was used to create the virtual machine.
(If you enter a password, it will not be displayed.)
- In the browser enter http://ip/nagios. For example http://11.22.123.123/nagios
- Enter your username and password in the window that opens.
Username: nagiosadmin
Password: admin
and click “Sign in”

- After entering your login information, you will be taken to the main page
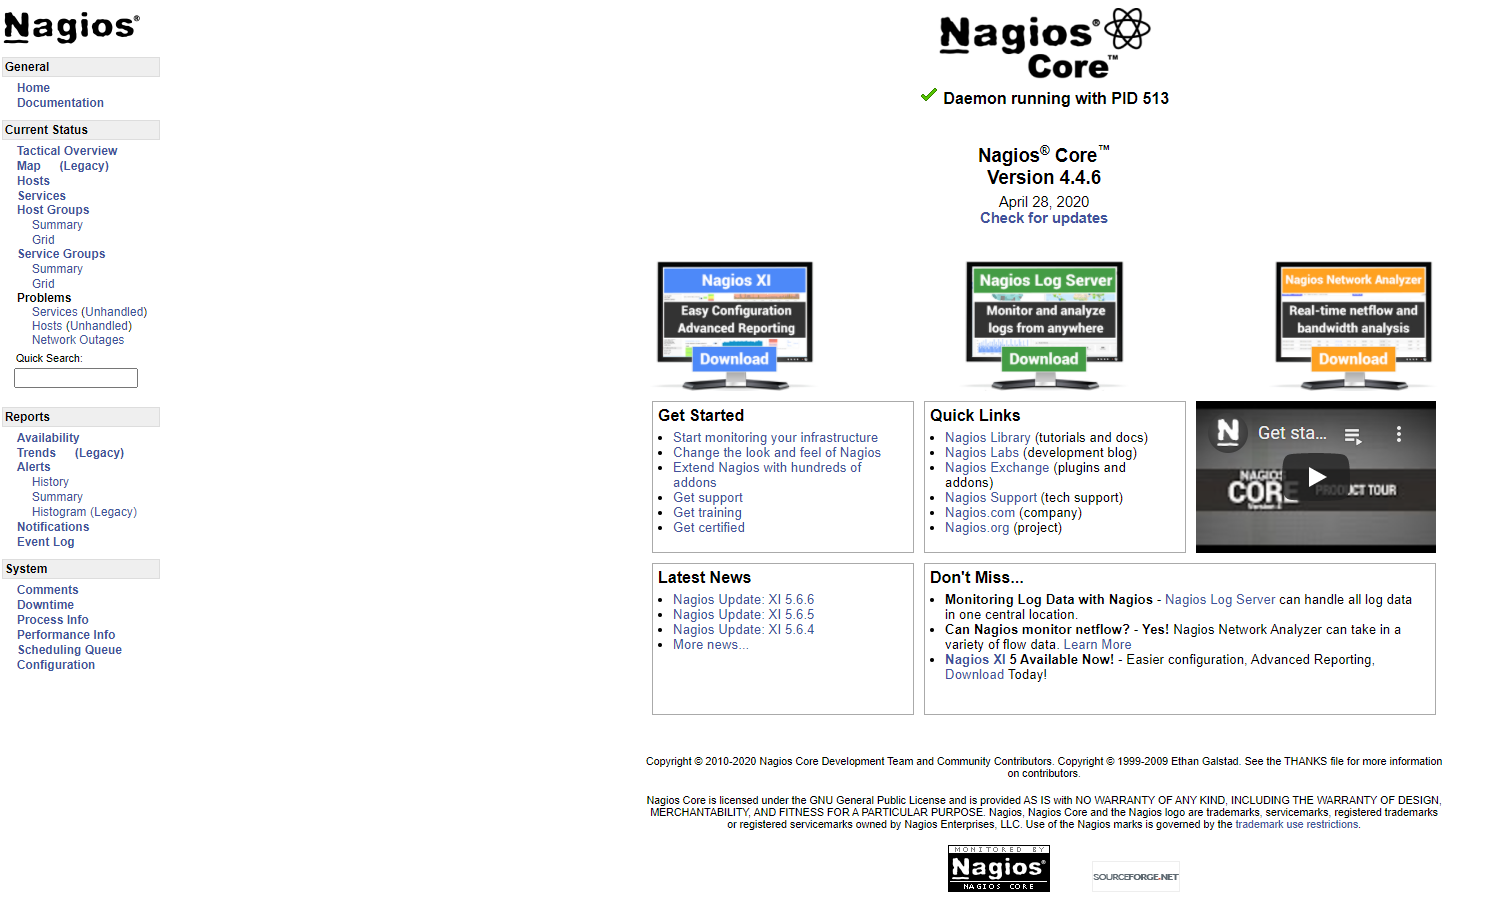
- Initially, the service is preset to check three hosts: localhost, 8.8.8.8 и yahoo.com
To view the status of the hosts, you need to select Services or Host


If you have any questions, please refer to the main documentation – https://assets.nagios.com/downloads/nagioscore/docs/nagioscore/4/en/toc.html
Writing host configs for monitoring – https://assets.nagios.com/downloads/nagioscore/docs/nagioscore/4/en/monitoring-publicservices.html
The main nagios directory is / usr / local / nagios /
Preset config for yahoo.com – /usr/local/nagios/etc/objects/yahoo.com.cfg
Preset config for 8.8.8.8 – /usr/local/nagios/etc/objects/8888.cfg
Main config file – /usr/local/nagios/etc/nagios.cfg
