Keep abreast of all the processes and services on a server with our Monit – Server Monitoring System on Debian 11

This is a quick deployment and ready-to-run image.
Simple and rapid installation. Easy to maintain.
Configuration and Connection to Monit on Debian 11
Configuration of Monit server
After purchasing and starting the VM, you should know its IP address. You can find it in the personal account of Azure. (You need to select the virtual machine from the list. By clicking the item “Overview”, your IP is displayed in the line of “Public IP Address”).
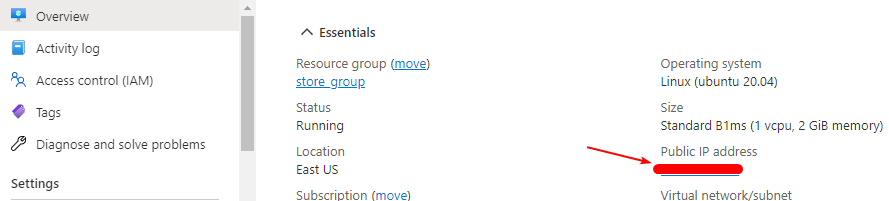
You should allow the access by port TCP – 2812, which you can do in properties of the Azure firewall network.

- To configure Monit you should connect to a VM:
- With OpenSSH
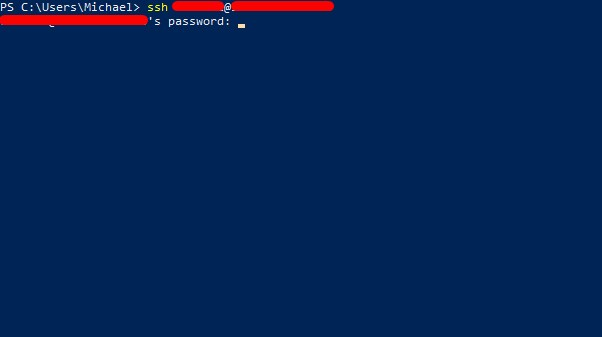
In the Windows 10 operating system (starting with version 1809), an OpenSSH client is available, with which you can connect to Linux servers via SSH. If the version of Windows 10 is suitable and the OpenSSH client is installed, then you can start connecting via SSH. To do this, launch a normal Windows command prompt and enter the command “ssh user@*vm_ip*”.
Where “user” is the username that was specified while creating the virtual machine and “*vm_ip*” is the VM IP address.
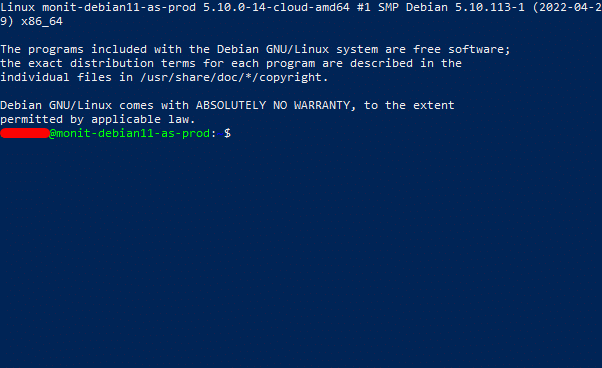
In the opened console, it is necessary to enter a password that was specified while creating the virtual machine.
After confirming the password, you get into the VM
- With the PuTTy application
To do this, you need the PuTTy application to connect via ssh. You can download it at the following link – Download
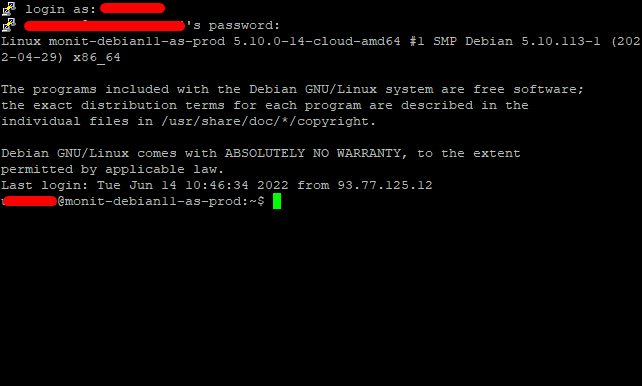
Run Putty, enter the VM address in the “Host” field, and click “Open” to connect.

In the opened console, it is necessary to enter a password that was specified while creating the virtual machine.

After confirming the password, you get into the VM
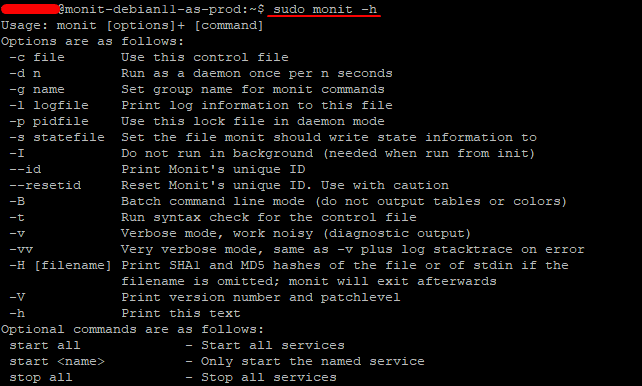
- Type the command “sudo monit -h” in order to get help
- Control files is located in /etc/monit.d/

- They contain a series of service entries and global option statements.

- To create your own control, put a new “.cfg” file in this directory – /etc/monit.d/
Connection to Monit server
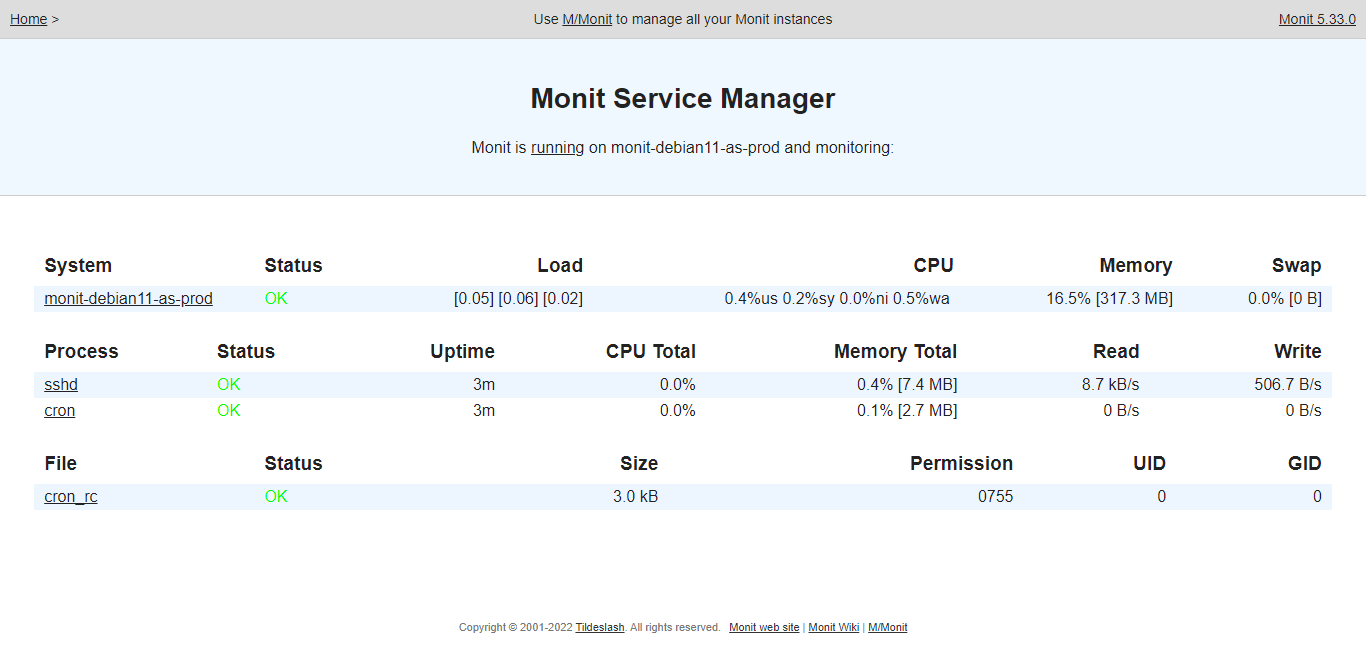
- After starting the VM, you can go to the main page. To do this, go to the following address, http://*vm_ip*:2812.

- The authorization page will open. Use the username “admin” and password “monit” to log in as an administrator.

- Now you can manage and control processes, programs, files, directories, and file systems
More information on setting up and working with Monit can be found here: Monit wiki, Monit Manual
