Discover the unique features and advantages of using Jellyfin Streaming Media Server on Linux Stream 8.

This is a quick deployment and ready-to-run image.
Simple and rapid installation. Easy to maintain.
Configuration and Connection to Jellyfin Streaming Media Server on Linux Stream 8
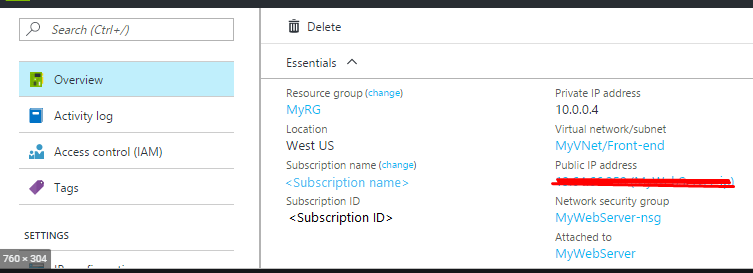
After purchasing and starting the VM, you should know its IP address. You can find it in the personal account of Azure. (You should select the virtual machine from the list. By clicking the item ‘Overview’, your IP would be displayed in the line of ‘Public IP Address’).
To work, you must open TCP port 8096 in the network properties in the Azure firewall.
- After starting the VM, you can go to the main page. To do this, go to the following address http: //*vm_ip*:8096.
- When you first open the site, the primary configuration will open. At the first stage, select the desired language and press ‘Next’.

- In the next step, you will be prompted to create an account. Specify your preferred name with password and press ‘Next’.

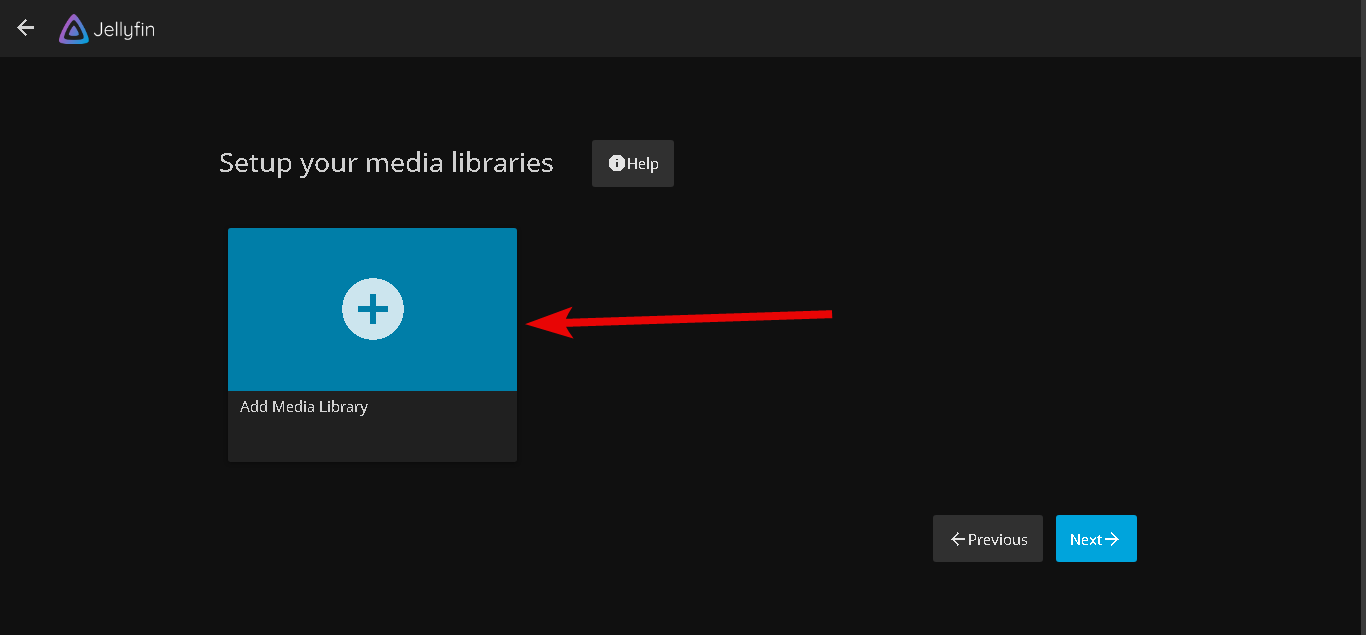
- Then, there will be a suggestion to create a Media Library. You can skip this item and return to it later.
- The next step is to choose a metadata language. You can leave the default and go to the next step.

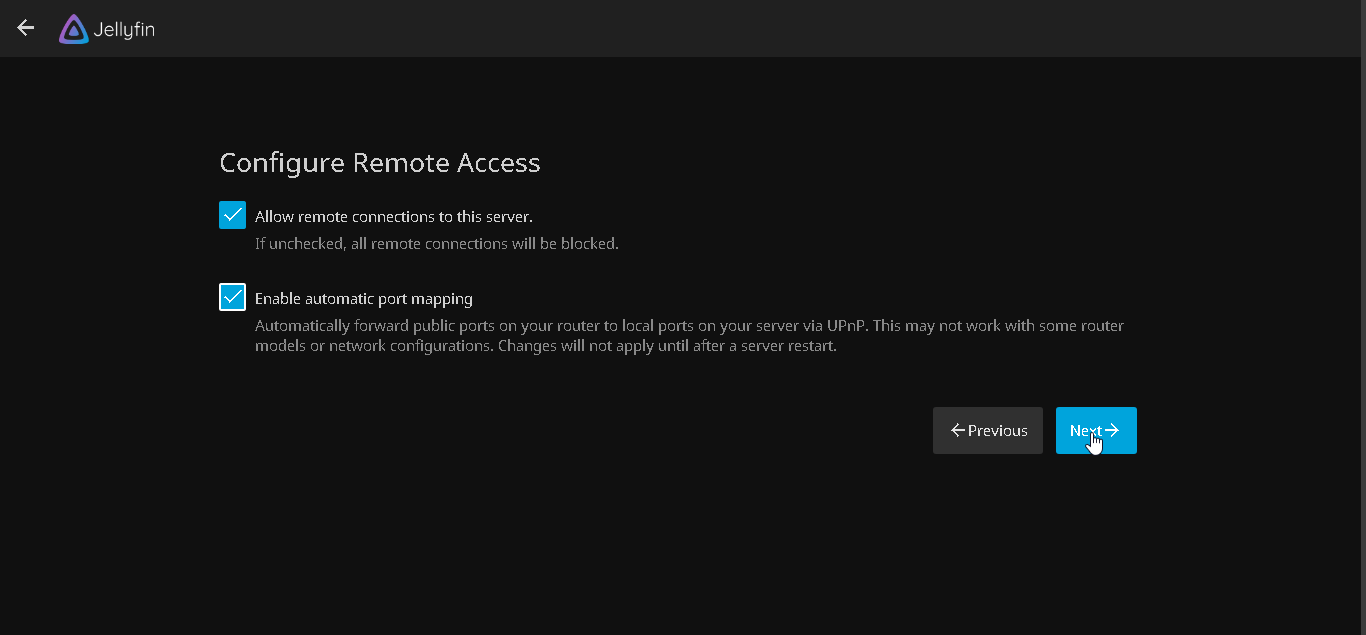
- Next, it is recommended to configure remote access.
- And in the next step, press ‘Finish’ to complete the installation.

- Now you need to log in through the account that was created in step 3.

- Done. Now you can create your own libraries for further broadcasting and playing them on any device.
More information on setting up and working with Jellyfin can be found at the following links:
Home | Documentation
