A popular option for people interested in creating and managing their own internet radio stations or streaming pre-recorded content over the internet.

This is a quick deployment and ready-to-run image.
Simple and rapid installation. Easy to maintain.
The guide how to use Icecast – Streaming Media Server on Linux 7.9
To start the server, run the VM through Azure Portal.
- To work, you must open port 8000 (TCP) in the network properties in the Azure firewall.
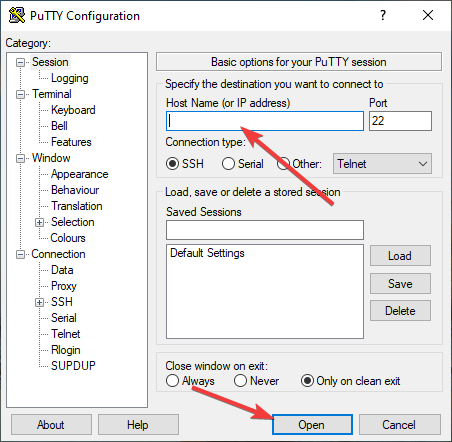
- Install PuTTY. You can download PuTTY from the link – https://putty.org.ru/download.html Launch PuTTY.
- In the “Host Name” field, enter the IP of the virtual machine and click “Open”.
- In the window that appears, click Accept.

- Enter the username and password that was used to create the virtual machine.
(If you enter a password, it will not be displayed.)

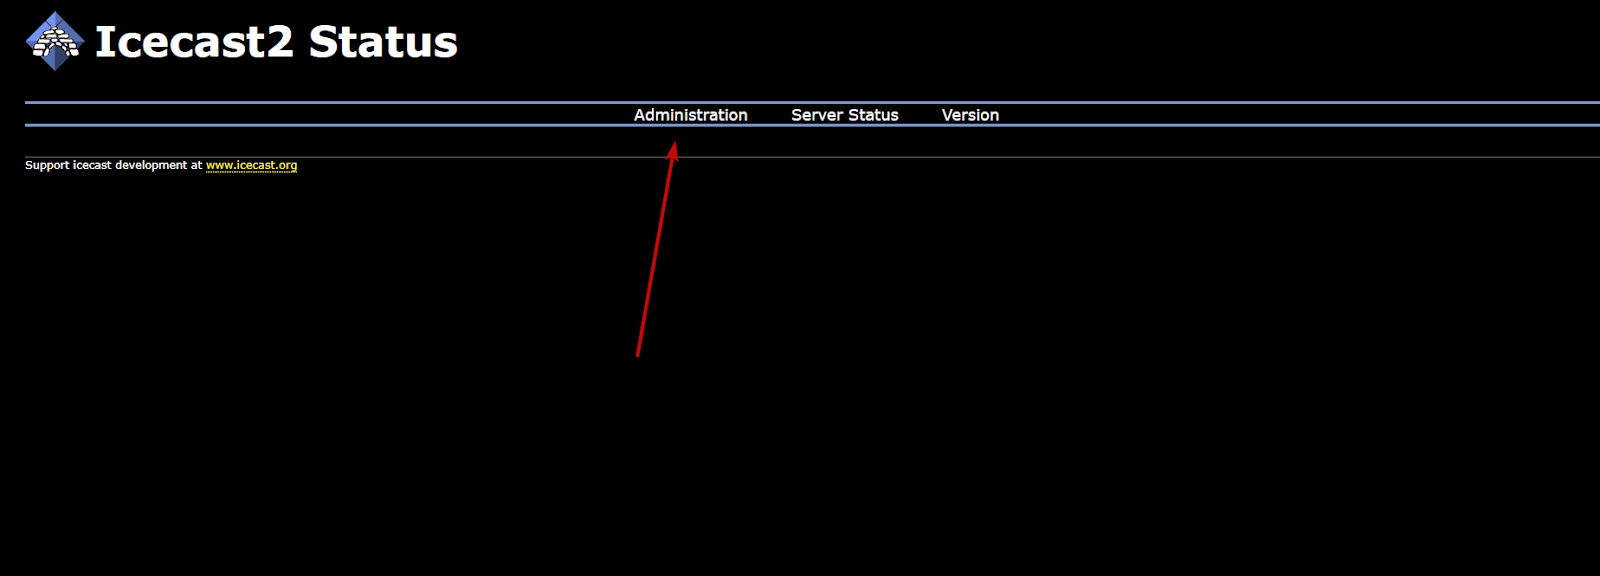
- In the browser enter http://”your_vm _ip”:8000 For example http://11.22.123.123:8000

- Click on Administration
- In the window that appears, enter your username and password
Login- admin
Password – adminpwd
- Enter the following command to open the configuration file
sudo nano /etc/icecast.xml
- After executing the command, editing the file will open. In order to go to the desired line, use the arrows on the keyboard. To paste the copied text, use the right mouse button.
- In order to change the login and password for accounts, go to the <authentication> section and change the values that are inside the <*** – password> tags. For example, change adminpwd to a new password.

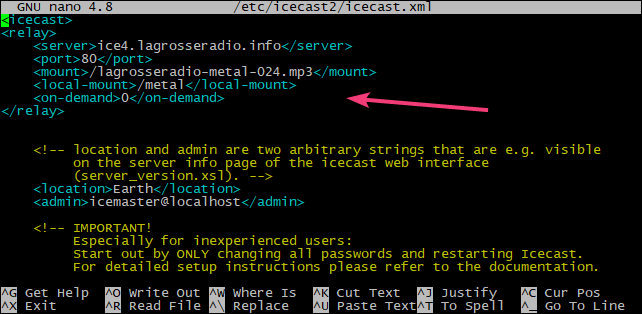
- To add a test radio station, add the following lines inside the <icecast> tag (but not inside other tags).
<relay>
<server>ice4.lagrosseradio.info</server>
<port>80</port>
<mount>/lagrosseradio-metal-024.mp3</mount>
<local-mount>/metal</local-mount>
<on-demand>0</on-demand>
</relay>
- Press “Ctrl + X” on the keyboard to exit the file. Then, you will be prompted to save the changes to the file – press “Y” on the keyboard to confirm, and press “Enter” to overwrite to the same file.
- To apply the changes, you must restart the service. To do this, run the following command.
sudo systemctl restart icecast
- Now you can go to the main page at http://*vm_ip*:8000 and the relay information will be on the main page. To open the station itself, go to the address http://*vm_ip*:8000/metal.
- To manage the Icecast Streaming Server, you can use following commands:
To start the Icecast Server:
sudo systemctl start icecast
To restart and reload configuration changes:
sudo systemctl restart icecast
To stop Icecast:
sudo systemctl stop icecast
Now you have a well-prepared Icecast – Streaming Media Server on Linux 7.9.
