This FTP Server is a basic implementation of an FTP, a standard communication protocol used for the transfer of computer files from a server to a client on a computer network. This solution contains only tools required for the Server to function.

This is a quick deployment and ready-to-run image.
Simple and rapid installation. Easy to maintain.
Connection to FTP Server Basic on Windows Server 2019
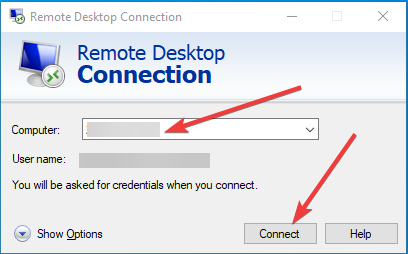
- To connect to a virtual machine, run the program “Remote Desktop Connection”
- Enter the IP address of the virtual machine in the field “Computer” and press “Connect”
- Select input with <More choices>
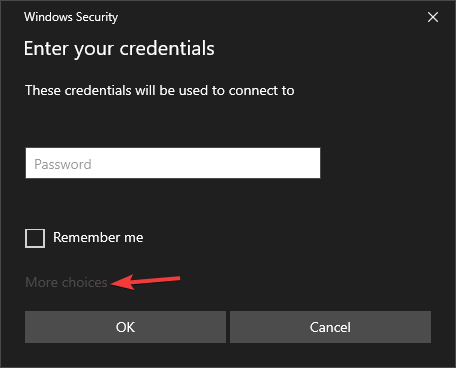
- Next, select login through a different account and enter your login / password that you specified when creating virtual machines

5. Next, we need to go to the FileZilla Server control panel.
When connecting for the first time in the admin panel, specify
5.1 host – localhost
5.2 port – 14147
5.3 password – empty
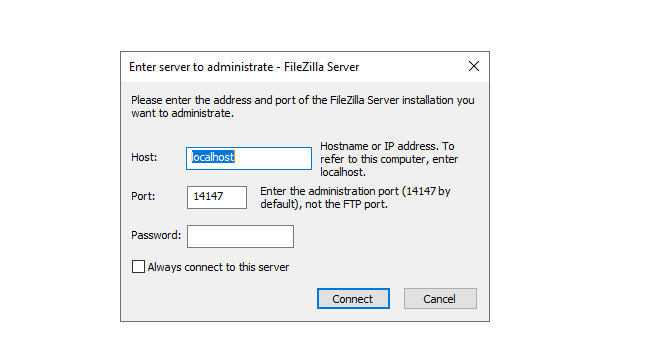
Click <Connect>
Create a user with a home directory
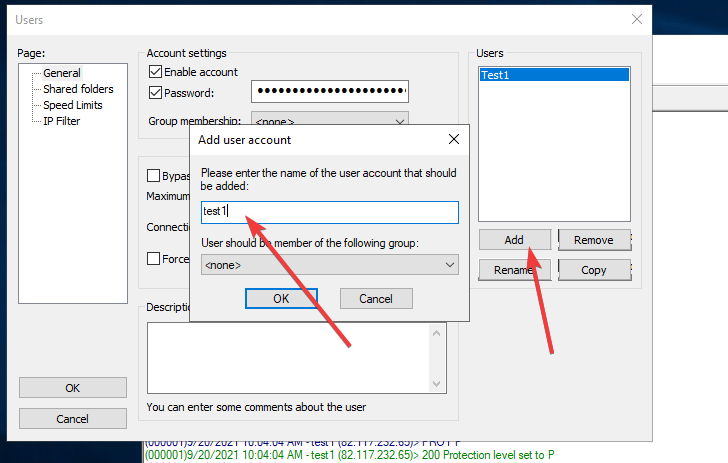
1. Now you need to create a user with his home directory.
Click on <Edit> select <Users>
2. Select <Add> and enter a username. Press <Ok>
It is recommended to use the Filezilla FTP client to work with the server. Operating mode <passive mode>.
You can download it from the link https://filezilla.ru/get/
- Enter in the <Host> field the IP of your machine
- In the <Username> field, the name of the machine that you created in step 3
- In the <Password> field, the password that you specified in paragraph 3

Now you can use FTP Server Basic on Windows Server 2019 adapted for Azure.
