DNS Server (IaaS) on Debian 10 is a perfect solution for providing DNS resolution to your servers in Azure and clients on-premises software or in the cloud. Enable DNS name resolution within your Azure tenant using this DNS IaaS server solution.
![]()
This is a quick deployment and ready-to-run image.
Simple and rapid installation. Easy to maintain.
The guide how to work with the DNS Server (IaaS) on Debian 10
- After purchasing and starting the VM you should know its IP address. You can find it in the personal account of Azure. (You need to select the virtual machine from the list. By clicking the item “Overview”, your IP is displayed in the line of “Public IP Address”).

- To work, you must open port 10000 (TCP) and 53 (UDP) in the network properties in the azure firewall.
- To connect to a VM, you need the PuTTy application to connect via ssh. You can download it at the following link – Download
- Run Putty, enter the VM address in the “Host” field, and click “Open” to connect.

- In the opened console you should enter a username and password that were specified when creating the virtual machine.
- To access the admin panel, you need to enter in the address bar https://yourVM’sIP:10000
- Now you should accept the security certificate.
- To log in, you should enter a username and password that were specified while creating the virtual machine.

- Next, go to the servers tab – BIND DNS server.
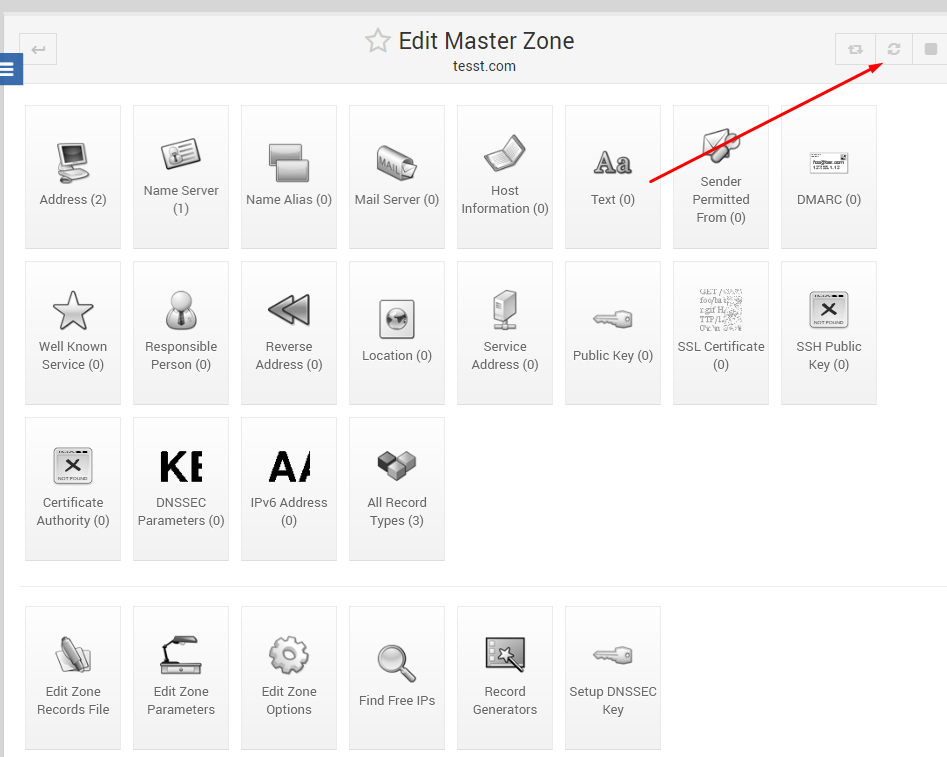
- Select “Create a master zone”.
- Fill in the required data.
- The zone created by you appeared in the list of zones, go to it.
- Add a new address by filling in all the fields.


- Also add an entry for the NS subdomain.
- You need to update the configuration after adding records.
- Initial setup completed.

Developer Documentation:
https://bind9.readthedocs.io/en/latest/
